
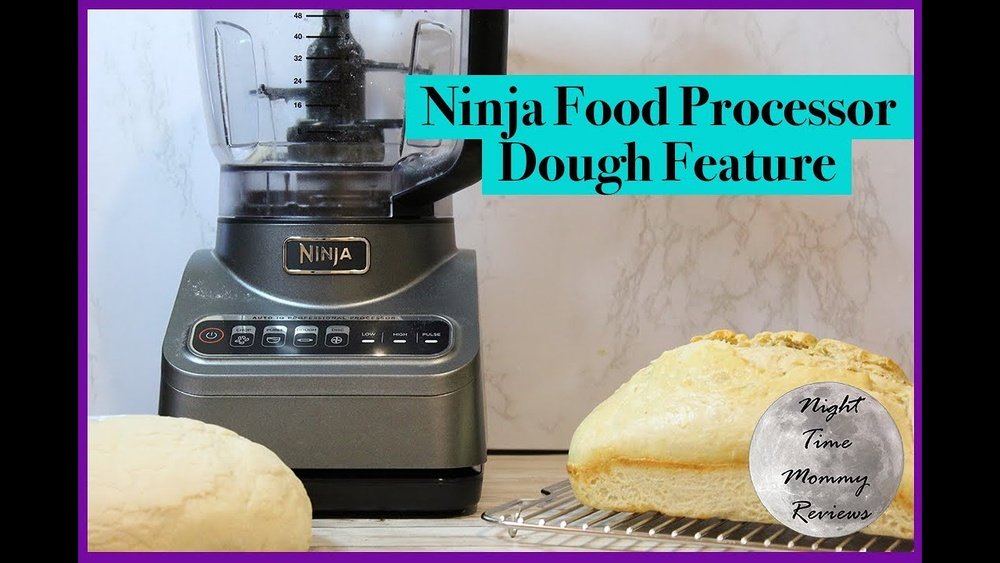
How To Make Bread Dough With Ninja Blender: Easy Step-by-Step Guide
Making bread dough at home is a rewarding experience, but it often feels intimidating for beginners. Traditional kneading by hand can be tiring, and stand mixers can be expensive or bulky. The Ninja Blender—a versatile kitchen tool—offers a smart solution. With the right method, you can use your Ninja Blender to make soft, elastic bread dough in minutes. This article shows you how to do it step by step, explains key techniques, and shares practical advice to help you succeed, even if you’re new to baking. You’ll also learn how the Ninja Blender compares to other dough-making tools and discover tips that most beginners miss. By the end, you’ll feel confident making bread dough quickly and easily, using ingredients you already have.
Why Use A Ninja Blender For Bread Dough?
The Ninja Blender is known for its powerful motor, sharp blades, and easy cleaning. Unlike traditional mixers, it’s compact and affordable. You may wonder, can a blender really make dough? The answer is yes, but only if you use the right settings and avoid common mistakes.
Benefits Of Making Dough With A Ninja Blender
- Speed: The Ninja Blender can mix dough in under 5 minutes.
- Convenience: Less manual work and fewer utensils to wash.
- Consistency: Powerful blending ensures even mixing.
- Versatility: You can use it for pizza, flatbreads, and rolls—not just classic loaves.
Common Misconceptions
Some people think a blender will overmix or chop the dough. Actually, the Ninja Blender can mix flour and water gently, if you use pulse mode and avoid blending for too long. Many beginners don’t realize that blending dough is different from blending liquids or smoothies. With proper timing and technique, the dough will come together just like in a stand mixer.
Ingredients And Quantities For Basic Bread Dough
You don’t need fancy ingredients for good bread. Here’s a standard recipe for a simple white bread dough. This makes about one medium loaf or 8 rolls.
Ingredients
- 3 cups (360g) bread flour (or all-purpose flour)
- 1 cup (240ml) warm water (100–110°F / 37–43°C)
- 2 teaspoons (7g) instant yeast (or active dry yeast)
- 1½ teaspoons (8g) salt
- 2 tablespoons (25g) sugar (optional, for softness)
- 2 tablespoons (28g) vegetable oil or melted butter
Ingredient Tips
- Bread flour gives a chewy texture, but all-purpose flour works fine.
- Warm water helps the yeast activate. Don’t use hot water—it kills yeast.
- Instant yeast doesn’t need proofing; active dry yeast should be dissolved in water first.
- Sugar is optional; it helps the dough rise faster.
- Oil or butter makes the dough softer and easier to handle.
Many beginners skip weighing their flour. Using cups is common, but weighing with a kitchen scale gives more consistent results.

Credit: thesaltedpepper.com
Step-by-step Guide: Making Bread Dough With Ninja Blender
Follow these steps for reliable dough every time. The process is easier than you think.
Step 1: Prepare Your Blender
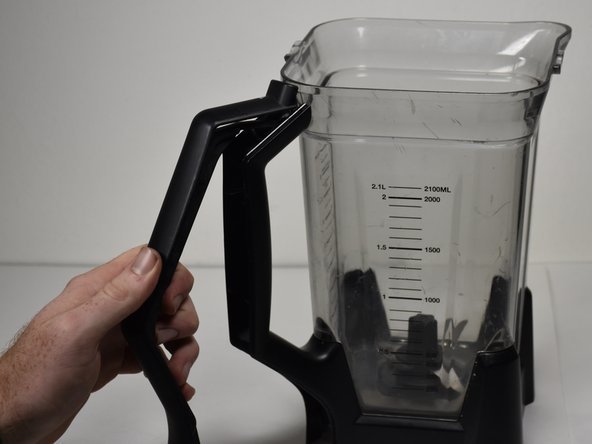
Before you start, make sure your Ninja Blender is clean and dry. Use the dough blade or standard blade if your model doesn’t include a dough blade. Some blenders have a “dough” setting; if not, use the pulse function.
Step 2: Add Ingredients
Put the dry ingredients (flour, salt, sugar, yeast) into the blender jar. Pour in the oil or butter. Add the warm water last. If using active dry yeast, dissolve it in water before adding.
Step 3: Blend And Mix
- Secure the lid.
- Start with short pulses (2–3 seconds at a time).
- Stop and check after 20–30 seconds. The dough should start clumping.
- Use a spatula to scrape down sides if needed.
- Pulse again for another 20 seconds.
Step 4: Check Consistency
The dough should be slightly sticky but not wet. If it’s dry, add a tablespoon of water. If it’s too wet, add a tablespoon of flour and pulse again. The dough is ready when it forms a ball and pulls away from the sides.
Step 5: Knead In The Blender
Pulse for 30–60 seconds more, stopping every 10 seconds to avoid overheating the motor. Don’t blend continuously—this can make the dough tough or damage your blender.
Step 6: Remove And Knead By Hand (optional)
Some Ninja Blender models are powerful enough to knead dough fully. For most, remove the dough and knead by hand for 2–3 minutes on a floured surface. This step helps develop gluten for better texture.
Step 7: First Rise
Place the dough in a greased bowl, cover with plastic wrap or a towel, and let it rise in a warm place for 1–2 hours, until doubled in size.
Step 8: Shape And Second Rise
Punch down the dough, shape it into a loaf or rolls, and place on a baking tray or loaf pan. Cover and let rise again for 30–45 minutes.
Step 9: Bake
Bake at 375°F (190°C) for 25–30 minutes for a loaf, or 15–20 minutes for rolls. The bread is done when golden and sounds hollow when tapped.
Step 10: Cool And Serve
Let bread cool on a wire rack for at least 20 minutes before slicing. This helps the inside finish cooking and makes cutting easier.
Practical Tips For Success
Don’t Overload The Blender
Most Ninja Blender jars hold 6–8 cups. Don’t try to make double batches. Too much dough can strain the motor and blades.
Use Pulse Mode
Blending dough is not the same as blending liquids. Pulse mode gives you control and prevents overheating.
Watch The Dough Texture
Dough texture changes quickly. Beginners often miss the “windowpane test”—stretch a small piece of dough. If it stretches without breaking, gluten is developed.
Clean Up Quickly
Dough dries fast and sticks to blender blades. Rinse the jar and blades right after use to avoid tough cleanup.
Experiment With Other Flours
You can use whole wheat, rye, or gluten-free flour. Adjust water and kneading time as needed. Whole wheat dough may need more water and a longer rise.
Comparison: Ninja Blender Vs Stand Mixer Vs Hand Mixing
How does the Ninja Blender stack up against other dough-making tools? Here’s a practical comparison:
| Method | Time to Mix | Kneading Effort | Batch Size | Cleanup |
|---|---|---|---|---|
| Ninja Blender | 3–5 min | Low–Medium | Small–Medium | Easy |
| Stand Mixer | 5–8 min | Low | Medium–Large | Medium |
| Hand Mixing | 10–15 min | High | Any | Medium |
The Ninja Blender is best for quick, small batches and saves time. Stand mixers handle larger amounts, but cost more and take up space. Hand mixing works for any batch size but is tiring.
Common Mistakes To Avoid
Even experienced cooks can make errors. Here are mistakes to watch for:
- Using cold water: Yeast won’t activate well.
- Blending too long: Over-mixing makes dough dense.
- Adding all flour at once: Start with 90% of flour, add rest as needed.
- Ignoring resting time: Dough needs time to rise for good texture.
- Not scraping blender sides: Dry flour can hide in corners.
- Not checking dough temperature: Blender motors can warm dough—if too hot, yeast dies.
- Skipping gluten development: Brief hand kneading makes a big difference.
Many beginners don’t realize that blending creates heat. If dough feels warm, let it cool before rising.
Troubleshooting: Fixing Dough Problems
Problems can happen even with the best recipe. Here’s how to fix common issues:
Dough Too Sticky
Add 1 tablespoon flour, pulse once, check texture. Repeat as needed.
Dough Too Dry
Add 1 tablespoon water, pulse, check. Too dry dough won’t rise well.
Dough Not Rising
Check yeast freshness. Old yeast won’t rise. Make sure water is warm, not hot.
Dough Won’t Hold Shape
Knead by hand for 1–2 minutes. This develops gluten.
Dough Tastes Bland
Add a pinch more salt or sugar next time. Sometimes ingredients need adjusting for taste.
Making Different Types Of Bread Dough
With your Ninja Blender, you can make many types of bread. Here are some popular variations:
Whole Wheat Bread
Replace half or all the flour with whole wheat. Add 2 tablespoons extra water. Whole wheat dough rises slower, so allow more time.
Pizza Dough
Use 2½ cups flour, 1 cup water, 1 teaspoon yeast, 1 teaspoon salt, 1 tablespoon oil. Blend as usual. Let rise, shape, and bake at 450°F (232°C) for 12–15 minutes.
Focaccia
Add 2 tablespoons olive oil and 1 teaspoon dried herbs to basic dough. Shape into a flat rectangle, let rise, bake at 425°F (218°C) for 20 minutes.
Gluten-free Bread
Use gluten-free flour blend, add 1 teaspoon xanthan gum for structure. Gluten-free dough is stickier; pulse gently and bake in a loaf pan.
Sweet Bread
Add ¼ cup sugar, 1 egg, and 1 teaspoon vanilla to the basic recipe. Makes soft, sweet rolls.
Each type may need small adjustments in water or mixing time. Always check dough texture.
Ninja Blender Models: Which One Works Best For Bread Dough?
Not all Ninja Blenders are equal. Some are better for dough-making.
| Model | Motor Power | Blade Type | Dough Setting | Capacity |
|---|---|---|---|---|
| Ninja Professional BL660 | 1100W | Standard | No | 72 oz |
| Ninja Foodi Power Pitcher | 1400W | Dough Blade | Yes | 72 oz |
| Ninja Auto-iQ BL642 | 1200W | Standard | No | 72 oz |
The Ninja Foodi Power Pitcher is ideal. It has a dough blade and a special setting. Standard models work well but may need more hand kneading.
Is Making Bread Dough With Ninja Blender Cost-effective?
Buying bread at the store costs about $3–$4 per loaf. Making bread at home costs about $1 per loaf, including flour, yeast, and energy. The Ninja Blender costs $80–$150, but can be used for many recipes.
Data Example
- Store-bought loaf: $3.50
- Homemade loaf: $1.00
- Annual savings (if making 1 loaf/week): $130
Homemade bread is fresher, and you control the ingredients—no preservatives. If you bake often, your Ninja Blender pays for itself in a year.

Credit: ninjakitchen.com.au
Cleaning And Maintenance Tips
Keeping your Ninja Blender in good shape helps it last longer. Dough can be sticky, so cleaning right after use is best.
Cleaning Steps
- Remove dough and rinse jar immediately.
- Fill jar halfway with warm water and a drop of dish soap.
- Secure lid, pulse for 10 seconds.
- Rinse and dry thoroughly.
Blade Care
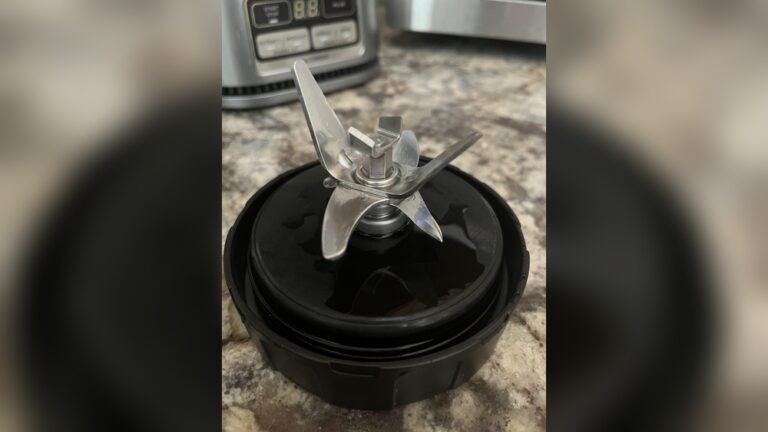
Dough can get stuck under blades. Use a brush or toothpick for tight spots. Avoid soaking blades for long—they can rust.
Motor Protection
Don’t run blender for more than 1 minute at a time. Let it cool between batches. This prevents overheating.
Many users don’t realize motors need rest. If you smell burning or the blender slows, unplug and let it cool.
Making Bread Dough For Special Diets
Bread dough can be adapted for many diets.
Vegan Dough
Use oil instead of butter. Most bread dough is naturally vegan.
Dairy-free Dough
Skip milk or butter. Use water and oil.
Low-sodium Dough
Reduce salt to ½ teaspoon. Dough may rise faster, but flavor is milder.
Sugar-free Dough
Skip sugar. Dough may rise slower, but works fine.
High-protein Dough
Add 2 tablespoons powdered milk or whey protein. This makes bread more filling.
Adjusting recipes for diets is easy with the Ninja Blender. Always check dough consistency after changes.

Credit: www.youtube.com
Advanced Tips: Perfecting Your Bread Dough
Beyond the basics, a few advanced tricks help you get bakery-quality bread.
Autolyse Method
Mix flour and water first, let rest for 30 minutes, then add yeast and salt. This improves gluten and texture.
Stretch And Fold
Instead of kneading, stretch and fold dough every 30 minutes during the first rise. This makes bread lighter.
Cold Fermentation
Let dough rise overnight in the fridge. Flavor is deeper and texture is softer.
Steam Baking
Place a pan of water in the oven. Steam makes crust crispier.
Many beginners don’t try cold fermentation. It’s easy—just put dough in the fridge after mixing, bake the next day.
Real-life Example: Making Bread Dough For A Family
Let’s walk through a real example. Anna wants to make bread for her family of four using a Ninja Blender. She uses the basic recipe:
- 3 cups flour
- 1 cup warm water
- 2 teaspoons yeast
- 1½ teaspoons salt
- 2 tablespoons sugar
- 2 tablespoons oil
She adds ingredients to her Ninja Blender, pulses for 1 minute, checks texture, then kneads by hand for 2 minutes. She lets it rise for 90 minutes, shapes into a loaf, lets rise again for 40 minutes, and bakes for 28 minutes. The result: a warm, fresh loaf that costs less than $1. Anna saves time, money, and enjoys homemade bread.
Bread Dough Recipes For Beginners
If you want to try different breads, here are two easy recipes.
Classic White Bread
- 3 cups bread flour
- 1 cup warm water
- 2 teaspoons yeast
- 1½ teaspoons salt
- 2 tablespoons sugar
- 2 tablespoons oil
Blend, knead, rise, shape, bake at 375°F for 25–30 minutes.
Simple Dinner Rolls
- 2½ cups flour
- ¾ cup warm water
- 1 teaspoon yeast
- 1 teaspoon salt
- 2 tablespoons sugar
- 2 tablespoons melted butter
Blend, knead, shape into 8 rolls, let rise, bake at 375°F for 15–18 minutes.
Dinner rolls are great for beginners—they’re quick and forgiving.
Frequently Asked Questions
Can I Make Gluten-free Bread Dough With A Ninja Blender?
Yes, you can use a gluten-free flour blend. Add 1 teaspoon xanthan gum for structure. The dough will be stickier and may need a loaf pan. Pulse gently and don’t overblend.
Is It Safe To Knead Dough In The Ninja Blender?
It’s safe if you use pulse mode and don’t overload the jar. Most Ninja Blenders can handle bread dough, but avoid running the motor for more than 1 minute at a time.
Why Is My Bread Dough Not Rising?
Old yeast or cold water are common reasons. Use fresh yeast, warm water (100–110°F), and let dough rise in a warm spot. Also, check if your blender overheated the dough—yeast dies at temperatures above 120°F.
How Do I Clean Sticky Dough From The Blender Blades?
Fill the jar with warm water and a drop of dish soap. Pulse for 10 seconds, then rinse. Use a brush or toothpick for tight spots. Clean immediately to prevent dough from drying.
Which Ninja Blender Model Is Best For Bread Dough?
The Ninja Foodi Power Pitcher is designed for dough-making, with a special dough blade and setting. Standard models work well for small batches, but may need more hand kneading.
Final Thoughts
Making bread dough with a Ninja Blender is practical, fast, and affordable. You can bake fresh bread at home, even if you’re new to baking or have limited kitchen space. With the right technique, good ingredients, and a few smart tips, your bread will turn out soft, tasty, and consistent every time. The Ninja Blender is more than just a smoothie maker—it’s a powerful tool for home bakers. Whether you want classic loaves, dinner rolls, or gluten-free options, this method makes homemade bread easy and fun. If you want to learn more about bread-making science, visit Wikipedia for detailed information. Enjoy baking—and don’t forget, your Ninja Blender can help you create many delicious breads for family and friends.


3 Comments