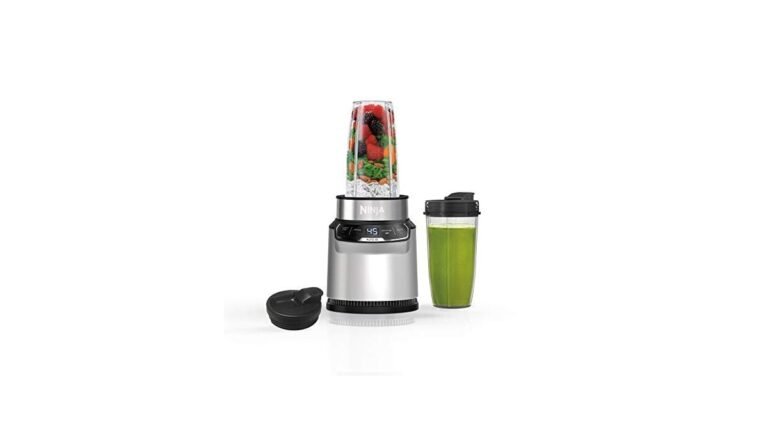
How To Remove Bottom Of Nutribullet Blender: Step By Step
To remove the bottom of a Nutribullet blender, flip the cup upside down, grip the blade assembly firmly, and turn it counterclockwise until it unscrews. The base of the motor unit doesn’t come off the same way — it’s held by screws and isn’t meant for routine removal.
Three things change this job: which part you mean (the blade base on the cup, or the motor unit’s housing), which model you own (600, 900 Pro, or a full-size blender), and whether the assembly is stuck from dried drink residue. This page covers the cup base in detail, explains when the motor housing is a job for a technician, and shows what to do when it won’t budge.
Who Needs To Remove The Nutribullet Bottom
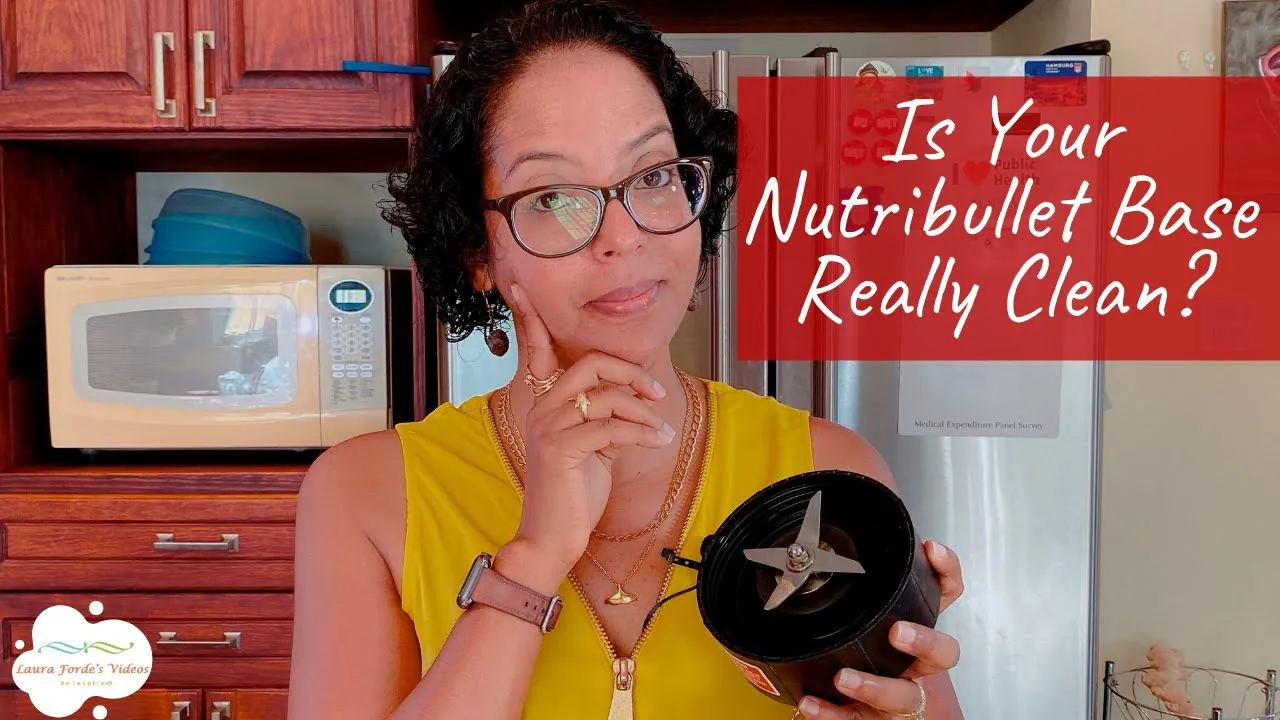
Two kinds of readers type this question. The first has a Nutribullet cup and wants the blade assembly off — to clean it properly, replace a worn seal, or free a smoothie that’s glued itself solid under the blade. That’s a 30-second job with no tools, and it’s what most people actually need.
The second reader has a problem with the motor base itself: a stripped drive socket, a leak inside the housing, or a unit that won’t spin. That’s different. The motor housing is held together with security screws, and opening it exposes wiring and the capacitor inside. That’s not a cleaning task — it’s a repair, and most people should contact Nutribullet’s customer service instead.
The rest of this page assumes the first reader. If your goal is cleaning or swapping the blade and gasket, everything below applies. If the motor base is the problem, read the section on when to stop and call for help.
What Decides Whether It Comes Off Easily
Four things decide how this goes, and the first one is where almost everyone goes wrong.
Which part you’re actually turning. The cup has two ends: the threaded end that locks onto the motor, and the blade assembly at the other end. The blade assembly is the “bottom” that unscrews. People grip the cup instead of the blade and wonder why nothing moves. Check first: turn the cup over and look at the plastic blade housing with the fins on it — that’s the part that turns.
Dried residue acting like glue. A smoothie left overnight under the blade dries into an adhesive ring. This is the single most common reason the assembly won’t turn. Run the sealed end under hot water for 30-60 seconds before you force anything.
Hand strength and grip. The assembly is sealed by a rubber gasket, so it’s tight when new. Dry hands on smooth plastic slip. A damp dishcloth or a jar-opener grip pad doubles your torque without tools.
Model differences. The 600 and 900 Pro cups work the same way. Full-size Nutribullet blenders use a different cup with a fixed bottom — check the underside of your cup before you start. If there’s no seam between the cup wall and the blade housing, yours doesn’t unscrew, and the whole cup-and-blade unit is replaced together.
Taking The Blade Assembly Off, Step By Step
Unplug the motor base first and move it out of reach, so the cup can’t be twisted onto power mid-job. Then work through these steps in order — each one confirms the last worked before you continue.
- Empty and rinse the cup. Pour out any contents and rinse with warm water. A full cup spills when you flip it.
- Flip the cup upside down on a counter, blade end down. Hold it steady with one hand.
- Grip the blade assembly, not the cup. Your hand goes on the plastic housing with the fins, below the cup wall.
- Turn counterclockwise (left when viewed from below) with firm, steady pressure. It usually breaks free within a quarter turn.
- Keep turning until it spins freely, then lift the blade assembly off the cup. You’ll see the rubber seal ring sitting in a groove.
- Lift out the seal with a fingernail to clean under it. Food hides in this groove — this is the step that makes the whole job worth doing.
- Wash both parts in warm soapy water, or on the top rack of the dishwasher if your model’s manual allows it. Check the manual — some gaskets degrade faster in dishwashers.
- Dry the seal and seat it back in its groove, evenly all the way round. A twisted seal leaks.
- Screw the assembly back on clockwise until it’s snug — hand-tight, not forced. Overtightening makes it just as hard to remove next time.
The judgement call is how tight is tight enough. The seal needs compression to hold liquid, so “snug” means firm resistance with your fingers, not a two-handed wrestle. If you need a tool to reopen it later, you’ve gone past hand-tight — and a strap wrench on plastic can crack the housing.
One limit to name plainly: if the blade assembly turns but the blade doesn’t spin with it, or the drive teeth on top are stripped, the assembly is worn out. Order a replacement blade assembly rather than trying to repair it — the blades themselves aren’t serviceable.
Different Situations, Same Job
Most readers arrive at this task from one of a handful of situations. The table below matches yours to what the job actually takes.
| Your situation | What to do | What it takes | Watch for |
|---|---|---|---|
| Routine deep clean | Unscrew blade, wash seal groove | 2-3 minutes | Seal goes back untwisted |
| Smoothie dried solid | Hot water soak 30-60 seconds first | 5 minutes | Don’t force it cold |
| Replacing worn gasket | Unscrew, lift old seal, press in new one | 5 minutes | Wrong-size seal leaks |
| Blade spins loose in housing | Stop — order replacement assembly | A few days’ wait | Stripped drive teeth |
| Cup won’t lock onto motor | Clean threads on both ends, check for cracks | 2 minutes | Cross-threading |
| Motor base itself faulty | Don’t open it — contact Nutribullet support | Phone call | Live wiring inside |
The last row is the one to respect. Everything else on this list is a hand-job with no tools; the motor base is not.
Details That Separate A Clean Job From A Messy One
The difference between a job that lasts and one you redo next week comes down to preparation and what you check while you’re in there.
Before you start
Experienced people dry the cup’s threaded end and the motor’s drive socket before reassembly. Liquid in either spot lets the cup spin without engaging, or lets the assembly slide while you think it’s tightening.
They also work over a towel, because the blade assembly holds a surprising amount of trapped water that dumps out the moment it separates from the cup. And they check the seal’s condition while it’s out: a gasket that’s flattened, cracked, or has a permanent set won’t seal again, no matter how carefully you tighten it.
While it’s apart
Check three things in the two minutes the unit is open. First, the seal groove — run a fingernail round it and clear anything you feel. Second, the blade bearings: spin the blade with a finger and listen. A gritty sound means smoothie residue has worked into the bearing, and that assembly is on borrowed time.
Third, the cup threads — hairline cracks at the threaded end mean the cup should be replaced, because a cracked cup under pressure can separate mid-blend. What experienced people leave alone is the motor base entirely. No screwdriver, no prying the drive socket, no poking at the safety interlocks.
When The Blade Assembly Won’t Turn
If the assembly resists after a firm hand-twist, match what you’re seeing to the fix below. Don’t reach for tools before you’ve tried the hot-water route.
| What you notice | What it usually means | What to do first | How to stop it happening again |
|---|---|---|---|
| Won’t budge, hands slip | Smooth grip, dried residue | Hot water soak, use a damp cloth | Rinse within an hour of blending |
| Turns a little, then locks | Dried drink in the threads | Soak threaded end upside down | Clean threads after each use |
| Blade spins but nothing blends | Worn drive teeth | Order a new blade assembly | Replace at first sign of slipping |
| Leaks after reassembly | Seal twisted or worn | Reseat the seal evenly | Inspect the seal each clean |
| Cup spins on motor without locking | Wet or dirty threads | Dry and wipe both thread sets | Store cup off the motor base |
| Plastic cracked at threads | Overtightened previously | Replace the cup | Hand-tight only, never tools |
If a strap wrench and a hot soak still won’t move it, stop there. Cracked plastic from forced removal turns a free fix into a replacement cup, and a slip near the blade can cut you.
The Rules That Apply Here
Nutribullet’s own guidance governs what you should and shouldn’t open. The company’s care manuals for the 600 and 900 Pro series say the blade assemblies and cups are washable, and that the motor base should never be immersed in water or opened by the user — that’s the line between user maintenance and service.
Nutribullet publishes care and use manuals for each model on its website; yours is the authority on whether your specific cup is dishwasher-safe, because that differs between models and generations.
Two safety rules come from how the machine works, not from the manual. First, never run the blender without the blade assembly correctly seated and sealed — an unsealed cup dumps its contents out the bottom, straight toward the motor’s air vents.
Second, the blades are sharp on both edges, and the assembly is hardest to grip exactly when it’s slippery with water. Grip the plastic housing, never the blade itself, and keep fingers off the blade edges when lifting the assembly out.
If your motor base is faulty, under warranty, or you smell burning, that’s the point to stop: contact Nutribullet’s customer service rather than opening the housing. Opening it yourself can void the warranty.
What This Job Really Costs
In time and money, this is one of the cheapest maintenance jobs in the kitchen. A routine unscrew-and-wash takes 2-3 minutes and costs nothing. A stuck assembly with a hot-water soak runs closer to 5-10 minutes.
A replacement gasket is a small purchase — check current prices on Nutribullet’s own parts page or with your model number at a parts retailer, because they vary and change. A full replacement blade assembly costs more and takes a few days to arrive; check the price for your exact model, since 600 and 900 Pro parts don’t always interchange.
What actually moves the cost is how long you leave residue sitting. Clean within an hour and this never costs more than a rinse. Leave a smoothie overnight, and you’re buying time with the hot-water soak, and occasionally buying a seal. The expensive version — a cracked cup or a cut hand from forcing a stuck assembly with a tool — is entirely avoidable and entirely self-inflicted.
Keeping It Right Afterwards
After reassembly, the seal is the part to watch. It should sit evenly in its groove with no twist, and it should look plump, not flattened. Each time you clean the assembly, give the seal one glance: if it’s cracked, permanently flattened, or leaves liquid rings under the cup after blending, replace it rather than overtightening to compensate. Overtightening against a worn seal is how housings crack.
Rinse the cup and blade within an hour of every use — that single habit removes nearly every problem in the table above. Store the cup off the motor base, with the blade assembly screwed on loosely and the cup upside down so it dries. If your manual allows dishwasher cleaning, top rack only, and check the seal’s condition more often, because repeated dishwasher heat ages the rubber faster than hand-washing.
When Unscrewing The Base Is The Wrong Move
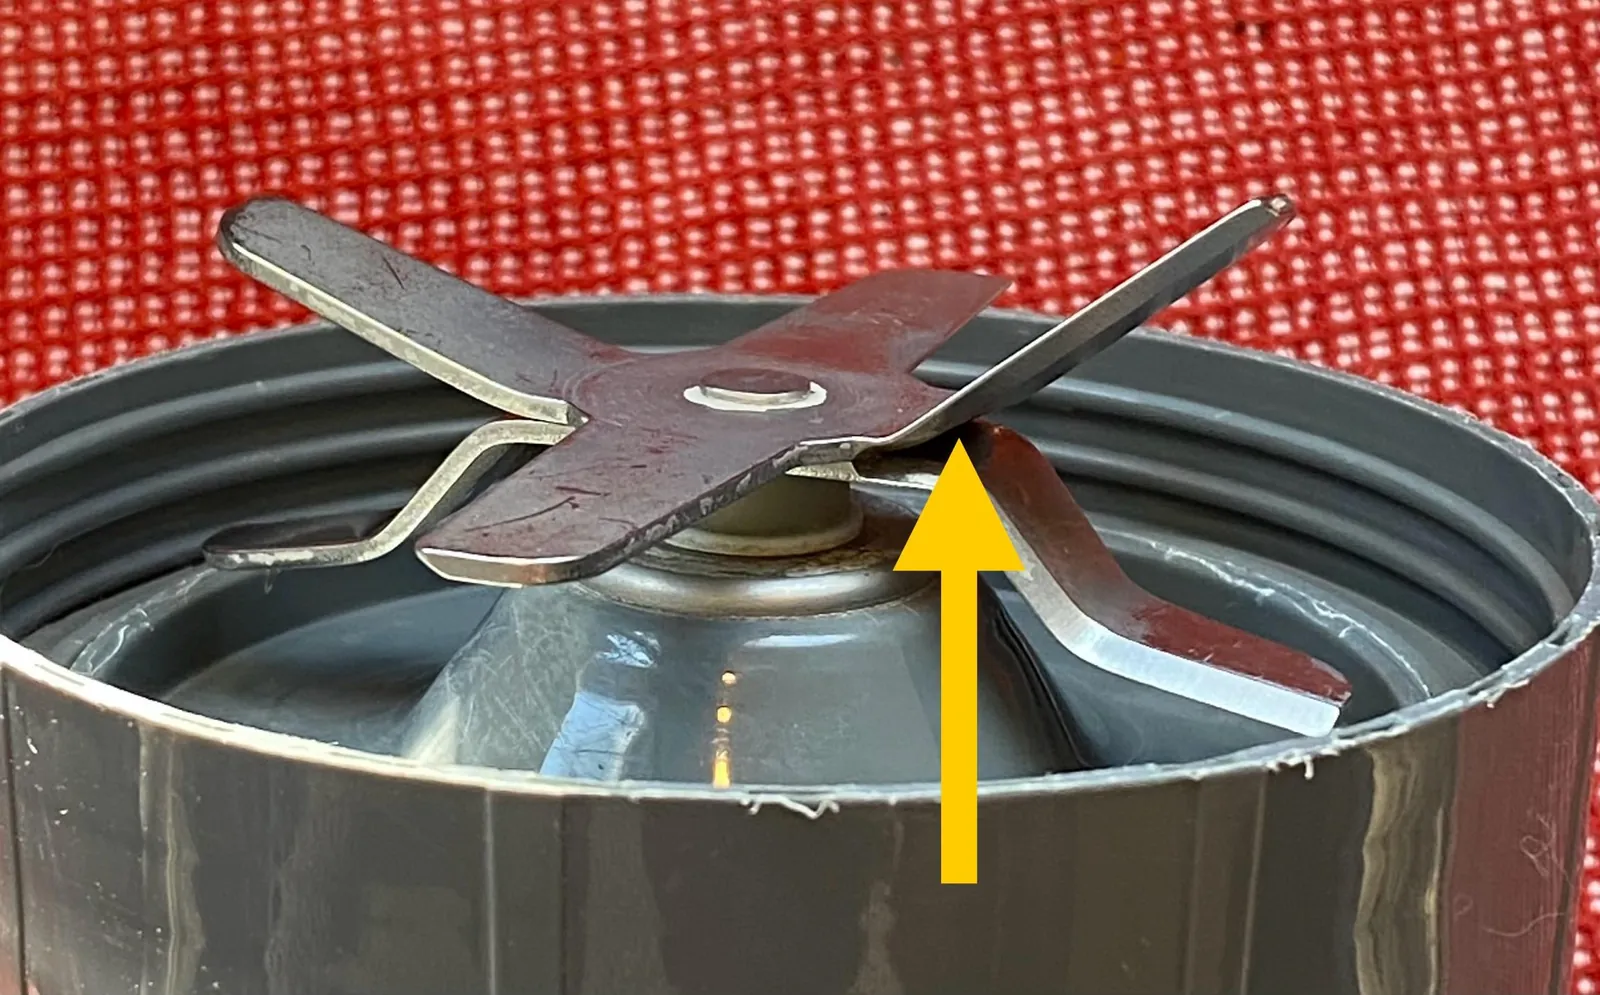
Three situations call for a different approach entirely. If the motor base itself is faulty — it won’t start, it smells of burning, or liquid has got inside it — don’t open the housing. That’s a warranty and electrical-safety matter, and Nutribullet’s customer service handles it properly; the internals carry live wiring and aren’t user-serviceable.
If your cup is a fixed-bottom model with no seam between cup and blade housing, there’s nothing to unscrew — the cup and blade are one part, and you replace the whole unit. And if the blade assembly’s drive teeth are stripped, no amount of cleaning or tightening helps; order the correct replacement assembly for your model instead of attempting a repair. In all three cases, the fix is a replacement or a support call, not a screwdriver.
Related guides
- How To Remove Blade From Ninja Blast Portable Blender: The Truth
- How To Remove Blade From Nutribullet Blender Pitcher
- How To Remove Cup From Ninja Blender: Easy Fixes That Work
Frequently asked questions
Which way do I turn the Nutribullet blade to remove it?
Counterclockwise, when you’re looking at the blade end of an upside-down cup. The same direction as loosening a standard jar lid. To reattach, turn it clockwise until it’s hand-snug — never force it past finger-tight.
How long does it take to remove the bottom of a Nutribullet cup?
About 30 seconds if it’s clean, and 5-10 minutes if dried smoothie has glued the threads. The hot-water soak for a stuck assembly runs 30-60 seconds before you try again. If a firm hand-twist and one soak haven’t moved it, don’t keep forcing.
Is it safe to take the blade assembly off by hand?
Yes — it’s designed to come off by hand, with no tools. Grip the plastic housing, not the blade, and keep fingers away from the blade edges. The only risk is a slip on a wet, slippery assembly, so use a dry cloth or grip pad if your hands slide.
Can I put the Nutribullet blade assembly in the dishwasher?
It depends on your model, so check the care manual for yours on Nutribullet’s website before you try. Some cups and assemblies are top-rack dishwasher-safe; others should be hand-washed. When in doubt, warm soapy water by hand is always safe and protects the rubber seal.
What happens if I overtighten the blade assembly?
You make it very hard to remove next time, and you risk cracking the plastic housing or the cup threads. Tighten until you feel firm finger resistance — hand-snug — and stop. If you need a tool or two hands to reopen it, it was too tight.
Does it matter if the rubber seal is upside down or twisted?
Yes, it matters. A twisted or poorly seated seal lets liquid leak down toward the motor when the cup is locked and inverted for blending. Reseat it so it sits evenly in its groove all the way round, and replace it if it’s flattened or cracked.
Why won’t my Nutribullet cup lock onto the motor base?
Usually wet, dirty, or cross-threaded threads on the cup or the motor’s drive socket. Dry and wipe both thread sets, then align and twist gently until it catches. If it still won’t lock, look for hairline cracks in the cup threads — a cracked cup needs replacing, not forcing.
Can I remove the motor base housing myself?
No. Nutribullet’s manuals treat the motor base as non-user-serviceable, and opening it exposes wiring and can void your warranty. If the base is faulty, under warranty, or smells of burning, contact Nutribullet’s customer service and let them handle the repair or replacement.
Start With A Rinse And A Grip
Unplug the motor base, flip the cup, and grip the plastic blade housing — not the cup — then turn counterclockwise. If it resists, a 30-60 second hot-water soak and a damp cloth for grip will move almost every stuck assembly.
Let it sit on the counter for ten minutes first.
Never run the motor to loosen a stuck blade. That spins the blade against your hand and burns out the base.
Stop and contact Nutribullet support the moment the problem is in the motor base itself, or if you smell burning.