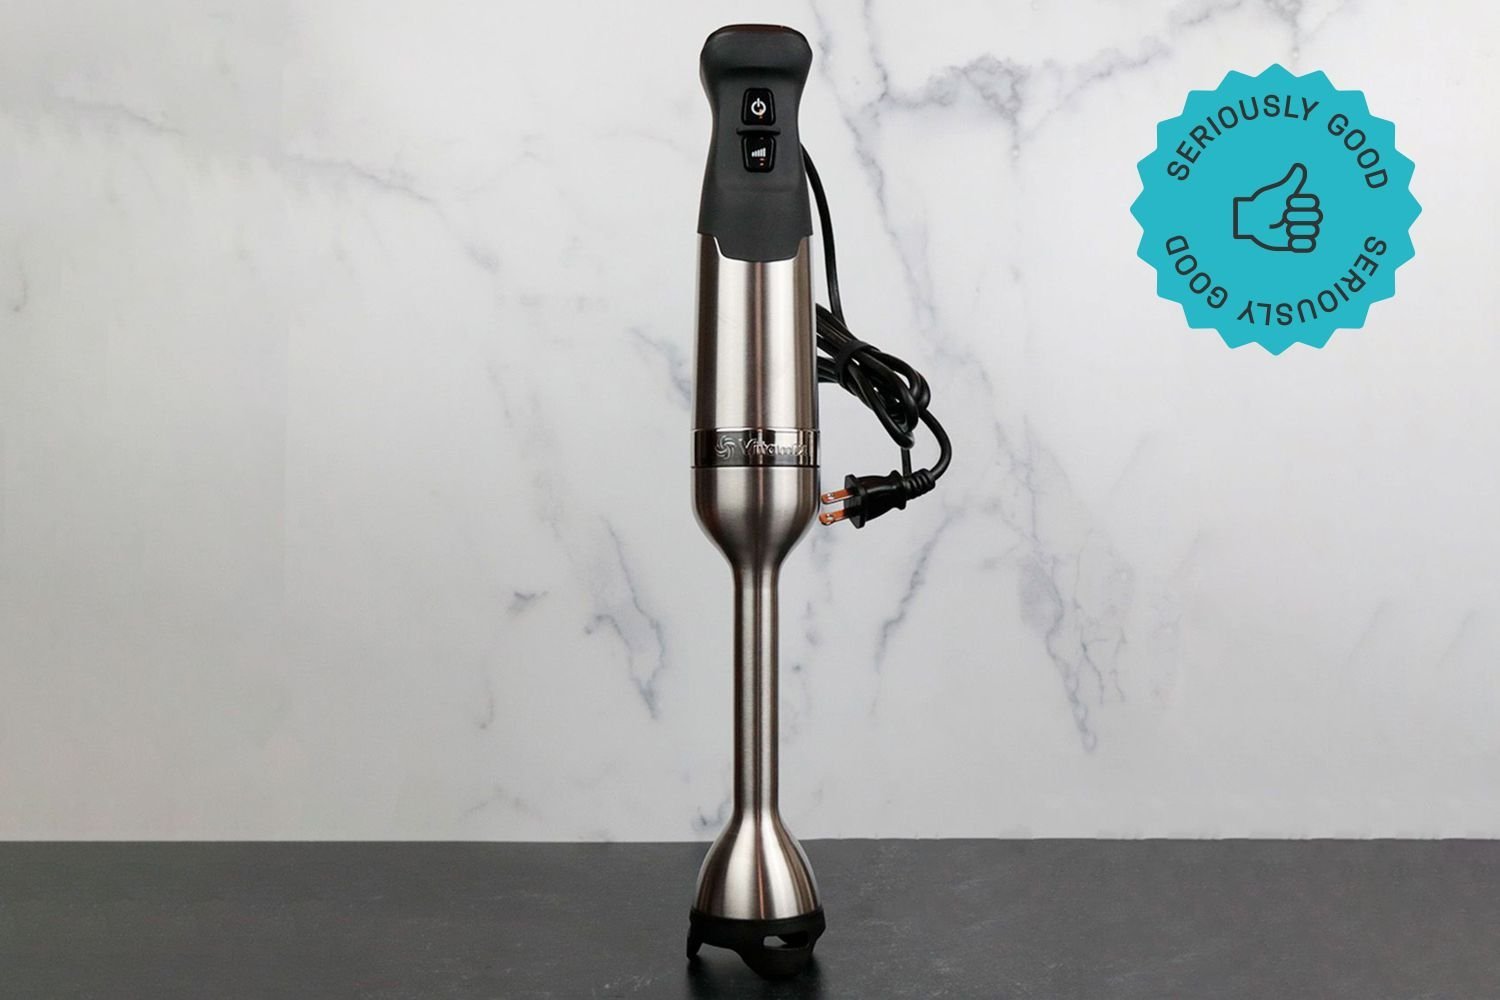
Is Vitamix Immersion Blender Worth It? Our Honest Verdict
The price for a high-end tool is high, but the vitamix immersion blender is worth it if you blend thick soups or nut butters several times a week. It offers better power and a smoother texture than cheaper models, which often struggle with fibrous ingredients or heavy textures.
Your choice depends on how often you cook and the types of food you prepare. If you only blend soft fruit for smoothies occasionally, a lower-cost model will likely serve you just as well as this premium one.
Is the Vitamix immersion blender worth your money
Home cooks who value kitchen efficiency and consistent results often look at this specific blender. These readers usually own other high-performance appliances and want a tool that matches that level of quality. You’re likely someone who spends significant time in the kitchen and finds that basic tools lack the motor strength to handle tough ingredients like raw kale, frozen berries, or thick root vegetable soups.
This page serves readers who want to know if the performance difference justifies the cost compared to entry-level immersion blenders. If you only need a tool for blending baby food or light dressings once a month, you aren’t the target user for this machine.
The advice here assumes you’re looking for a long-term addition to your kitchen that can handle heavy-duty tasks without overheating or stalling under pressure. We focus on the machine’s ability to replace larger blenders for small batches and daily kitchen tasks.
Why performance varies
The motor power is the main factor that changes how this tool performs in your kitchen. This blender features a 625-watt motor, which is significantly stronger than the 200-watt to 300-watt motors found in many basic hand blenders. If you blend small amounts of liquid, this power makes quick work of the job; if you work with thick, fibrous mixtures, the extra torque prevents the blade from getting stuck.
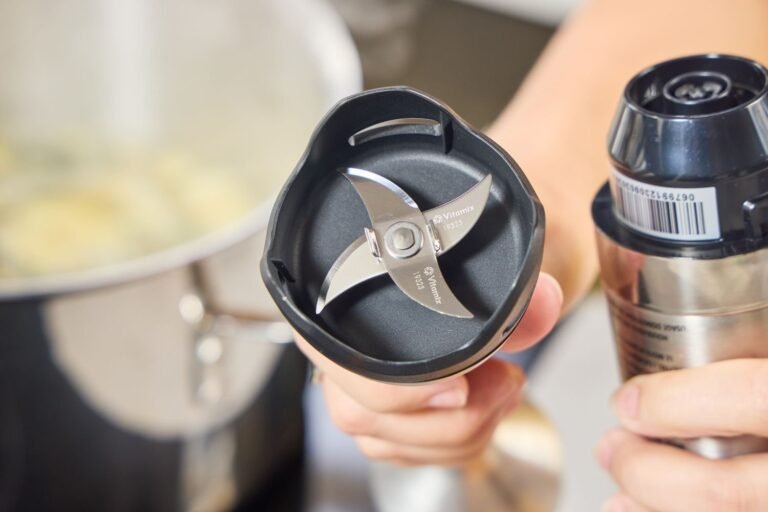
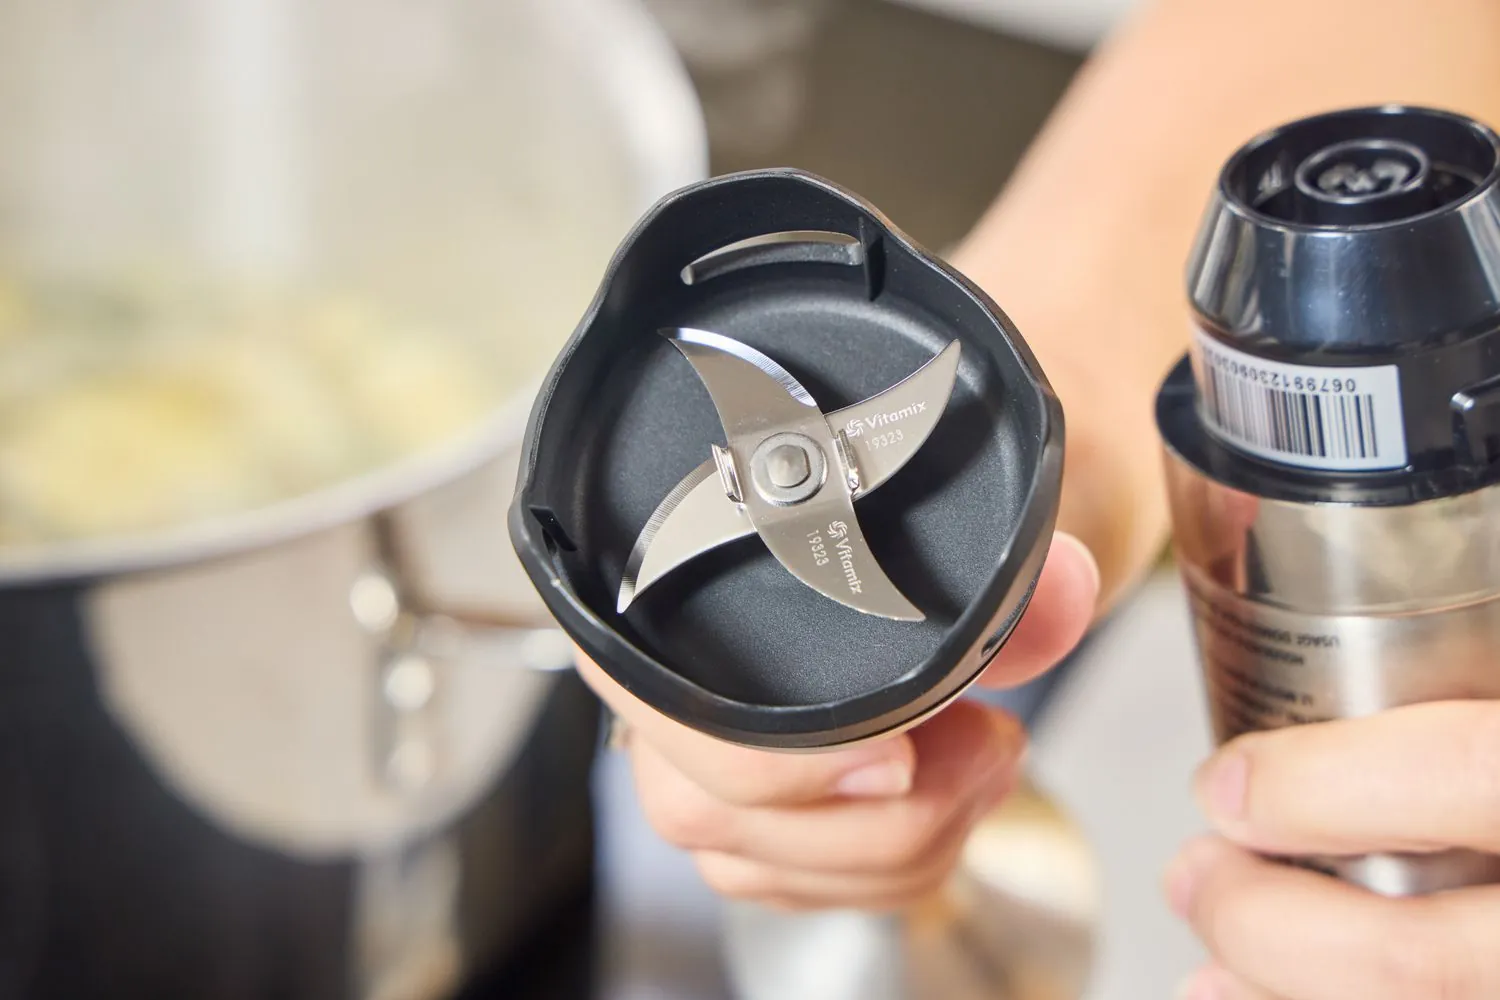
The blade design also matters for your final result. This model uses a four-pronged blade that pulls ingredients down into the vortex, ensuring that no chunks remain in your soup or sauce. People often make the mistake of trying to blend ingredients that are too hot or too large for any immersion blender to handle. This costs them time because they must stop to chop items smaller or wait for them to cool down.
The length of the blending shaft is another limit you should check. This model has a 9-inch shaft, which works well for deep pots, but it may feel awkward if you only use shallow bowls. Read the measurement on your most-used kitchen pots to see if this length offers you enough reach without hitting the bottom of your cookware.
How to use the blender
- Place your cooked vegetables or ingredients into a deep, narrow container to ensure the blades stay submerged.
- Ensure the liquid level covers the blade guard completely to avoid splashing or air bubbles.
- Plug the unit into a grounded outlet and select the lowest speed setting to begin.
- Keep the blade guard flat against the bottom of the pot for the first few seconds of blending.
- Move the blender in a slow, circular motion to draw ingredients toward the center.
- Increase the speed setting gradually if you need a smoother consistency for thick sauces.
- Stop blending once the texture is uniform, which usually takes 30 to 60 seconds for most soups.
- Unplug the unit before you remove the blade guard from the container to prevent accidental activation.
The secret to a professional result is patience during the final seconds. Most beginners stop as soon as the mixture looks combined, but continuing for an extra 10 seconds of blending creates a much silkier texture.
Performance by task
| Task | Speed setting | Time required | What to watch for |
|---|---|---|---|
| Smoothies | High | 45 seconds | Frozen fruit chunks |
| Tomato soup | Medium | 60 seconds | Consistent texture |
| Salad dressing | Low | 20 seconds | Proper emulsification |
| Nut butter | High | 3 minutes | Motor heat buildup |
| Whipped cream | Low | 60 seconds | Over-whipping risk |
For smoothies, pulse twice before switching to high to prevent air pockets from stalling the blades. If the mixture stops moving, you have added too much frozen fruit. Add two tablespoons of liquid and restart.
When making nut butter, watch the motor base for heat. If the housing feels hot to the touch, stop for five minutes. Pushing past this heat threshold can permanently damage the internal thermal fuse.
For whipped cream, stop when soft peaks form. If the cream looks grainy or yellow, you have gone too far and are seconds away from butter.
Use the low setting for dressings to keep the oil from breaking. If the dressing separates after resting, it wasn’t blended long enough to emulsify. You should see a uniform, opaque color throughout the jar. If you see streaks, blend for another ten seconds.
What makes a quality blend
Blade design efficiency
Experienced users know that the shape of the blade guard is just as important as the motor. A well-designed guard, like the one on this model, prevents the suction effect that pulls the blender toward the bottom of the pot. Beginners often struggle by lifting the blender too high, which creates a mess. Keeping the guard submerged at all times ensures the blades maintain constant contact with the food.
Managing heat and speed
Proper technique involves starting at the lowest speed and increasing it only after the initial chunks are broken down. This prevents the motor from straining and reduces the chance of overheating during long tasks. If you notice the handle getting warm to the touch, stop the machine for two minutes to let it cool. Experienced cooks never force the blender through frozen or extremely hard ingredients without adding enough liquid to help the flow.
Common blending issues
| What you notice | What it means | What to do first | How to stop it |
|---|---|---|---|
| Splashing liquid | Too much speed | Reduce speed setting | Keep blade submerged |
| Stuck ingredients | Too thick | Add more liquid | Use smaller batches |
| Motor gets hot | Overworked | Stop and cool | Pulse instead of run |
| Uneven texture | Improper motion | Move in circles | Blend for longer |
| Blade vibration | Loose connection | Check lock ring | Tighten before use |
If your motor smells like burning ozone, you have exceeded its thermal capacity. Stop immediately and wait twenty minutes before attempting another cycle. Running the motor until it shuts down permanently ruins the internal windings.
When blending fibrous greens, you often encounter a vortex that pulls air into the blades. If you see a hollow tunnel forming, stop and push the ingredients down with a tamper. If you lack one, use a long silicone spatula while the power is off.
Never fill your jar past the three-quarter mark. Ingredients expand during blending, and a packed jar creates pressure that blows the lid off. If you’re processing frozen fruit, add your liquid base first to create a cushion. This simple order of operations prevents the blades from locking up instantly upon activation.
Rules for safe operation
The United States Consumer Product Safety Commission provides general guidelines for all small kitchen appliances. Always keep the cord away from the hot surfaces of your stove, as melting can cause a short circuit. If you’re blending inside a pot on the stove, move the pot off the heat source before you start to avoid steam burns.
Never attempt to open the motor housing for repairs. This appliance contains electrical components that can hold a dangerous charge even when unplugged. If the motor fails to start or emits a burning smell, stop using it immediately and contact the manufacturer for warranty service.
Only attempt to clean the detachable blending shaft according to the manual; the motor handle must never be submerged in water or placed in a dishwasher. Always unplug the unit before attaching or removing blades to prevent accidental activation.
Cost and value factors
The cost of this blender is higher than standard models because of its specialized motor and durable materials. You’re paying for the ability to handle frozen fruit and fibrous greens without the motor burning out, a common failure point for cheaper units after only six months of hard use. If you only blend soft liquids or protein shakes, this investment offers no tangible performance benefit over a basic model.
The true value lies in the machine’s engineering lifespan. If you maintain the unit by cleaning the drive socket monthly and never running it past the maximum fill line, it can provide over a decade of daily service. Most users save money in the long run by avoiding the cycle of replacing a fifty-dollar blender every year.
To determine if this is right for you, track your usage for one month. If you blend thick ingredients more than three times a week, the cost-per-use drops below ten cents within the first year. Check the official website for the current suggested price before comparing it against third-party listings that may lack the full manufacturer warranty.
Keeping your blender clean
Maintenance is simple if you act quickly after each use. Fill a tall glass with warm water and a drop of dish soap, then run the blender on the lowest speed for 15 seconds. This removes most stuck food from the blades and the inside of the guard. Rinse the shaft under clean running water and let it air dry completely before you store it.
Never put the motor handle in the dishwasher, as this will destroy the internal electronics. If the handle gets dirty, wipe it with a damp cloth and dry it immediately. If you notice the blade rotation slowing down over time, check the bottom of the shaft for any buildup of dried food or debris that might be blocking the movement.
If the blades feel dull, avoid sharpening them yourself, as this ruins the factory-set angle. Simply replace the blade assembly if the motor strains during standard tasks.
When to choose a different tool
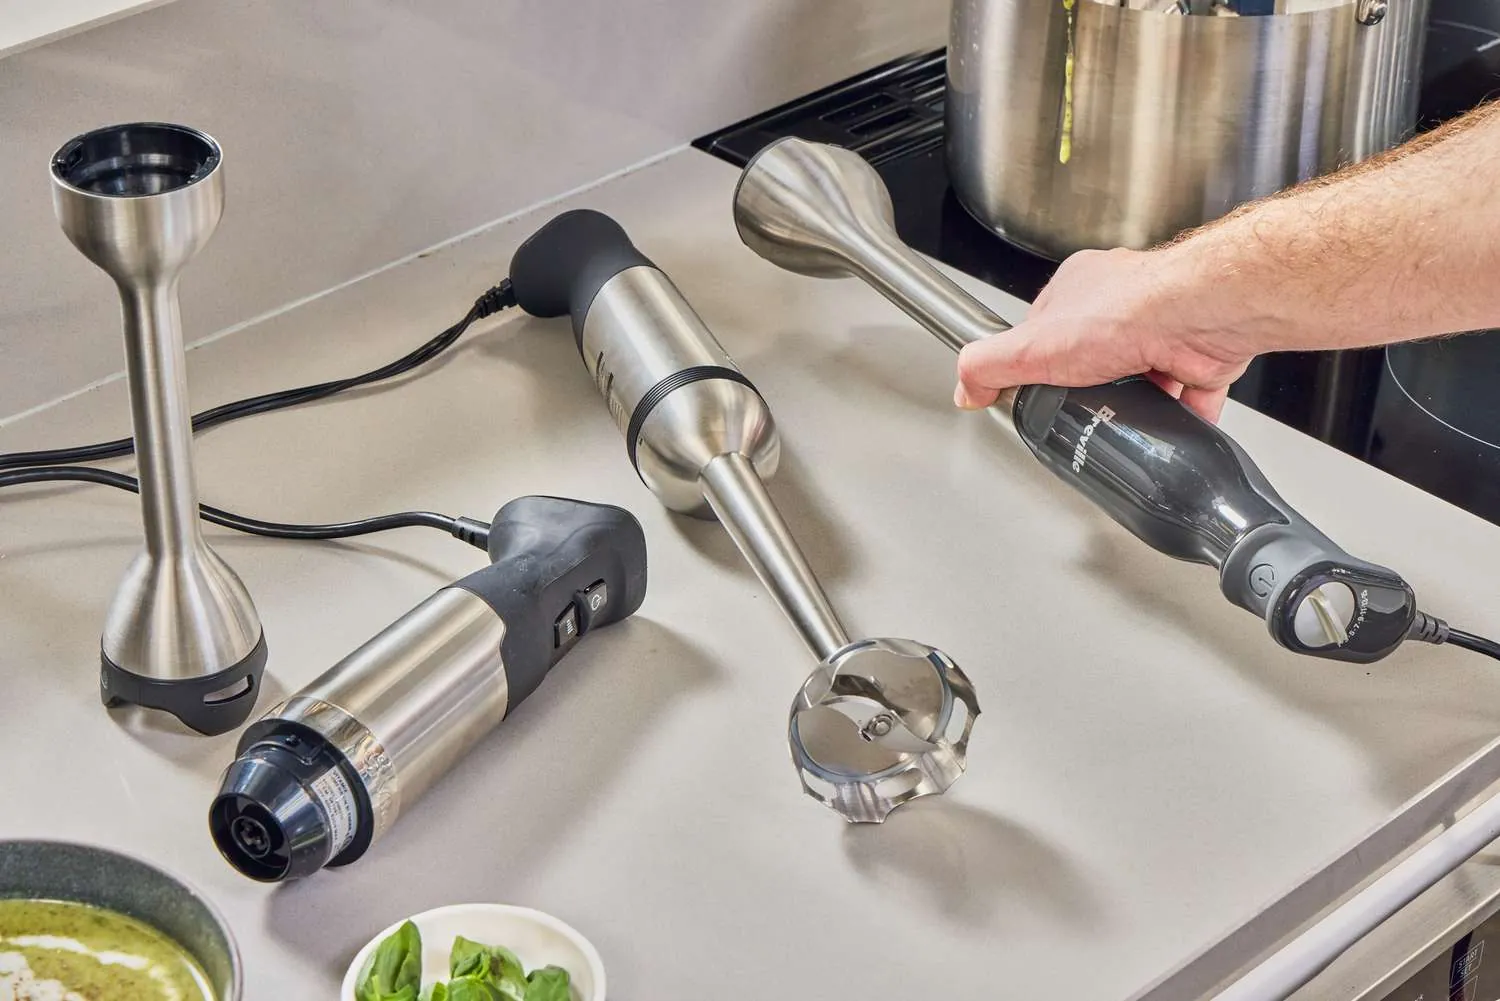
If you primarily need to crush ice or make large batches of frozen drinks for a party, a standard countertop blender is the better choice. Immersion blenders aren’t designed for the volume or the ice-crushing power that a full-sized jar provides. You should also look at a food processor if your main goal is chopping vegetables or making dough, as an immersion blender will turn those items into a puree rather than a chop.
Don’t try to force this tool to do the job of a heavy-duty food processor. Using it for tasks it wasn’t built for will void your warranty and likely result in poor texture. If you find yourself needing to process dry grains or large amounts of hard vegetables, invest in a dedicated appliance for those specific tasks instead.
Frequently asked questions
Is it safe to blend boiling hot soup?
Yes, it’s safe, but you must be careful to avoid steam burns. Turn off your heat source and wait for the soup to stop boiling before you insert the blender. Keep the blade guard fully submerged to prevent hot liquid from splashing onto your hands or arms.
Can this blender crush ice cubes?
No, it isn’t designed to crush ice cubes or frozen solid blocks. While it can handle small amounts of frozen fruit in a liquid base, trying to crush solid ice will dull the blades and put unnecessary strain on the motor. Use a standard countertop blender for ice-based tasks.
How often should I clean the blade area?
You should clean the blade area immediately after every single use. Food particles can dry and harden inside the blade guard, which becomes difficult to remove later. Simply running the blade in soapy water for 15 seconds after you finish will keep it clean and ready for your next project.
Why does the handle get warm?
The handle gets warm because the motor is working hard to blend thick or heavy ingredients. This is normal during longer blending sessions, but the motor should never feel hot to the touch. If it feels hot, stop for a few minutes to let the internal parts cool down before you continue.
Can I put the motor handle in water?
No, you must never submerge the motor handle in water or any other liquid. The internal electrical components aren’t sealed against water and doing so will destroy the unit. Only the detachable blending shaft is designed to be submerged in food or water during the cleaning process.
How long is the warranty for this model?
The warranty period for this product is typically three years, but you must check the documentation included in your specific box. Register your product on the manufacturer’s official website after purchase to ensure you have the correct coverage and access to support if you ever encounter a technical issue.
Conclusion
Start by testing your favorite soup recipe using this blender to see the difference in texture. You should expect a perfectly smooth, restaurant-quality consistency within one minute of blending. If you notice the motor struggling or the machine vibrating excessively, stop immediately and check that the shaft is locked firmly into the motor handle.