Why Is My Vitamix Not Blending Well: Simple Fixes That Work
The most common reason your Vitamix isn’t blending well is an air pocket trapped around the blades, usually caused by too little liquid or tightly packed ingredients. You can fix this instantly by using the tamper to push ingredients down while the machine is running.
Why your Vitamix isn’t blending well
| Cause | How common | How to confirm it | Fix it yourself? |
|---|---|---|---|
| Air pockets | Very common | Use tamper to push | Yes |
| Dull blades | Common | Check for dull edges | Yes (replace jar) |
| Overloading | Common | Motor slows or stops | Yes |
| Loose drive socket | Occasional | Socket spins independently | Yes |
| Damaged blade bearing | Rare | Grinding noise/leaking | No |
| Motor failure | Very rare | Burning smell/no power | No |
Air pockets occur when ingredients bridge over the blades, creating a vacuum. If your blender sounds like it’s revving high but the contents remain stationary, stop immediately. Adding just two ounces of extra liquid usually resolves the issue. If you continue running the motor while it cavitates, you risk overheating the internal components.
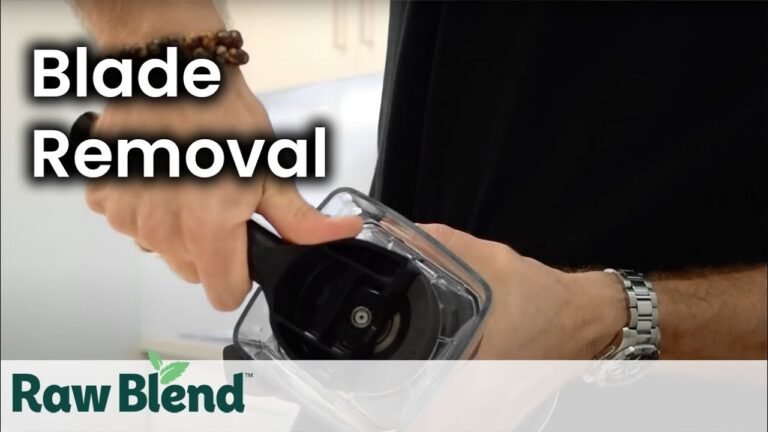
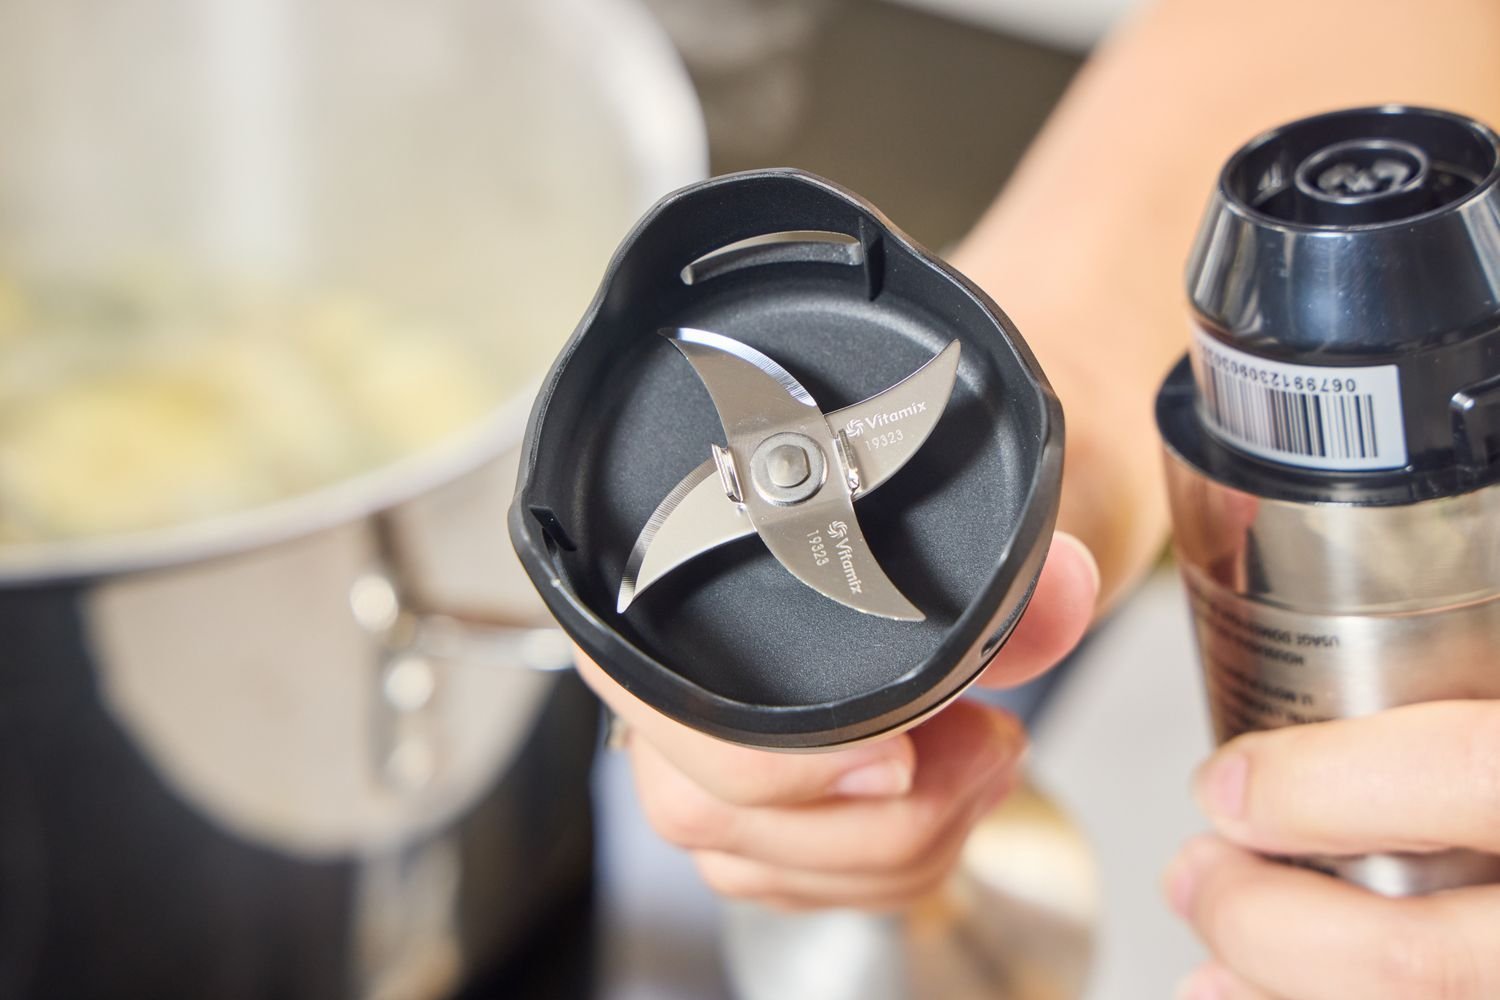
Dull blades often masquerade as motor issues. Run your thumb carefully along the edge of the blade assembly. If the metal feels rounded or smooth rather than sharp, the blender will struggle to pulverize fibrous greens, resulting in a gritty texture. Replace the jar or blade assembly based on your frequency of use; refer to your owner’s manual for the authoritative replacement schedule.
Overloading happens when the jar is packed too tightly, preventing a vortex. If the motor pitch drops significantly or the unit pulses, remove one-third of the ingredients. Always add liquids first and solids last to ensure the blades can catch the material.
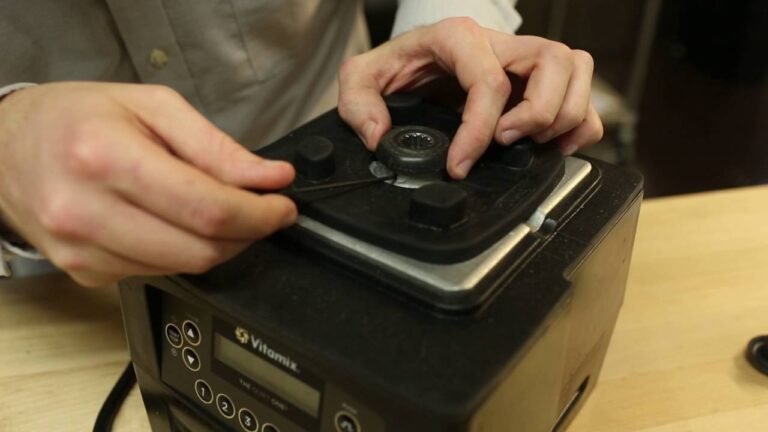
A loose drive socket prevents power transfer from the motor base to the jar. If the jar sits on the base but the blades don’t spin, check the rubber or plastic coupling. If it spins freely without engaging the jar, tighten the center nut or replace the socket. Ignoring this vibration often leads to permanent damage of the motor shaft.
Finally, a damaged blade bearing is identified by a high-pitched metallic screeching or dark liquid leaking from the base. This indicates the seal has failed. Don’t attempt a repair, as the bearing is typically press-fitted and requires specialized tools to reseal safely.
Air pockets and ingredient layering
Air pockets occur because the high-speed blades create a vacuum that pulls ingredients away from the center. This creates a dome of frozen or thick material that sits above the blades without moving. You’ll notice this when the motor makes a deep, straining sound, yet the ingredients in the jar remain stationary. Left unaddressed, this friction generates heat that can damage the motor’s internal seals over time.
To prevent this, always follow the order of ingredients recommended by Vitamix: liquids first, then soft fruits or greens, then heavy items like frozen fruit or ice on top. The liquid acts as a lubricant, creating the initial vortex that pulls the heavier solids downward.
If you’re blending dense nut butters or thick smoothie bowls, stop the machine immediately if you hear the pitch change. Running the motor against a stalled dome for more than 30 seconds risks an automatic thermal shutdown.
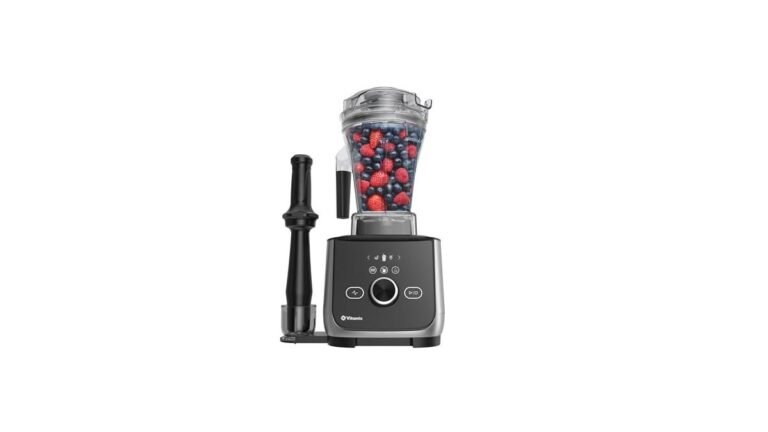
If the contents stop moving, insert the tamper through the lid opening and push the ingredients toward the blades while the motor is running at a low speed. Aim for the corners of the container, where ingredients are most likely to stick.
If the mixture is too thick to move even with the tamper, add 2 to 4 tablespoons of water or juice to help the vortex form. Don’t exceed this amount if you want to maintain a thick, spoonable consistency.
If you notice that the machine struggles even with thin liquids, check your tamper to ensure it’s the correct model for your specific container. Using a tamper that’s too short or the wrong shape won’t reach the blades effectively. If you have been using the same container for many years, the internal wall texture might have smoothed out. This wear can change how ingredients flow, making it harder to maintain a consistent blend.
If your container is older than five years and the walls feel smooth rather than slightly textured, the vortex will naturally lose its efficiency. In this case, you must manually assist the blend more frequently. If you’re blending high-fat ingredients like cashews or almonds, always start on the lowest speed setting. Increasing speed too quickly before the vortex is established is the primary cause of air pockets in professional kitchens.
Dull blades and container wear
Blades in a blender don’t cut through food like a knife; they pulverize it through extreme force and speed. Over time, the leading edges of the blade assembly become rounded due to constant contact with hard items like ice, frozen fruit, or even stray olive pits. You can test this by carefully touching the blade edges—if they feel smooth rather than crisp, the pulverizing efficiency has dropped.
If you notice that your smoothies are no longer smooth but contain small, chunky bits of fiber, this is a clear sign that the blades are no longer creating the fine particles they once did. If you find yourself needing to blend for twice as long as the manual suggests to reach the desired texture, the blades are likely worn.
Don’t attempt to sharpen the blades yourself. Filing the edges removes the factory-applied coating and alters the weight distribution of the assembly. This imbalance creates high-frequency vibrations that destroy the motor bearings and strip the drive socket. A replacement assembly costs significantly less than a new motor unit.
Container wear often accompanies dull blades, especially if you process abrasive ingredients like grains or fibrous greens. Look for a hazy, frosted appearance on the interior plastic walls. This isn’t just cosmetic; it indicates that the container has developed microscopic gouges. These crevices can make thorough cleaning more difficult.
If your container smells like old food even after a deep clean, the plastic is likely compromised. Replace the vessel immediately to avoid contamination. When sourcing a new container, check the model number printed on the base of your motor unit to ensure compatibility.
Use this rule to determine your next step: if the blending time has doubled or the texture remains gritty, replace the blade assembly. If the plastic interior feels rough to the touch or retains odors, replace the entire container. Mixing a new blade assembly with a deeply scratched container will cause the new blades to dull prematurely, as the compromised plastic wall creates friction that slows the rotation speed.
Always verify that the drive gear on the bottom of the new container matches the teeth on your motor base exactly. Even a slight mismatch will cause the gears to slip, leading to a loud grinding noise and eventual failure of the drive coupling.
Motor strain and overloading
The motor in your machine is designed to handle heavy loads, but it has a thermal protection system that triggers if it senses too much resistance. When you pack the container with too many frozen ingredients or thick nut butters, the motor draws more current than it can dissipate. If the machine suddenly shuts off, the thermal breaker has tripped to prevent the motor from burning out.
If you’re making nut butter or thick hummus, always use the tamper to keep the load moving. If you try to blend without the tamper and the motor slows down significantly, you’re asking the machine to do more than it can handle at that speed.
A common mistake is assuming the machine can process any volume as long as the lid is closed. If your ingredients form a bridge—a pocket of air around the blades—the motor spins freely but generates immense heat because the cooling fan is tied to the shaft speed. You must stop, clear the air pocket, and redistribute the contents.
If the motor smells like ozone or burning plastic, stop immediately and unplug the unit. This is a sign of an internal electrical issue rather than a simple user error. If your machine is still under warranty, contact the manufacturer directly for support. Never attempt to open the motor housing yourself, as this voids your warranty and exposes you to electrical hazards that aren’t safe for home repair.
Distinguish between a tripped breaker and a permanent failure by checking the reset button. Most professional-grade units have a small red or black switch on the base. If it clicks into place, the motor is likely fine. If the switch feels loose or offers no resistance, the internal thermal fuse has likely blown, which requires a professional service center to replace.
Always prioritize the liquid-to-solid ratio. If you’re blending dense fibers, ensure at least one-third of the container volume is liquid. This prevents the blades from stalling and keeps the motor operating within its intended torque range. If the machine emits a high-pitched whine, reduce the speed setting immediately. Running at high speeds under heavy resistance is the fastest way to degrade the internal copper windings.
Rare mechanical issues

A worn drive socket, the plastic gear atop the base, often slips when the teeth round off. You’ll hear a high-pitched whirring sound while the blades remain stationary. If you can rotate the socket by hand with minimal resistance, the internal splines have stripped. Replace this part immediately to prevent the motor from spinning freely, which creates excessive heat that can melt the surrounding housing.
Liquid pooling beneath the container indicates a compromised drive seal. Never attempt to tighten the nut at the base, as the seal is permanently pressed into the housing during manufacturing. If you ignore this, moisture will seep into the motor bearings, causing a distinct, metallic grinding noise. Once you see brown residue or rust streaks on the base, the motor is likely already compromised.
Persistent rattling during operation usually points to a loose blade assembly. Check this by unplugging the unit and attempting to wiggle the blade nut; any perceptible play means the bearings are failing. Running the machine in this state can cause the assembly to seize, potentially shattering the container. Take this to an authorized service center rather than attempting a DIY repair, as specialized tools are required to torque the blade nut correctly.
If the machine remains unresponsive after a thirty-minute cool-down, the internal thermal fuse has likely tripped. This fuse is a one-time safety device designed to prevent motor fires. If the unit refuses to power on after the motor has cooled, the thermal fuse may have permanently blown. Don’t bypass these safety components. If the unit smells like ozone or burning plastic, the motor windings have shorted, and the machine is beyond economical repair.
What a fix usually involves
Fixing blending issues often requires a simple change in your technique or a small investment in parts. If the problem is caused by air pockets, the fix is free and only requires you to adjust your ingredient ratio or use the tamper more effectively. This takes no extra time once you get the hang of the proper loading order.
If the container or blades are the issue, you’ll likely need to buy a replacement jar. The cost of a new container is minor compared to the price of a full blender, but it’s a significant purchase compared to a simple accessory like a new lid. You can find the correct part by checking the model name on your base and searching the official company website.
If the motor or drive socket is damaged, the repair may cost as much as a mid-range kitchen appliance. Before you commit to a professional repair, check the warranty status on your machine’s documentation. If the unit is out of warranty, get a written quote from an authorized repair shop.
If the quote is more than half the cost of a new machine, buying a new unit is often the better value. Always prioritize safety and avoid any repair that involves opening the main motor housing, as this is a task for trained technicians.
Most blending issues are resolved by adjusting your technique or liquid ratios. If you suspect mechanical wear, inspect the container base for leaks or loose components. For long-term performance, consult your owner’s manual for specific care instructions to keep your machine running smoothly.