How To Put Blade In Ninja Blender: Step-by-Step Guide
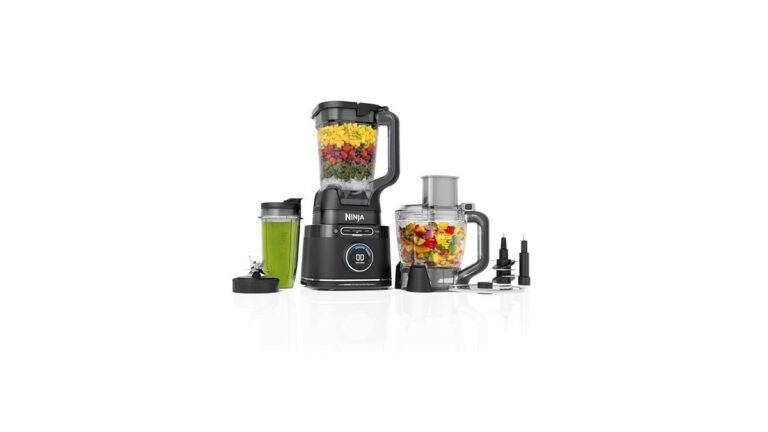
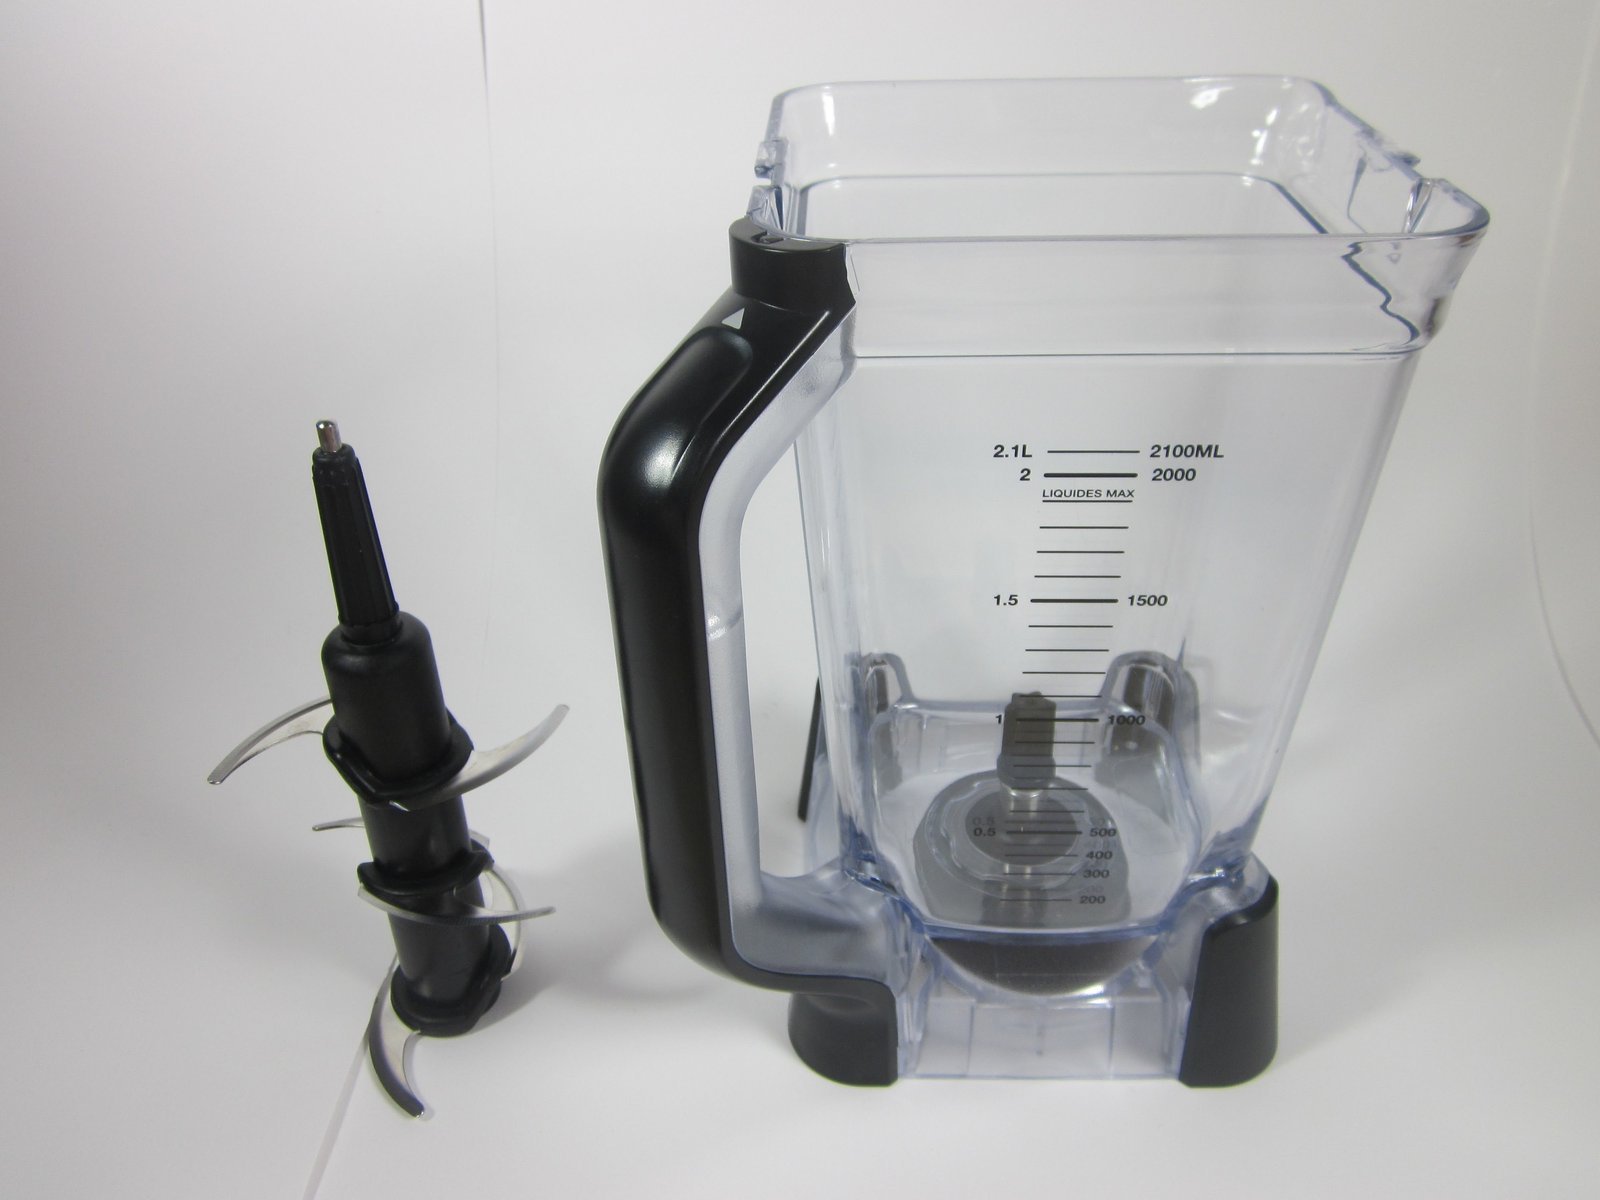
You can put a blade in a ninja blender by aligning the center column of the blade assembly with the drive shaft at the bottom of the pitcher and pressing down until it sits firmly in place. Most models require you to insert the blade before adding any ingredients, as the blades are removable for cleaning and storage. This process changes based on the specific pitcher size and whether your model uses a stacked blade assembly or a single-serve cup extractor.
Who needs to assemble a Ninja blender blade
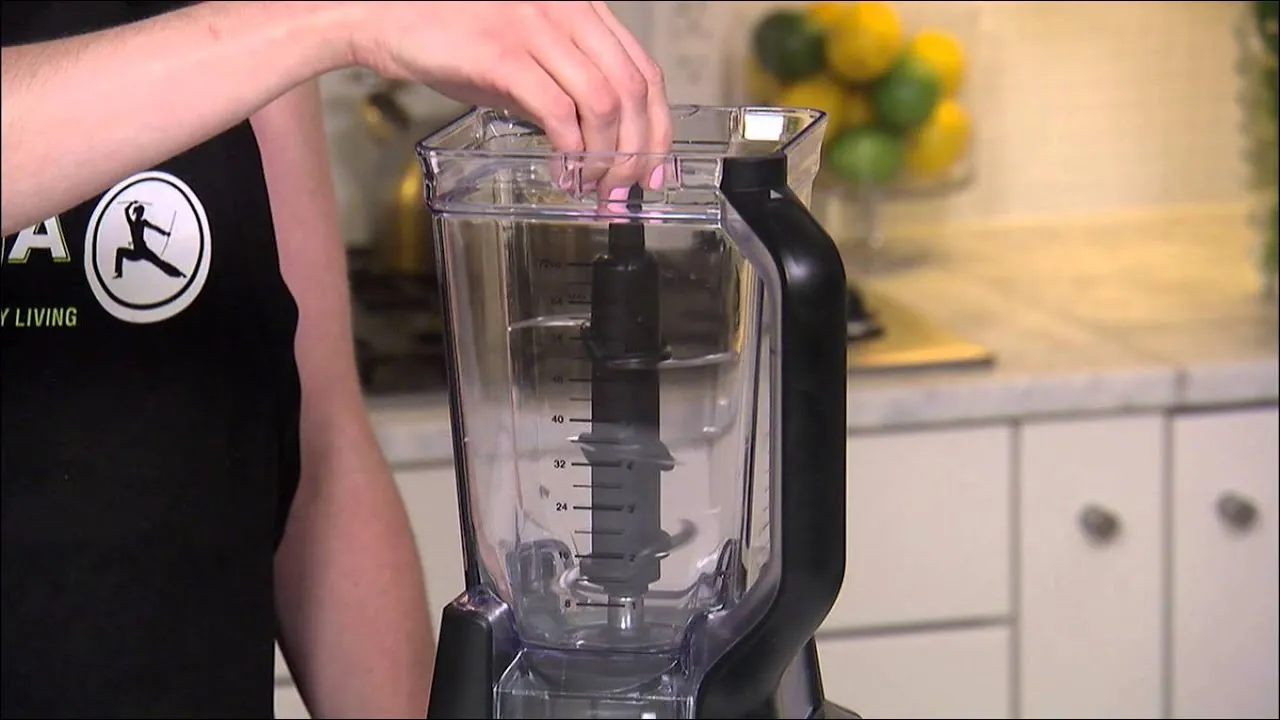
This guide serves home cooks who own a Ninja blender and need to safely install the blade assembly after cleaning or after taking it out of the box. You might be here because you recently washed your blender components and can’t remember how the blade fits back into the pitcher, or perhaps you’re unsure if you have pushed it down far enough.
This page is best for owners of standard full-size Ninja kitchen systems and professional blenders. If you’re using a portable, battery-operated personal blender, the blade is often built into the base and can’t be removed. Always check your specific owner’s manual if your model features a unique locking mechanism or a specialized dough blade, as those have different physical constraints.
We assume you have a clean, dry pitcher and a blade assembly that’s free of debris. If you’re struggling with a blade that won’t lock, stop and check the bottom of the pitcher for any leftover food particles that might be blocking the drive shaft.
Factors that change the outcome
The most important factor is the alignment of the hexagonal drive shaft at the center of the pitcher. If the blade isn’t centered perfectly over this shaft, it won’t sit flat, which prevents the lid from locking and stops the blender from starting. Always look down into the pitcher to ensure the blade assembly is level before you add anything.
The second factor is the type of blade assembly. Stacked blade assemblies for large pitchers have multiple tiers of blades and must be handled with care to avoid cuts. Single-serve cups use a separate extractor blade that you must screw onto the top of the cup once it’s filled. People often make the mistake of forcing a stacked blade assembly into the pitcher without checking for a clean connection, which can damage the plastic base of the blade.
The third factor is the cleanliness of the drive shaft. If dried food or sticky residue builds up inside the pitcher base, the blade won’t seat properly. You can check this by running your finger around the center shaft after washing.
If you feel any resistance or grit, clean the area with a soft brush and warm, soapy water. Always ensure the pitcher is on a flat surface while you install the blade so you don’t accidentally knock the pitcher over or push the blade in at an angle.
Steps to install the blade
- Place the empty blender pitcher on a flat, stable surface like a countertop.
- Hold the top of the blade assembly by the plastic handle or the central column, keeping your fingers away from the sharp edges.
- Lower the blade assembly vertically into the center of the pitcher.
- Align the hexagonal hole at the bottom of the blade assembly with the metal drive shaft protruding from the center of the pitcher floor.
- Push the blade assembly downward firmly until you feel it click or seat flush against the base of the pitcher.
- Gently twist the blade assembly slightly left and right to confirm it’s locked onto the shaft and doesn’t wobble.
- Add your ingredients into the pitcher, ensuring they’re distributed evenly around the blade column.
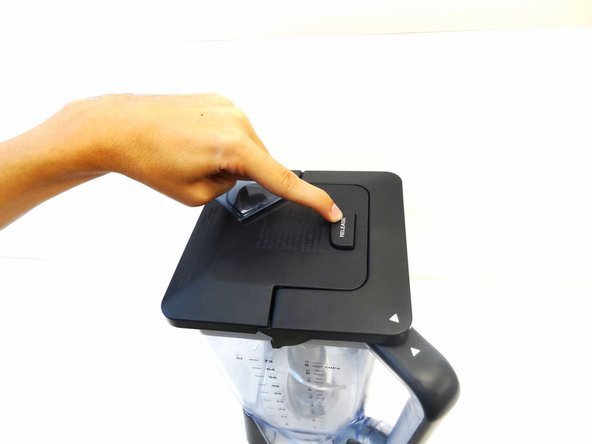
- Secure the lid on the pitcher and lock it into the base of the blender unit before plugging the power cord into the wall outlet.
The critical judgement call is verifying that the blade doesn’t lift up when you pull gently on the top center column. If it moves easily, it isn’t seated properly on the drive shaft.
Never attempt to force the blade into place if you feel significant resistance, as this could indicate that debris is stuck inside the coupling. If you encounter a mechanical issue where the blade won’t lock despite being clean, contact the Ninja customer support team for your specific model.
Blade variations at a glance
| Situation | Action | What it takes | What to watch for |
|---|---|---|---|
| Stacked assembly | Drop onto shaft | 5 seconds | Level seating |
| Extractor blade | Screw onto cup | 10 seconds | Tight seal |
| Dough blade | Insert onto shaft | 5 seconds | Plastic base |
| Single-serve cup | Fill, then invert | 15 seconds | Leakage at seal |
| Large pitcher | Insert before food | 5 seconds | Hidden debris |
The stacked assembly relies on gravity to lock into the central drive. If the blade wobbles, don’t force the lid. Lift and reseat it until the base sits flush against the bottom plate.
For the extractor blade, the most common mistake is cross-threading. If you feel resistance before the gasket touches the rim, stop immediately. Back it off and restart to prevent permanent damage to the plastic threads.
When using the dough blade, ensure the plastic base is clean. Any residual flour or oil creates a slip point that causes the blade to stall under heavy loads. Wipe the shaft with a dry cloth before each use.
With single-serve cups, check the rubber gasket for hair or grit. Even a microscopic particle prevents a proper seal, which can lead to leaks during high-speed blending. If you see liquid on the exterior, stop the machine and dry the threads.
The large pitcher requires a specific sequence. Always place the blade inside before adding ingredients. If you add food first, you risk trapping debris under the blade, which prevents it from seating properly and puts unnecessary strain on the motor coupling.
Details that separate good results
Handling the assembly safely
Experienced users always hold the blade assembly by the plastic center shaft or the top cap, never by the blades themselves. This prevents accidental cuts and ensures you have a better grip for aligning the unit with the drive shaft. Beginners often try to grab the blades, which makes it difficult to apply the steady, vertical pressure needed to seat the unit.
Checking for a solid connection
You should always confirm the blade is flush with the floor of the pitcher before adding any food. A common mistake is to drop the blade in, add ingredients, and then realize the blade is sitting at an angle. If the blender motor runs while the blade is tilted, it can strip the plastic gears on the underside of the blade assembly.
Troubleshooting common blade issues
| What you notice | What it means | What to do first | How to stop it |
|---|---|---|---|
| Blade wobbles | Not seated | Remove and realign | Clear shaft debris |
| Lid won’t lock | Blade too high | Press blade down | Check for obstructions |
| Grinding noise | Misalignment | Stop immediately | Re-seat the blade |
| Food not blending | Blade not spinning | Check coupling | Clean drive shaft |
| Blade stuck | Dried residue | Soak in warm water | Wash immediately |
If the blade wobbles, check the base of the shaft for microscopic food particles. If the vibration persists after cleaning, inspect the plastic housing for cracks. A hairline fracture here means the entire blade assembly must be replaced to prevent motor damage.
When the lid refuses to lock, don’t force the latch. Forcing it often snaps the plastic engagement tab, which is a permanent failure. Instead, verify the blade is pushed fully onto the drive spline. If the blade sits even one millimeter too high, the safety interlock prevents the motor from engaging.
Hearing a grinding noise is your signal to cut power instantly. This sound usually indicates that the metal-on-metal coupling has stripped. If you continue to run the unit, you risk shearing the motor drive pin, turning a simple blade replacement into a total appliance loss.
Finally, if your blade sticks, avoid using metal tools to pry it loose. You’ll likely scratch the seal, leading to leaks that corrode the internal bearings. Always use a wooden skewer to clear stubborn debris from the base.
Rules for safe operation
The primary rule for all blender blades is to treat them as sharp tools at all times, as stated in the safety instructions provided by SharkNinja. Never reach into the pitcher with your hand while the unit is plugged into the power source, even if the power is off. If the blade assembly shows cracks in the plastic base or the metal shaft appears bent, don’t use it; replace the component immediately to prevent damage to the blender’s motor.
Legal and safety guidelines from the manufacturer specify that you should never operate the blender without the lid fully locked in place. If you’re in a region with specific electrical safety standards, ensure your outlet is grounded to prevent shocks. If you need to replace a damaged blade, only purchase parts directly from the official store to ensure the fit is correct for your specific model number.
The cost of maintenance
The cost of maintaining your blade assembly is mostly measured in your time and the occasional purchase of a replacement unit. If you wash the blade by hand immediately after use, you avoid the cost of buying a new assembly, which is quite affordable compared to the alternative. This cost varies based on whether you’re replacing a standard stacked blade or a specialized dough hook.
A common mistake is running the assembly through a high-heat dishwasher cycle. The intense heat causes the rubber gaskets to lose their elasticity, leading to leaks that can ruin the motor base. Replacing a damaged motor base is expensive, far exceeding the price of a new blade.
If you see brown, rust-like staining around the base of the blades, the internal bearings have already failed. This is the definitive sign that the assembly is no longer food-safe and must be discarded immediately.
If you consistently leave the blade in the pitcher with food residue, the acidic or sticky nature of the ingredients can degrade the plastic and the rubber seals. This reduces the lifespan of the assembly and forces a premature replacement. By keeping the drive shaft clean and storing the blade in a safe, dry place when not in use, you maximize the value of your initial investment.
Use this simple decision rule to manage your equipment. If the blade spins freely and silently, a quick rinse is sufficient. If you hear a grinding noise or feel resistance when rotating the shaft by hand, don’t attempt to lubricate it.
These assemblies are sealed units; any attempt to open them compromises the sanitary integrity of the device. In that case, prioritize a replacement before the friction causes the assembly to seize entirely during operation, which can strip the internal drive gear and render the entire machine useless.
Keeping it right afterwards
After every use, remove the blade assembly and wash it with warm water and mild dish soap. Don’t leave the blade soaking in a sink full of water, as this can trap moisture inside the plastic column and encourage mold growth. Once the blade is clean, let it air dry completely before you store it or place it back into the pitcher.
The sign that your blade needs attention is a change in the sound of the motor or a decrease in blending performance. If you notice the blade spinning sluggishly, check the bottom of the assembly for built-up residue that may have bypassed the seal. If the rubber seal around the base looks loose or cracked, it’s time to order a replacement part from the manufacturer’s website to prevent leaks into the motor base.
When this is the wrong approach
If you’re attempting to blend extremely hard items like ice in a model not designed for it, or if you’re trying to process hot liquids that exceed the manufacturer’s temperature limit, this method won’t prevent motor failure. For high-heat applications or specialized commercial needs, you should use equipment rated for those tasks.
If the drive shaft inside the blender base itself is spinning without the blade attached, this is a mechanical failure that requires a professional technician. Never attempt to open the blender base to fix internal gears, as the capacitors inside can hold a lethal electric charge even when the unit is unplugged.
Most users mistakenly believe that a burning smell is merely the motor “breaking in.” In reality, if you detect an ozone or acrid plastic scent, you have already compromised the windings.
Use this simple decision rule: if the blender stalls for more than two seconds, stop immediately. If the mixture is too thick to circulate, add liquid until a vortex forms. If the motor sounds labored or the pitch drops, you’re overloading the torque capacity. Ignoring these audible warnings will destroy the thermal fuse, which is rarely a user-replaceable part.
Frequently asked questions
Can I put the blade in the dishwasher?
Most Ninja blade assemblies are top-rack dishwasher safe, but hand washing is recommended to keep the blades sharp for longer. Check your specific manual to confirm if your model’s blades are heat-sensitive, as high temperatures in the dishwasher can warp the plastic seals over time.
How do I know if the blade is locked?
The blade is locked when it sits flush against the bottom of the pitcher and doesn’t lift up when you pull the center column. You should feel a slight resistance or a mechanical snap when it properly aligns with the drive shaft at the base of the pitcher.
Is it safe to leave the blade in the pitcher?
It’s safe to store the blade in the pitcher as long as the pitcher is clean and dry to prevent corrosion. However, many users prefer to store the blade separately to protect the sharp edges and to keep the interior of the pitcher free from unnecessary scratches during storage.
Why is my blade not spinning?
The blade won’t spin if it isn’t properly seated on the drive shaft or if the lid isn’t fully locked. Check the bottom of the pitcher for debris that might be preventing the blade from sitting flat, and ensure the lid’s safety tab is engaged with the pitcher’s handle.
How long do blender blades last?
Blender blades typically last several years with proper cleaning and careful handling. The exact lifespan varies based on how often you use the blender and what type of ingredients you process, as grinding hard substances like frozen fruit or ice can dull the edges faster than soft foods.
What happens if I use a damaged blade?
Using a damaged blade can cause uneven processing and may lead to permanent damage to the blender’s motor coupling. If you see cracks in the plastic or notice the metal is bent, stop using the assembly immediately and order a new one from the manufacturer to avoid further issues.
Conclusion
Start by ensuring your pitcher is empty and the drive shaft is clean. Once you press the blade assembly down and feel it sit level on the shaft, you can safely add your ingredients and lock the lid. If the blade wobbles or the blender makes a loud grinding noise, stop the unit immediately and check the connection again before continuing.