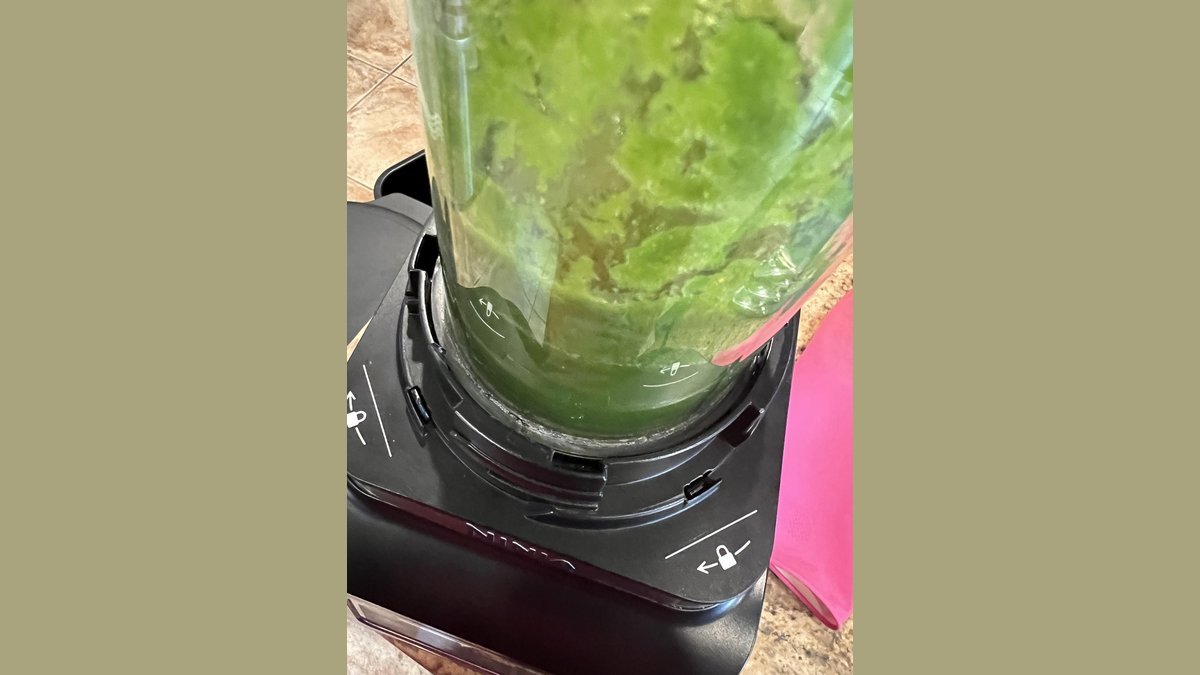
How To Remove Cup From Ninja Blender: Easy Fixes That Work
You can remove a stuck ninja blender cup by twisting it counter-clockwise while holding the base steady. If the container remains locked, check for food debris in the seal or use a warm, damp cloth to improve your grip.
The difficulty of this task depends on whether you have a standard single-serve cup or a larger pitcher with a locking lid. This guide helps users with Ninja brand blenders, assuming you have already unplugged the device to ensure safety.
Who Should Remove the Ninja Blender Cup
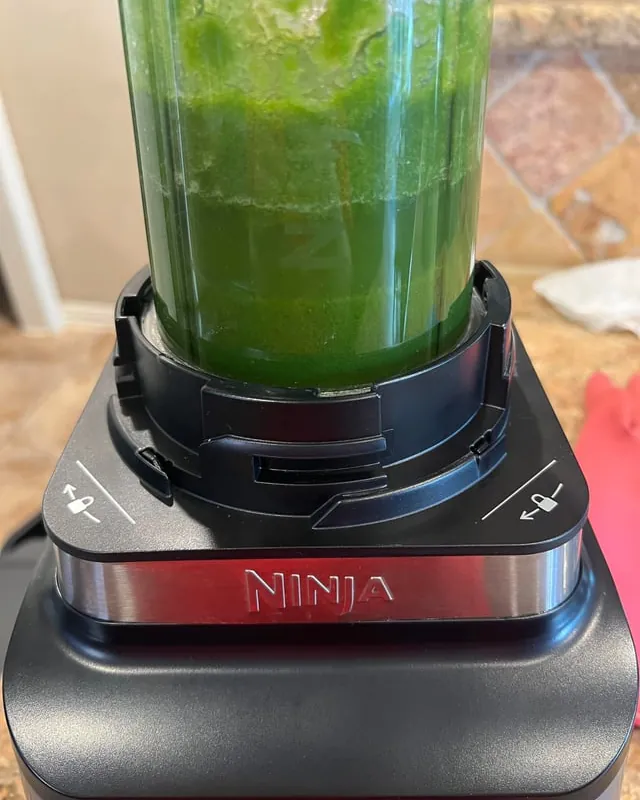
This guide serves users who find their blending container firmly stuck to the motor base after a cycle. If you’re a user who struggles to rotate the cup, you likely have a buildup of dried smoothie residue or a vacuum seal created during the blending process.
This page serves owners of standard Ninja personal blenders and professional-grade systems with locking mechanisms. It assumes your blender is currently unplugged and that the blade assembly is still attached inside the cup. If your blender base shows signs of physical damage, such as cracked plastic or loose components, you should stop and contact the manufacturer for support rather than forcing the cup.
This article isn’t for users attempting to repair internal electrical components, as a capacitor inside the base can hold a lethal charge even when the cord is disconnected. If you hear grinding noises or smell burning, don’t attempt to force the cup off yourself; take the unit to a certified service center.
Factors That Affect Removal
The most common factor influencing removal is the presence of dried food residue under the locking tabs. If the liquid you blended was thick or sticky, it can harden quickly, creating a physical bond between the cup and the motor base. You can check for this by looking closely at the plastic locking slots where the cup meets the base.
Another major factor is the temperature of the internal air. If you blended hot ingredients, the air inside the cup may have expanded and then contracted as it cooled, creating a vacuum seal. This makes the cup feel suctioned to the base.
The amount of force used is the factor people get wrong most often. Many users try to pull the cup straight up, which only engages the safety locks more firmly. The locking mechanism is designed to release only through a specific rotational movement. If you pull upward before the cup has rotated to the “unlock” position, you may damage the plastic tabs.
Finally, the condition of the rubber gasket can change how easily the cup moves. If the gasket is worn or misaligned, it may provide extra friction. You can determine your situation by rotating the cup a few degrees; if it moves freely but won’t lift, the issue is a vacuum. If it refuses to turn at all, the issue is debris.
Steps To Release The Cup
- Unplug the blender from the wall outlet to ensure the motor can’t start while you’re working.
- Use a warm, damp cloth to wipe the exterior of the cup and the base, removing any sticky residue from the surface.
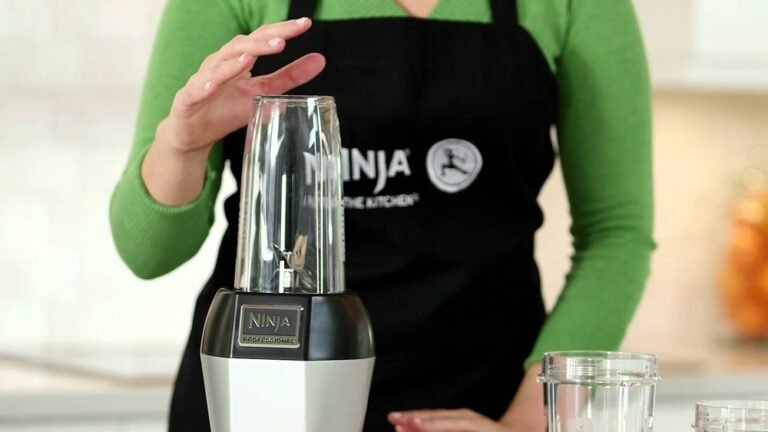
- Grip the cup firmly with both hands, placing your palms on opposite sides to ensure even pressure.
- Apply steady, firm pressure to rotate the cup counter-clockwise toward the “unlock” icon on the base.
- If the cup doesn’t move, tap the side of the cup lightly with the palm of your hand to break up any hardened sugar or food particles.
- If the cup still sticks, place a hot, damp towel around the base of the cup for 2 minutes to soften any dried material.
- Attempt to rotate the cup counter-clockwise again, keeping it level with the base.
- Once the cup reaches the unlock position, lift it straight up to remove it from the motor unit.
The judgement call here is knowing when to stop applying force. If you feel the plastic straining or hear cracking, you must stop immediately. Forcing a stuck cup can snap the locking tabs off the base, which permanently prevents the blender from engaging the safety switch. If the cup doesn’t turn with moderate hand pressure, seek help from a professional technician rather than using tools like pliers, which will likely break the plastic housing.
Situations And Solutions
| Situation | Action | Effort Level | Watch For |
|---|---|---|---|
| Dried food residue | Use warm cloth | Low | Sticky debris |
| Vacuum seal | Wait 5 minutes | Low | Hissing sound |
| Jammed locking tab | Gentle rotation | Medium | Plastic cracking |
| Misaligned gasket | Wiggle slightly | Medium | Rubber damage |
| Mechanical failure | Stop and call | High | Burning smell |
When cleaning dried residue, avoid abrasive pads that scratch the surface. Use a damp microfiber cloth instead. If the debris persists, apply a drop of mild dish soap and let it sit for exactly two minutes before wiping.
Regarding vacuum seals, the five-minute wait is essential for proper function. If you force the lid open prematurely, you risk breaking the internal vacuum pump. Listen for a distinct, high-pitched hiss; if you hear a grinding noise, the seal is likely compromised.
For jammed locking tabs, the most common mistake is applying downward pressure. This often snaps the plastic housing, which is inexpensive to replace compared to the entire unit. Instead, use a gentle clockwise rotation to release the tension. If the tab remains stuck, stop immediately to avoid permanent damage.
If the gasket is misaligned, look for visible gaps along the perimeter. A properly seated gasket should sit flush against the rim. If you see white stress marks on the rubber, you have pushed too hard.
Finally, mechanical failure is rare but serious. If you detect a burning smell or see smoke, unplug the unit immediately. Don’t attempt a DIY repair, as this voids your warranty and creates a significant fire hazard.
Details That Matter
Preparing For The Twist
Experienced users always ensure their hands are completely dry before gripping the cup. If your hands are wet or greasy, you’ll lose your grip and potentially cause the unit to slip, which increases the risk of the cup hitting the counter. Beginners often rush this step, but taking a moment to dry your hands or use a kitchen towel ensures you can apply the necessary torque to the cup.
Maintaining The Alignment
Keep the cup perfectly level while you attempt to rotate it. If you tilt the cup while it’s still locked, you create uneven pressure on the plastic tabs, which can cause them to jam further. Experienced users keep their eyes on the locking icons on the base to ensure they’re moving the cup in the correct direction. If the cup stops moving, stop turning and check if you have accidentally pushed it toward the “lock” position instead.
Solving Common Issues
| What you notice | What it usually means | What to do first | How to stop it |
|---|---|---|---|
| Cup won’t turn | Dried food buildup | Use warm damp cloth | Rinse after use |
| Loud clicking | Damaged locking tab | Stop and inspect | Don’t force it |
| Cup feels stuck | Vacuum pressure | Let unit cool | Vent hot steam |
| Base moves | Slippery surface | Use rubber mat | Steady the base |
| Grinding noise | Internal debris | Unplug and clean | Check base cavity |
If the cup refuses to turn, check the threads for microscopic sugar crystals. These act like sandpaper, locking the plastic mechanism tight. If you force it, you risk stripping the threads entirely, which renders the unit useless.
A loud clicking sound almost always indicates that a locking tab has snapped off. If you hear this, stop the motor immediately. Running the unit with a broken tab causes the cup to wobble, which quickly destroys the motor coupling.
When the cup feels stuck, don’t pull harder. This is a vacuum seal caused by cooling air inside the chamber. Wait exactly ten minutes for the internal pressure to equalize. If you yank it, you risk damaging the rubber gasket.
Base movement is usually a sign of a dirty countertop. Even a thin layer of grease makes the rubber feet lose their grip. Wipe your surface with isopropyl alcohol before starting. If the unit still slides, your rubber feet have likely hardened and need a replacement set.
Finally, grinding noises suggest debris has fallen into the base cavity. If you see liquid down there, unplug it immediately to prevent a short circuit. Never submerge the base in water to clean it. Instead, use compressed air to clear the internal housing.
Rules For Safe Handling
The safety mechanisms in Ninja blenders are governed by the manufacturer’s operational guidelines, which emphasize that the unit must be on a flat, dry surface during use. Vibration on an uneven surface causes the suction feet to lose their grip, which can lead to the unit tipping over during high-speed cycles.
According to Ninja Kitchen, you should never attempt to bypass the safety interlock switches. These are designed to prevent the motor from starting unless the cup is locked in place. If the blender fails to engage, check the alignment arrows on the cup and base. If they aren’t perfectly flush, the safety pin won’t depress, and the motor will remain dead.
If you find the cup is physically impossible to remove even after cleaning the exterior, don’t use tools to pry it open. Prying can damage the plastic housing and void the manufacturer’s warranty. If your blender is still under the warranty period, check the official Ninja Kitchen support page for your specific model to see if the issue is covered.
Never open the motor base housing yourself. The internal components aren’t user-serviceable and contain capacitors that store electricity even when the device is unplugged. Attempting a DIY repair risks a severe electrical shock or permanent damage to the motor assembly. If you smell burning plastic or hear grinding noises, stop use immediately and contact professional support. These signs indicate that the internal cooling fan is obstructed or the motor coupling is failing.
Understanding The Costs
The cost of this problem is primarily your time and the potential risk of damaging the blender’s plastic locking system. If you force the cup and break the tabs on the base, you may need to replace the entire motor unit, which is inexpensive relative to buying a new appliance. You can look up the price of a replacement base on the official Ninja Kitchen parts store to see the current value of your unit.
The most common mistake is waiting for the blender to cool down before cleaning. This allows residual sugars and proteins to harden into a concrete-like seal around the blade assembly. If you feel resistance, stop immediately. Running the base under hot water for thirty seconds can often loosen the dried debris enough to release the locking mechanism without snapping the plastic tabs.
Preventing this cost is simple: never let food sit in the cup after blending, and always rinse the cup and blade assembly immediately. The effort required to clean the cup right away is minimal compared to the cost of replacing a broken blender base.
If you frequently blend thick ingredients, you might consider upgrading to a larger pitcher model that’s easier to disassemble. In that case, the higher upfront cost of a pitcher model is cheaper than replacing your motor base.
Maintaining Your Blender
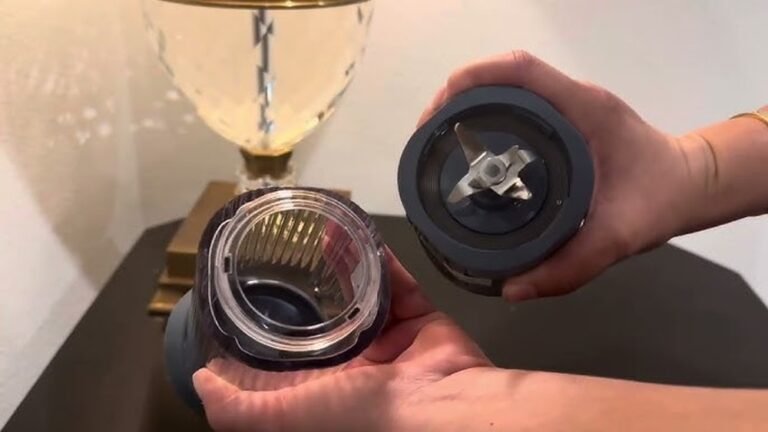
To keep your blender working correctly, you should rinse the cup and blade assembly under warm water immediately after every use. This prevents food particles from entering the locking mechanism and hardening into glue. If you see white stress marks or small cracks, the cup may be reaching the end of its life and should be replaced.
You can find replacement cups and gaskets on the official Ninja website by searching for your blender’s model number, which is usually located on a sticker on the bottom of the motor base. Never put the motor base in the dishwasher, as water can damage the electrical components inside. Only the cups, lids, and blade assemblies are typically dishwasher safe, but you should verify this in your specific user manual, as some parts are hand-wash only to prevent heat warping.
When To Choose Another Method
If you notice that the blade assembly itself is loose or wobbly inside the cup, stop using the blender immediately. This indicates a failure of the internal bearing, which can’t be fixed by cleaning or rotating the cup. In this case, you should contact Ninja customer support to report the issue, as a loose blade is a safety hazard.
If you’re struggling to remove the cup because the entire unit is unstable or vibrating excessively during use, your blender may be placed on an uneven surface. Moving the blender to a solid, level granite or laminate countertop will often solve the vibration issue.
If you have tried these steps and the cup remains stuck, it’s time to stop and reach out to a professional appliance repair technician. Attempting to force a mechanical failure can cause the unit to shatter or overheat, leading to an electrical short.
A common mistake is using a rubber mallet or heavy tool to jar the cup loose. This usually cracks the plastic housing, permanently ruining the seal. If the cup doesn’t turn with firm, hand-applied pressure, the internal locking pins have likely sheared off. At this stage, don’t attempt to pry the base open. Forcing the mechanism will destroy the motor coupling, which costs more to replace than the blender itself.
Frequently asked questions
How long should I wait if the cup is vacuum sealed?
You should wait about 5 minutes for the unit to cool down. As the air inside the container cools, the pressure inside will equalize, making it much easier to twist the cup off the base.
Is it safe to use a wrench to turn the cup?
It isn’t safe to use a wrench or any metal tool on the plastic cup. Using tools to force the cup will likely shatter the plastic tabs, which are delicate and designed only for hand pressure.
What happens if I force the cup and it breaks?
If you break the plastic locking tabs, the blender will no longer recognize that the cup is attached. This triggers the safety interlock, and the motor will refuse to start until you replace the damaged base or cup.
Why is my cup stuck even when it’s clean?
The cup is likely stuck because of a vacuum seal or a tiny piece of debris caught in the locking groove. Try wiggling the cup back and forth gently instead of pulling up to see if you can dislodge the obstruction.
Does it matter which way I turn the cup?
Yes, you must turn the cup counter-clockwise to unlock it. Turning it clockwise will tighten the cup further into the locking position, making it more difficult to remove.
How can I tell if the blade is the problem?
If you hear a grinding noise or feel resistance that feels metallic rather than plastic, the blade assembly may be failing. If the cup turns but the contents don’t blend smoothly, stop using it immediately.
Conclusion
Start by ensuring the blender is unplugged and the base is on a level surface. Apply firm, steady pressure to rotate the cup counter-clockwise, and look for the unlock icon to confirm movement. If the cup doesn’t turn after you have cleaned the area and let it cool, stop and contact a professional technician for help.