How To Remove Blade From Ninja Blender: A Simple Step Guide
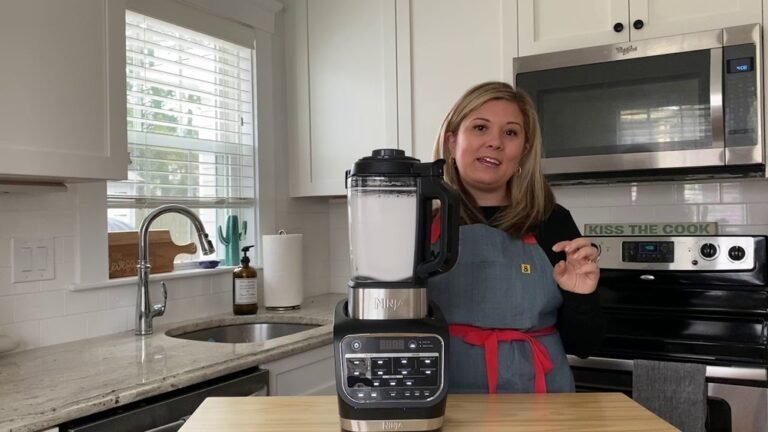
To safely remove the blade from a ninja blender, you must press the release button or twist the assembly clockwise depending on your specific model. Most modern Ninja systems require you to push the release tab on the handle or base to unlock the gear mechanism before pulling the blade unit upward.
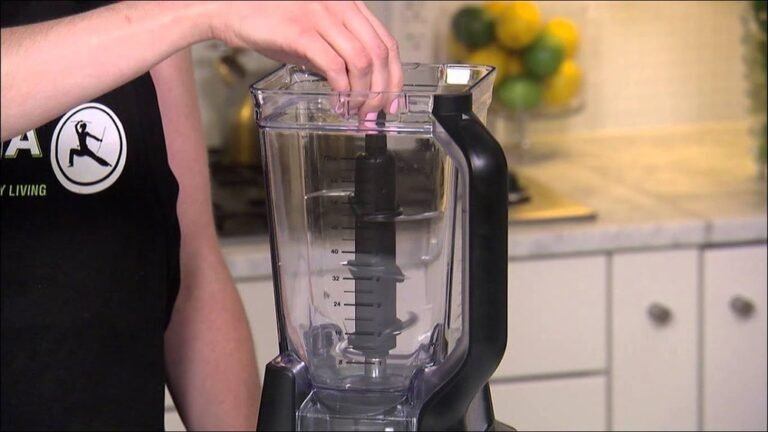
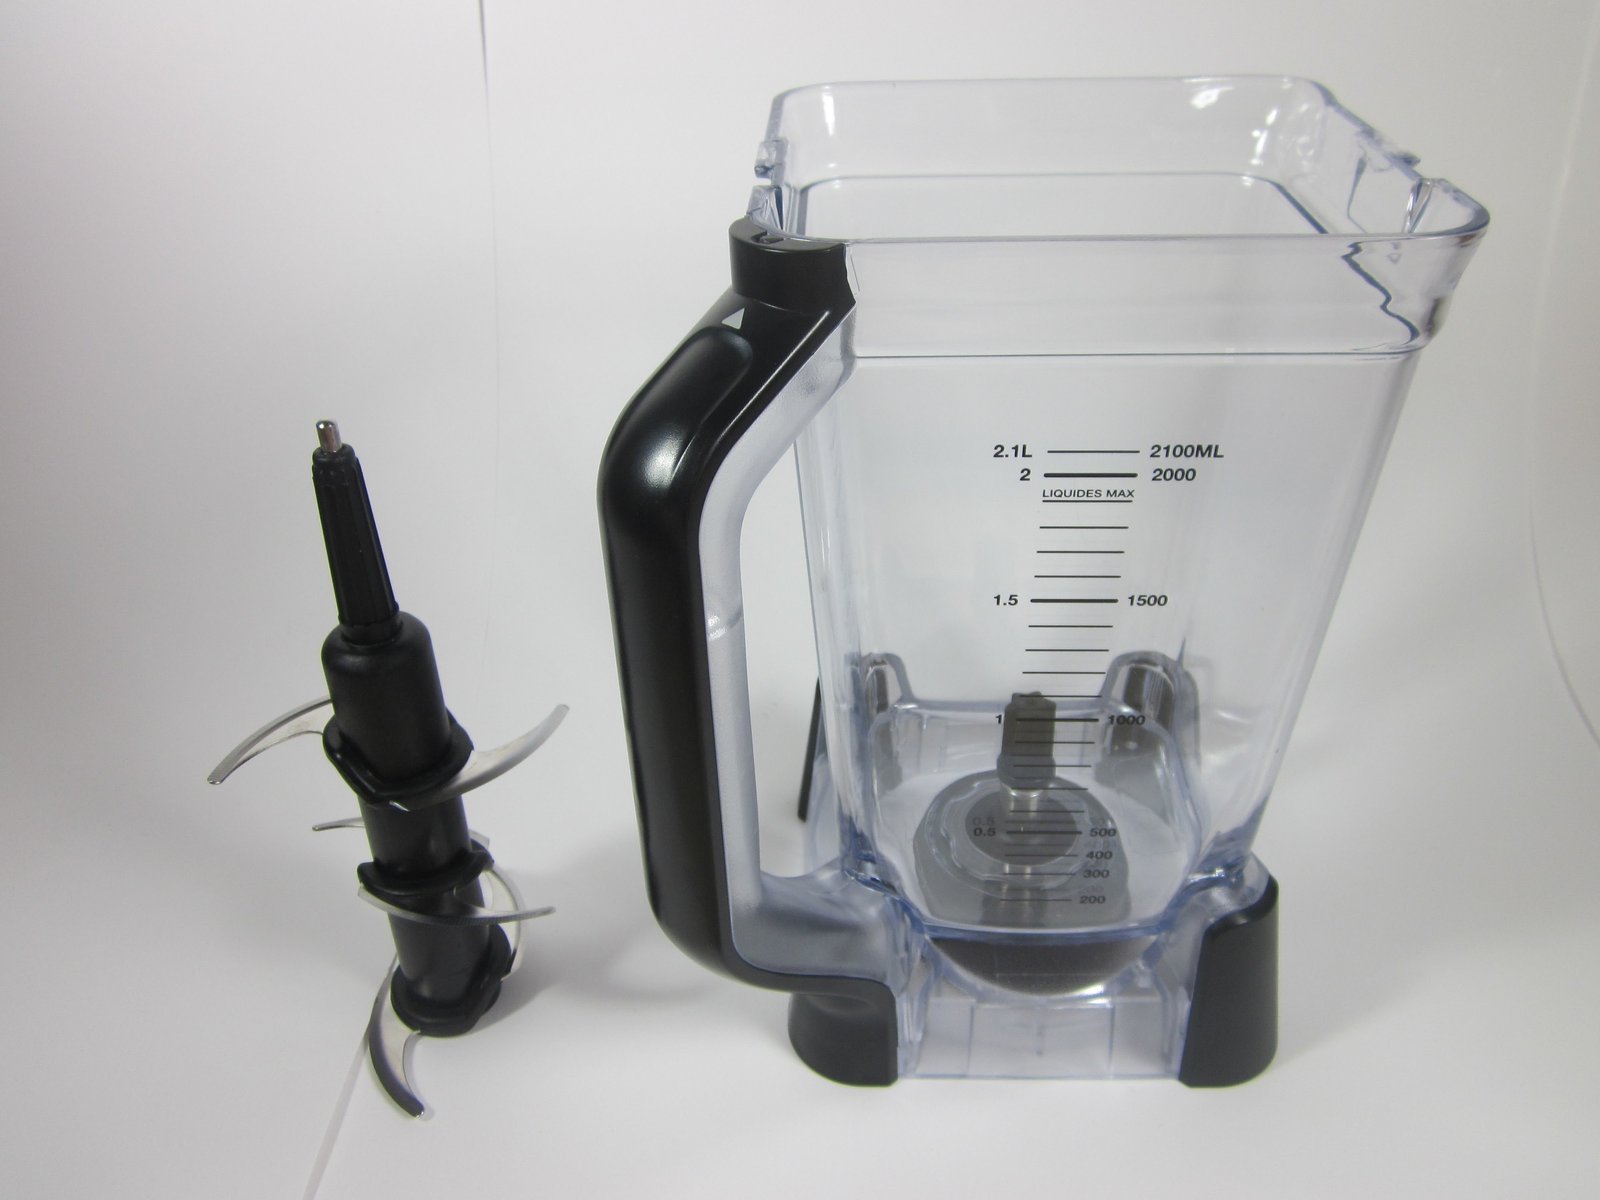
This answer varies based on the design of your jar. If you have a single-serve cup, you unscrew the entire blade assembly from the bottom. If you’re using a professional-style pitcher, you must be careful with the tall, stacked blade shaft.
Who needs to remove these blades
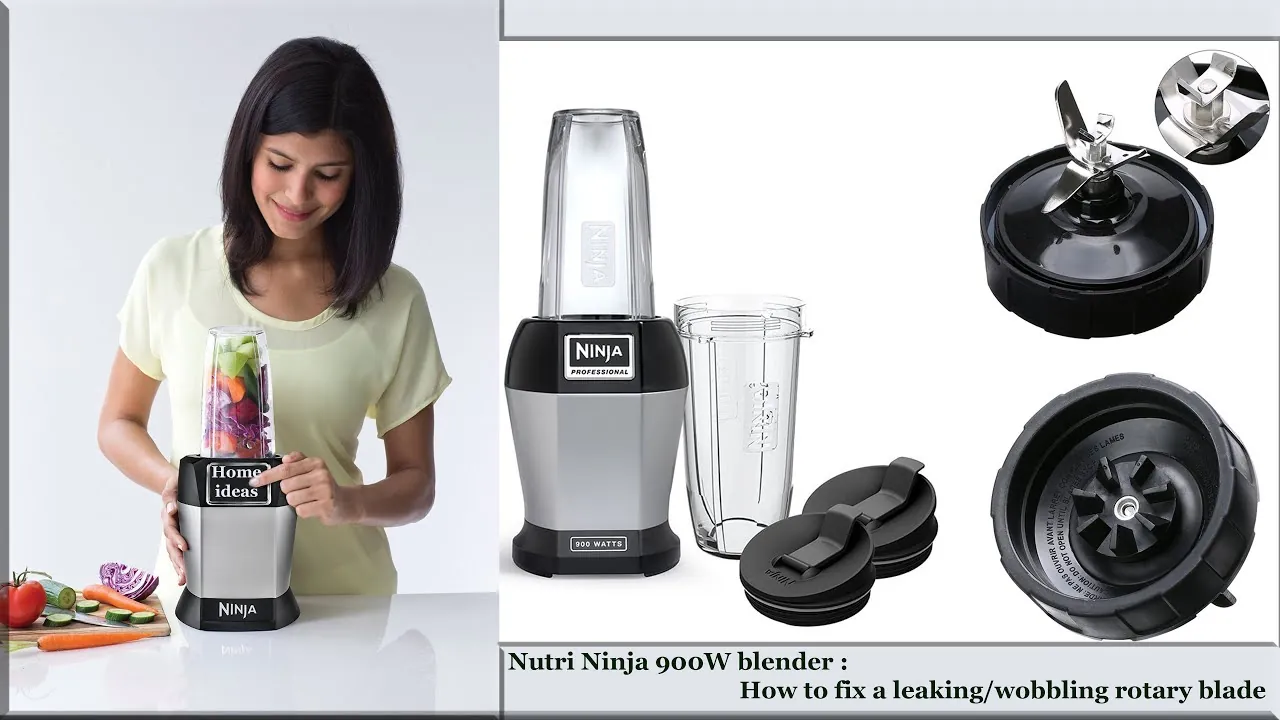
This guide is for owners of Ninja kitchen systems who need to clean their equipment or replace a worn-out blade. You likely type this search because you feel a simple rinse isn’t enough to get the food out from under the sharp metal parts. This page serves users who want to maintain their machine without damaging the plastic seals or hurting themselves.
If you have a high-speed blender with a fixed, non-removable blade, this article isn’t for you. Attempting to force a fixed blade out will break the housing and void your manufacturer warranty. We assume your model is a standard Ninja system where the manufacturer intends for the user to perform this maintenance.
If you’re unsure if your blade is removable, check the base of your pitcher. If you see a clear locking mechanism or a release trigger, it’s designed to come out. If the bottom is smooth and molded into the jar, it’s a permanent part of the appliance and you shouldn’t attempt to pull it.
Factors that change the removal process
The type of jar you’re using is the most important factor in how you remove the blade. Pitchers with stacked blades require you to lift the entire center spindle vertically. Single-serve cups, however, require you to flip the cup upside down and rotate the blade base counter-clockwise to detach it from the threads.
Your safety depends on how you handle the sharp edges. If you grip the blades directly, you risk deep cuts. Always use a thick kitchen towel or a pair of silicone tongs to hold the central plastic column while pulling the unit upward. This prevents your skin from touching the cutting surfaces during the transition.
The age and condition of the plastic seals also change the effort required. If you haven’t removed the blade in months, dried food residue may glue the seal to the jar. If the blade feels stuck, don’t use a screwdriver or metal tool to pry it out. Instead, soak the assembly in warm, soapy water for 10 minutes to soften the residue and loosen the grip.
The frequency of use matters most for long-term maintenance. If you blend thick mixtures like nut butters, you should remove and clean the blade after every use to prevent buildup. If you only use the blender for thin liquids, a deep clean once a week is usually enough to keep the seal healthy and the rotation smooth.
Steps to remove Ninja blender blades
- Unplug the blender base from the wall outlet to ensure the motor can’t engage while you work.
- Remove the pitcher or cup from the motor base and place it on a flat, stable surface.
- For a pitcher with a stacked blade, grasp the top of the plastic center column firmly.
- Pull the blade column straight up and out of the pitcher in one smooth, vertical motion.
- If using a single-serve cup, flip the cup upside down so the blade base faces upward.
- Twist the blade base counter-clockwise to unlock it from the cup threads.
- Lift the blade unit away from the cup and set it aside on a towel.
- Rinse the blade unit under warm water, but never submerge the gear assembly in water for long periods.
The final judgement call is knowing when a blade is too dull or damaged. If you see chips in the metal or the plastic column shows deep cracks, you must stop using it. A damaged blade can snap under the high torque of the motor, which creates a significant safety risk. Contact the manufacturer to order a replacement part that matches your exact model number.
Blade removal variations
| Situation | Action | Effort | Watch for |
|---|---|---|---|
| Stacked pitcher | Pull center column up | Low | Sharp bottom edges |
| Single-serve cup | Twist base clockwise | Medium | Tight rubber seal |
| Dried residue | Soak in warm water | High | Sticky buildup |
| Stuck base | Apply gentle pressure | High | Plastic cracks |
| New model | Press release button | Low | Locking tabs |
When removing a stacked pitcher blade, keep your fingers clear of the bottom edges. These edges are often razor-sharp and can cause deep lacerations if you grip the assembly too tightly.
For single-serve cups, the rubber seal is the primary point of failure. If the base feels immovable, don’t force it. A dry or mineral-caked seal creates high friction. Apply a drop of food-grade silicone lubricant to the threads if the base remains stubborn after the first twist.
Dried residue is the most common cause of mechanical failure. If you see brown or crusty buildup around the gasket, soak the base in warm, soapy water for exactly ten minutes. Never exceed twenty minutes, as prolonged submersion can degrade the internal ball bearings.
If you encounter a stuck base, use a rubber jar opener to gain leverage. This prevents the plastic housing from cracking under uneven pressure. If you hear a faint clicking sound, stop immediately. That noise indicates the locking tabs are shearing off, which will permanently compromise the unit’s water-tight seal.
Always check the release button on newer models for debris. A single grain of sand can prevent the locking mechanism from retracting. If the button doesn’t snap back, clear the gap with compressed air before attempting to remove the blade.
How to handle the equipment safely
Preparing the area
Experienced users always clear a large workspace before starting the removal. They place a thick, folded towel on the counter to provide a soft landing for the blade unit. This prevents the metal from scratching your countertop and gives you a non-slip surface to grip the plastic parts safely. Beginners often try to do this over the sink, which is a mistake because the blades are slippery when wet.
Managing the seals
Proper handling of the rubber gasket is the difference between a long-lasting blender and one that leaks. When you remove the blade, check if the rubber ring is still seated in its groove. If it falls out, clean it gently with mild soap and press it back into place before reassembling. Never use harsh chemicals or abrasive sponges, as these will damage the seal and cause leaking during your next use.
Blade maintenance problems
| What you notice | What it usually means | What to do first | How to stop it |
|---|---|---|---|
| Blade feels stuck | Dried food buildup | Soak in warm water | Clean after every use |
| Leaking at base | Worn rubber seal | Check for debris | Inspect seal monthly |
| Loud grinding | Debris in gear | Clean gear area | Rinse base after use |
| Dull cutting edges | Natural wear | Replace unit | Use only for food |
| Plastic cracks | Stress or heat | Stop using immediately | Avoid hot liquids |
Most users mistake a stuck blade for a motor failure. If the blade resists manual rotation, don’t force the motor. Forcing it often strips the plastic drive coupling, turning a simple cleaning task into a permanent mechanical failure.
Leaking indicates the gasket has lost its elasticity. If you see dark, oily residue beneath the base, the seal has already failed. Replace the gasket immediately to prevent liquid from reaching the motor housing, which causes irreparable electrical shorts.
Grinding sounds usually stem from pulverized food particles trapped in the gear teeth. If you hear a high-pitched metallic whine, stop the unit, as this may indicate motor or bearing failure. Running it for even ten seconds while jammed can melt the internal plastic housing.
Dull edges are rarely caused by the food itself. Most blades dull because they strike frozen items or hard seeds. If you must process ice, ensure a liquid-to-solid ratio of at least two-to-one. This cushions the impact and preserves the blade’s sharpness.
Finally, plastic cracks often originate from thermal shock. Never pour boiling liquids into a cold pitcher. If the pitcher feels brittle or shows spiderweb fractures, retire it. A shattered pitcher under load is a significant safety hazard.
Official safety and maintenance rules
Follow the safety guidelines published in the user manual for your specific Ninja model. The manufacturer states that these blades are extremely sharp and should only be handled by the central plastic column. Never touch the metal edges, as they can cause severe injury even when the motor is off.
When cleaning, never soak the blade assembly in a sink full of water. Submerging the gear coupling can trap moisture inside the sealed bearings, leading to rust or seized gears within weeks. Instead, use a long-handled brush to scrub the blades under a running faucet.
The motor base itself isn’t waterproof. If you notice fluid leaking from the blade assembly during use, stop the blender immediately and unplug it. Liquid inside the motor base can cause a short circuit or permanent electrical damage.
If you suspect water has entered the motor housing, don’t attempt to open it yourself. The internal components aren’t user-serviceable, and opening the housing poses a risk of electrical shock. If you hear a grinding noise or smell ozone, the motor is already compromised. In these cases, stop using the device entirely to prevent a fire hazard. Contact the customer service department listed on the official Ninja website for repair options.
What it costs to maintain
The cost of maintaining your blender is mostly measured in your time and the price of replacement seals. A new blade assembly is relatively inexpensive compared to the cost of a new blender, depending on the model and the retailer. You can check the current price for your specific serial number on the manufacturer’s official parts page.
Most users make the mistake of running the entire base through a dishwasher cycle. This habit ruins the rubber gaskets, which are inexpensive to replace but can cause motor burnout if they leak fluid into the housing. If you notice a dark, oily residue beneath the jar, your seal has already failed. Replace it immediately to avoid a costly repair bill for a seized motor.
The real cost is the time you spend cleaning the unit. If you let food dry on the blade, you spend twice as much time scrubbing it later. If you use the dishwasher for the blade unit, the high heat can warp the plastic housing. Hand washing with a soft brush is the most effective way to protect your investment and save money on replacement parts.
If you use your blender daily, commit to a quick rinse with warm, soapy water immediately after use. This simple habit prevents mineral buildup and keeps the seals supple for years.
Keeping your blade clean
After cleaning, always store the blade unit in a dry place. Never leave it inside the pitcher when the blender isn’t in use, as this can trap moisture and promote bacterial growth. If you notice a strange smell or discoloration on the plastic, it’s a sign that food particles have been trapped in the crevices.
Use a soft-bristled brush to reach the underside of the blades where food hides. You don’t need to perform this deep clean every time, but checking for hidden debris once a week ensures the machine stays hygienic.
If you find the blade is still difficult to turn by hand, the bearings may be failing. This is the point where you should stop using the unit and look into getting a replacement.
Many users mistake a stiff blade for a simple cleaning issue. If a thorough soak in hot, soapy water doesn’t restore smooth rotation, don’t force the motor to compensate. Forcing a seized blade can burn out the drive socket or the motor itself, turning an inexpensive part replacement into a total machine failure.
To test your bearings, remove the blade and spin it manually. If you feel any grinding or hear a metallic clicking sound, the internal seal has likely breached. Once that seal fails, liquid will leak into the base, which creates an electrical hazard. If you see dark, oily residue beneath the blade, stop immediately, as this indicates the seal has failed and is allowing debris to contaminate the bearing area.
When to seek a professional
If the blade assembly is locked tight and won’t budge after a warm soak, don’t force it. Using excessive leverage with tools can shatter the plastic, which creates jagged shards that are dangerous to handle. In this situation, the best approach is to stop and contact the manufacturer support line. They can provide specific instructions for your model or tell you if the unit needs to be replaced under warranty.
Never attempt to disassemble the blade housing itself. The metal blades are permanently pressed into the plastic column at the factory. If you try to take the blade unit apart, you’ll permanently damage the assembly and lose the seal. If you have a problem with the internal rotation, it’s a hardware failure that requires a new part, not a repair.
Frequently asked questions
Can I put my blender blades in the dishwasher?
Most Ninja blade assemblies are dishwasher safe, but check your specific manual to confirm. Placing them on the top rack is best to avoid the intense heat of the heating element. If you notice the plastic starting to cloud or warp, switch to hand washing immediately to preserve the seal.
How often should I replace the blades?
You should replace your blades whenever you notice the edges are dull or the plastic column shows signs of cracking. There’s no set time limit, but heavy daily use typically leads to noticeable wear within 1 to 2 years. Check the sharpness and structural integrity of the plastic every month.
Is it safe to soak the blade in bleach?
No, you should never soak the blade assembly in bleach or harsh chemicals. These substances can corrode the metal edges and degrade the rubber seal, leading to leaks. Use only mild dish soap and warm water to keep the unit clean and safe for food preparation.
Why is my blender leaking from the bottom?
A leak usually means the rubber gasket is loose, damaged, or trapped with debris. Remove the blade assembly, inspect the rubber ring for any food particles, and ensure it’s seated perfectly in its groove. If the seal looks stretched or torn, replace the gasket or the entire blade unit.
How long does the blade stay sharp?
The blades stay sharp for as long as you use them exclusively for food items. If you use the blender to crush ice or frozen fruit regularly, the edges will dull faster than if you only blend soft fruits. If the blender struggles to cut through ingredients, it’s time for a replacement.
What happens if I lose the rubber seal?
If you lose the rubber seal, you must stop using the blender immediately. The seal is necessary to create a vacuum and prevent liquids from entering the motor base. Operating the machine without the seal will cause leaks and almost certainly damage the motor. Order a replacement seal from the manufacturer.
Conclusion
Start by checking your user manual to identify the exact removal method for your model. Once you understand the locking mechanism, you can safely pull the blade unit out for cleaning. If you feel any resistance that doesn’t give way after a warm water soak, stop immediately and contact the manufacturer to avoid breaking the plastic housing or causing injury.