How To Make Almond Milk In Vitamix Blender: Creamy Recipe
Making almond milk in a Vitamix blender is a straightforward process that requires only soaked almonds, fresh water, and a high-speed blending cycle to create a creamy, dairy-free beverage without any additives. This method leverages the machine’s powerful motor to break down nuts into a smooth liquid that can be strained immediately or stored for later use, offering a cost-effective and customizable alternative to store-bought versions.
Key Takeaways
- Soak raw almonds for at least 8 hours to ensure easy blending and maximum nutrient extraction.
- Use a ratio of one cup of almonds to four cups of water for a standard creamy consistency.
- Strain the mixture through a nut milk bag or cheesecloth to remove all solid pulp residue.
- Add dates, vanilla extract, or sea salt to enhance flavor without using refined sugars.
- Store the finished milk in an airtight glass container in the refrigerator for up to five days.
Essential Almond Milk Vitamix Blender
Before you begin the actual preparation, gathering the right tools ensures a smooth workflow and prevents frustration during the straining phase. While the Vitamix is the centerpiece, having the correct accessories makes the difference between a gritty result and a silky smooth product.
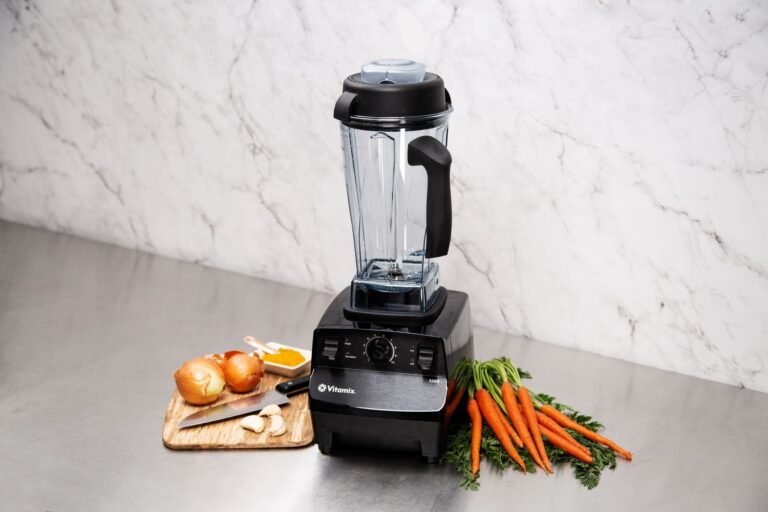
The primary requirement is a high-performance blender capable of pulverizing hard nuts; the Vitamix models are specifically engineered for this task with their variable speed controls and tamper tools. Beyond the blender itself, you’ll need a large bowl for soaking the almonds overnight, which softens the skins and reduces the strain on your machine.
A fine-mesh nut milk bag is superior to standard cheesecloth because it captures the smallest particles, resulting in a milk that feels like cream rather than having a sandy texture. If you don’t own a dedicated nut milk bag, a clean, thin cotton pillowcase or multiple layers of muslin cloth work as effective alternatives, provided they’re washed thoroughly before first use.
You should also prepare a large pitcher or jug with a lid for collecting the strained milk, ensuring you have enough space to handle the volume of liquid produced. A funnel can be helpful if you plan to transfer the milk into smaller bottles for storage, preventing spills on your kitchen counter. Some users prefer to keep the pulp for baking, so having a separate small bowl ready for the solids is a smart move.
Finally, ensure your Vitamix container is completely dry before adding ingredients, as residual water from washing can dilute the milk slightly, though this is a minor factor compared to the water-to-nut ratio. Having everything laid out before you start the timer allows you to focus entirely on the quality of the blend rather than searching for tools mid-process.
| Item | Purpose | Recommended Type |
|---|---|---|
| Blender | High-speed pulverization | Vitamix Professional Series |
| Soaking Bowl | Softening nuts overnight | Glass or Stainless Steel |
| Strainer | Removing solid pulp | Nut Milk Bag or Muslin Cloth |
| Collection Vessel | Holding finished liquid | Pitcher with Lid or Jar |
| Funnel | Transferring to storage | Silicone or Plastic |
Soaking Almonds for Best Results
The most critical step in making high-quality almond milk is the initial soaking process, which transforms hard, dry nuts into pliable, easily digestible ingredients. Raw almonds contain phytic acid and enzyme inhibitors that can make them difficult to digest and reduce nutrient absorption; soaking neutralizes these compounds and improves the texture significantly. You must submerge raw, unsalted almonds in cold water for a minimum of eight hours, though leaving them for twelve to twenty-four hours yields even better results.
During this time, the almonds absorb water, swell in size, and soften, allowing the Vitamix blades to crush them into a fine emulsion rather than just chopping them into chunks. If you forget to soak them, you can use hot water for a quick soak, but the texture won’t be as smooth, and the flavor may be slightly bitter.
Once the soaking period is complete, drain the water and rinse the almonds thoroughly under cold running water. This step removes the softened outer skins, which can sometimes impart a slight bitterness to the final milk, though keeping them adds extra fiber and nutrients. Many enthusiasts prefer to peel the almonds after soaking by pinching the skin off with their fingers, but this is optional and depends on your desired texture.
For a darker, more rustic milk, leave the skins on; for a pristine white milk, peel them before blending. The soaking water should never be consumed due to the leached phytic acid, so dispose of it responsibly. Proper soaking ensures that your Vitamix doesn’t overheat and that the resulting milk has a rich, natural sweetness without needing excessive sweeteners.
Determining the Perfect Ratio
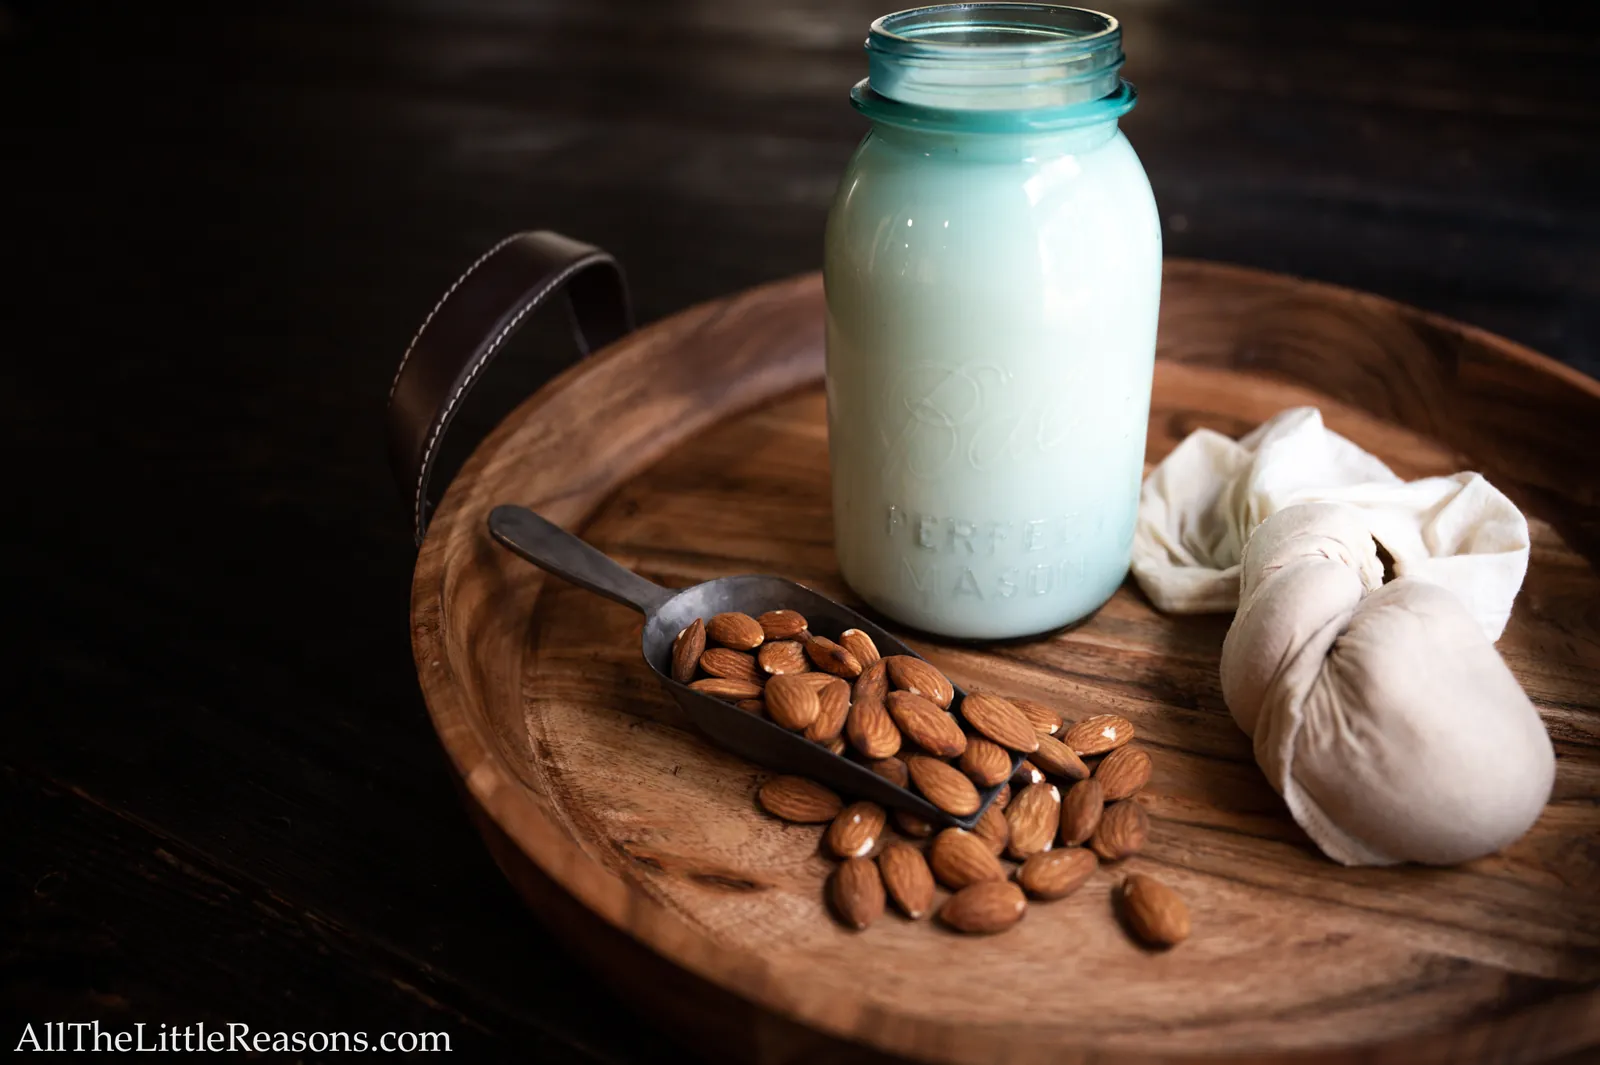
Achieving the ideal thickness and richness depends heavily on the ratio of almonds to water you choose to use. There’s no single “correct” measurement, as personal preference varies widely between those who like a heavy, cream-like consistency and those who prefer a light, watery drink. The standard starting point for a balanced almond milk is one cup of soaked almonds to four cups of filtered water. This proportion typically produces a milk that’s creamy enough to pour over cereal but light enough to drink straight.
If you find the result too thick, you can simply add more water during the blending process or after straining to reach your desired viscosity. Conversely, if you want a richer milk for coffee lattes or baking, you might increase the ratio to one cup of almonds for every three cups of water.
It’s important to note that the type of Vitamix container you use can influence how well the ingredients mix, but the water ratio remains the primary determinant of thickness. Using less water creates a denser product that may require more effort to strain, while too much water can result in a bland, diluted flavor that lacks the nutty essence of the almonds.
You can adjust the ratio based on the specific recipe you intend to follow; for instance, a thicker milk is often preferred for making almond yogurt or cheese, whereas a thinner milk works better for smoothies where other liquids are already present. Keep a notebook of your ratios and preferences to refine your technique over time, as the perfect balance is a matter of experimentation tailored to your taste buds.
| Almond Cups | Water Cups | Resulting Texture | Best Use Case |
|---|---|---|---|
| 1 | 3 | Very Thick | Coffee Lattes, Baking |
| 1 | 4 | Medium Creamy | Drinking, Cereal |
| 1 | 5 | Light & Thin | Smoothies, Cooking |
| 1 | 6 | Watery | Light Soups, Dilution |
Blending Techniques for Smoothness
Once your almonds are soaked and your ratios are set, the blending phase is where the magic happens, turning solid nuts into a liquid emulsion. Fill your Vitamix container with the soaked almonds and your measured water, ensuring you don’t exceed the maximum fill line indicated on the container to prevent leakage or uneven blending.
Start the machine on the lowest speed setting and gradually increase the speed to the highest setting, usually around 10 on the dial, while running the variable speed control for about 45 to 60 seconds. This gradual ramp-up helps to pull the ingredients down from the sides and ensures a uniform blend without creating air pockets or splashing. If your Vitamix has a pulse function, use it briefly at the beginning to break up large chunks before switching to continuous high speed.
During the blending process, listen to the sound of the motor; a smooth, consistent hum indicates that the nuts are being properly pulverized, while a grinding noise suggests that the mixture is too thick or the nuts aren’t fully soaked.
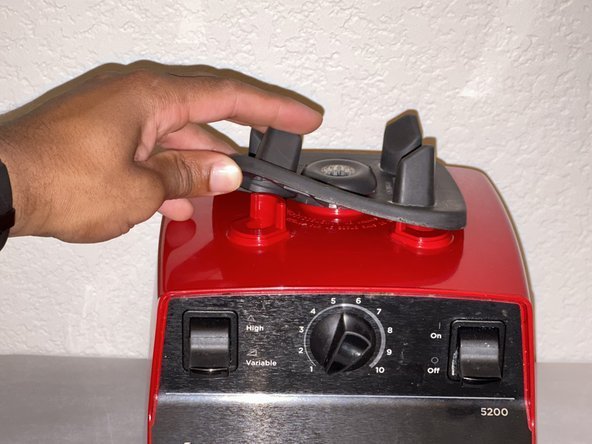
If the mixture seems stuck or difficult to blend, use the tamper tool (if your model includes one) to push the ingredients toward the blades, but never stop the machine to insert the tamper unless the safety lock is engaged. The goal is to achieve a frothy, white liquid with no visible chunks of almond remaining.
Over-blending is rarely a concern with modern Vitamix blenders, as they’re designed to handle tough ingredients continuously, but stopping too early will leave a gritty texture that’s unpleasant to drink. Ensure the lid is tightly secured throughout the entire process to maintain pressure and safety while achieving the necessary shear force to break down the cell walls of the almonds.
Straining the Mixture Thoroughly
After blending, the next step is separating the liquid milk from the solid almond pulp, a process that requires patience and the right equipment to achieve a silky finish. Pour the blended mixture into your prepared nut milk bag, which is suspended over a large bowl or pitcher. Squeeze the bag gently but firmly to extract as much liquid as possible, working from the top down to ensure all the milk is released.
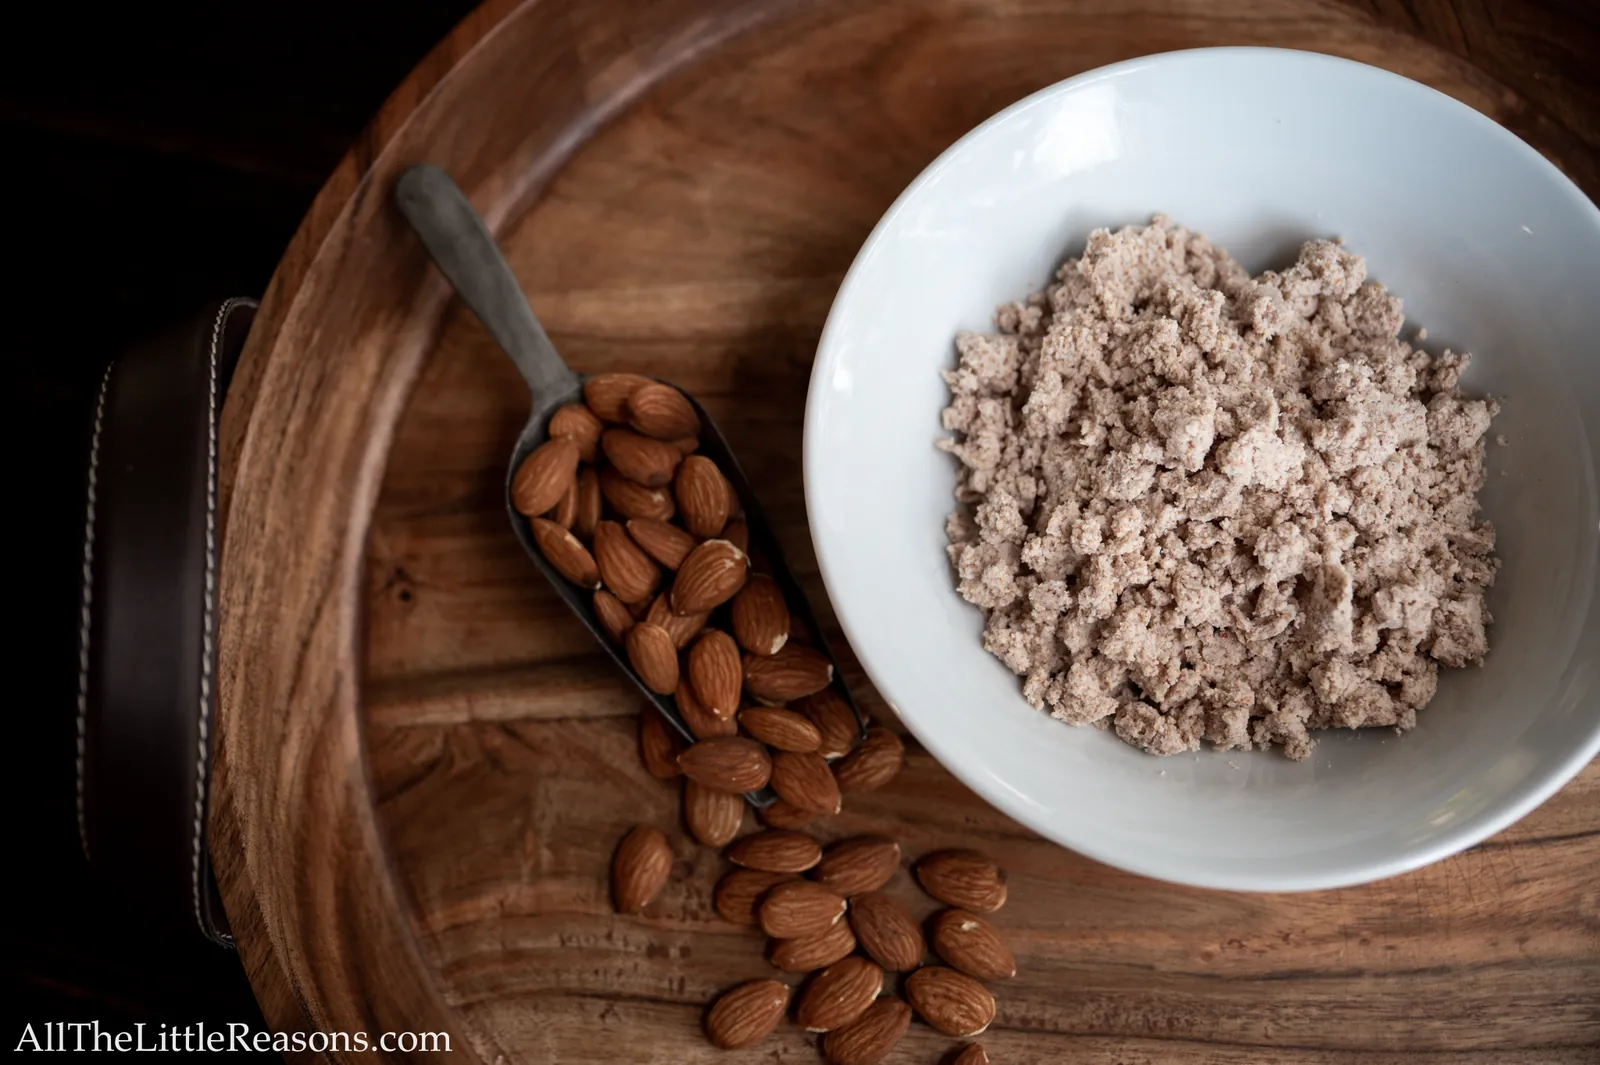
Don’t rush this step, as squeezing too aggressively can cause the bag to tear or allow fine particles to escape, compromising the clarity of your milk. The pulp remaining in the bag isn’t waste; it’s highly nutritious and can be dried and used in various recipes, such as almond flour, cookies, or energy bars.
If you don’t have a nut milk bag, you can use a fine-mesh sieve lined with several layers of cheesecloth, though this method may require multiple strains to achieve the same level of smoothness. Place the cheesecloth over the bowl and pour the mixture through it, then gather the edges of the cloth and squeeze the contents manually. This manual straining can be labor-intensive and may leave more sediment in the milk compared to using a dedicated bag.
Regardless of the method, inspect the strained milk for any remaining grit; if you feel any sandiness, strain it again through a finer filter. The visual appearance of the milk should be opaque and creamy white, free of any floating specks. Proper straining is essential for the mouthfeel of the final product, distinguishing homemade almond milk from lower-quality commercial versions that may rely on thickeners to mask texture issues.
Flavoring and Customizing Options
While plain almond milk is delicious on its own, customizing the flavor allows you to tailor the beverage to your specific dietary needs and taste preferences. Adding natural sweeteners like pitted Medjool dates, maple syrup, or agave nectar enhances the sweetness without relying on processed sugars.
To incorporate dates, pit them and blend them directly with the almonds and water during the initial blending stage; two to three dates are usually sufficient for a standard batch. Vanilla extract is another popular addition, providing a warm, aromatic depth that pairs exceptionally well with the nutty base. A pinch of sea salt can also elevate the flavor profile by balancing the sweetness and enhancing the overall complexity of the milk.
For those seeking additional nutritional benefits or unique tastes, consider adding cacao powder for a chocolate version, cinnamon for a spiced latte style, or turmeric and ginger for an immune-boosting golden milk variant. These additions should be added before blending to ensure they’re fully incorporated into the liquid. It’s crucial to taste the milk after straining but before refrigerating, as the flavors may mellow slightly once chilled.
If you prefer a savory version, omit sweeteners and add herbs like rosemary or thyme, though this is less common for drinking purposes. The beauty of homemade almond milk lies in its versatility; you can experiment with different combinations until you find the perfect blend that suits your morning routine or culinary creations.
| Ingredient | Quantity | Effect on Flavor | Dietary Note |
|---|---|---|---|
| Medjool Dates | 2-3 Pitted | Natural Sweetness | High Fiber, No Refined Sugar |
| Vanilla Extract | 1 tsp | Warm Aroma | Alcohol-Free Option Available |
| Sea Salt | Pinch | Flavor Enhancer | Low Sodium |
| Cacao Powder | 1 tbsp | Chocolatey Taste | Antioxidant Rich |
| Maple Syrup | 2 tbsp | Mild Sweetness | Vegan Friendly |
Storing and Shelf Life Guidelines
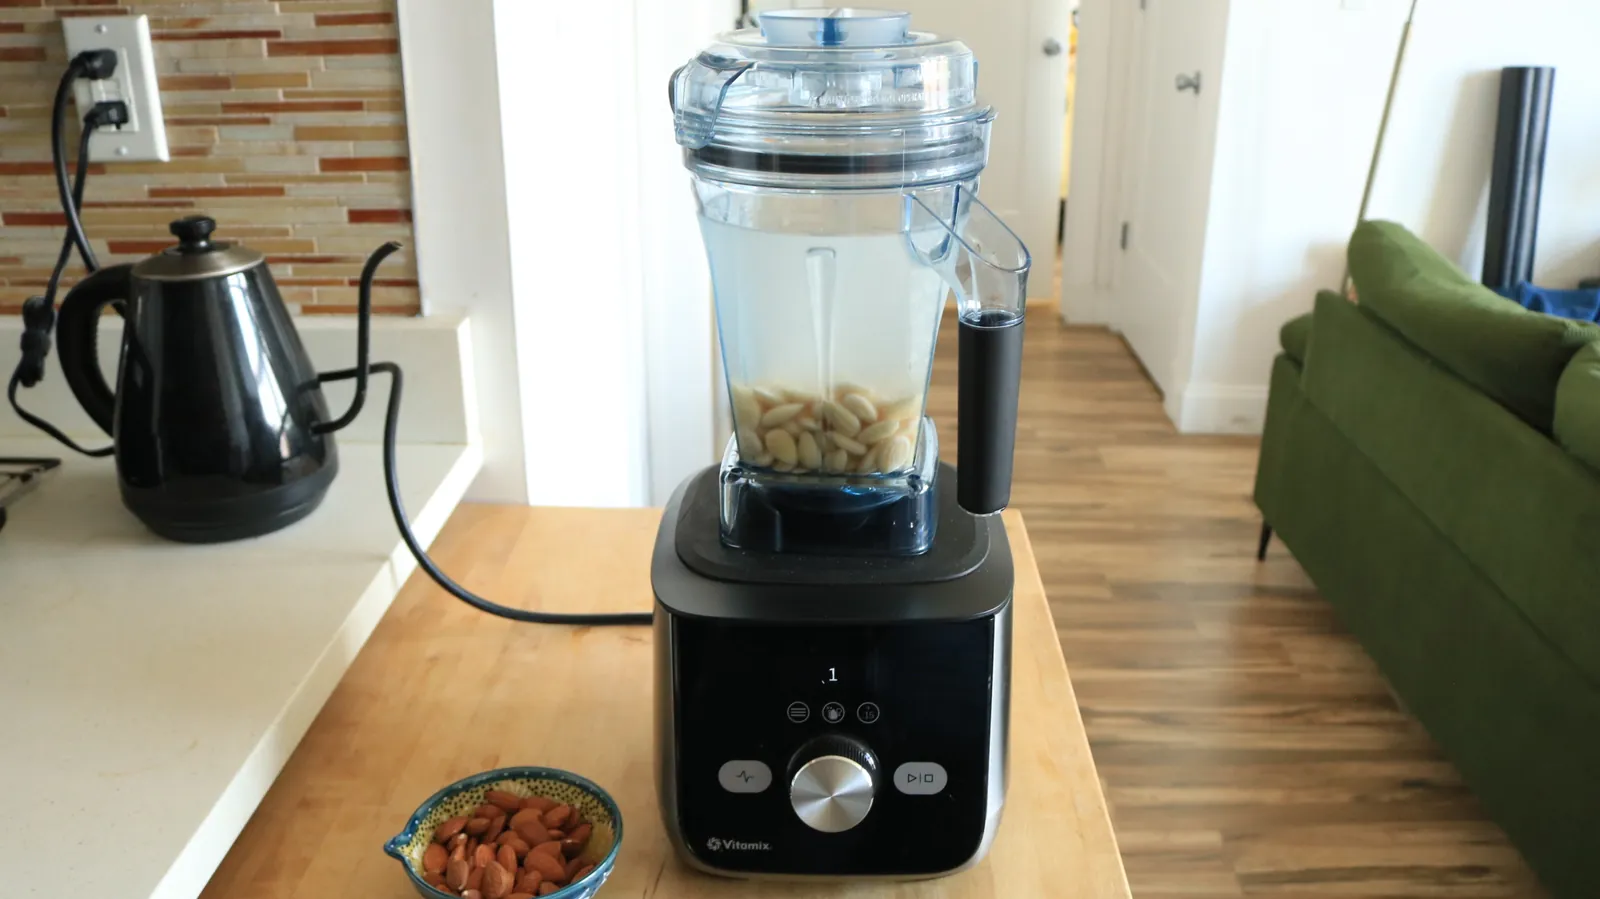
Proper storage is essential to maintain the freshness and safety of your homemade almond milk, as it lacks the preservatives found in commercial products. Once strained and flavored, transfer the milk into a clean, airtight glass jar or bottle with a tight-fitting lid. Glass is preferable to plastic because it doesn’t retain odors and is easier to sterilize, ensuring the milk stays fresh for longer.
Store the container in the coldest part of your refrigerator, ideally at the back where the temperature is most consistent. Homemade almond milk typically lasts for three to five days when kept refrigerated, though some sources suggest it can remain safe for up to seven days if handled hygienically.
Always give the milk a good shake before pouring, as natural separation occurs quickly due to the lack of emulsifiers. If you notice an off smell, a sour taste, or visible mold, discard the milk immediately, as signs of spoilage indicate bacterial growth. Freezing is another option for extending shelf life; pour the milk into ice cube trays or freezer-safe containers and freeze for up to three months.
When ready to use, thaw the frozen portions in the refrigerator overnight and shake well before consuming. Avoid leaving the milk at room temperature for extended periods, as the warm environment accelerates fermentation and spoilage. By following these storage protocols, you can enjoy fresh, homemade almond milk consistently throughout the week without waste or health risks.
Troubleshooting Common Issues
Even with careful preparation, you may encounter challenges when making almond milk in your Vitamix, but most problems have simple solutions that don’t require starting over. If the milk turns out too gritty, it likely means the almonds weren’t soaked long enough or the blending time was insufficient.
Re-soak the almonds for a few more hours or blend the mixture for an additional 30 seconds at high speed, followed by a second strain through a finer mesh. Another common issue is separation, where the water and oil separate shortly after blending; this is normal for unprocessed milk and can be fixed by shaking the container vigorously before each use or adding a small amount of lecithin or xanthan gum as a stabilizer.
Some users report a bitter taste in their milk, which is often caused by the almond skins or old, rancid nuts. To prevent bitterness, ensure you use fresh, high-quality raw almonds and consider peeling the skins after soaking if the bitterness persists.
If the milk is too thin despite using the recommended ratio, try reducing the amount of water used or increasing the quantity of almonds slightly for the next batch. Conversely, if the milk is too thick to pour easily, simply add more water and blend briefly to recombine. Understanding these variables allows you to troubleshoot effectively and refine your technique, turning potential failures into opportunities for learning and improvement.
Pro Tip:
Soak overnight to guarantee the almonds are soft enough for a completely smooth texture without grittiness.
Warning:
Don’t attempt to strain hot milk immediately, as steam can cause burns and the heat may alter the delicate flavor profile of the almonds.
Repurposing Almond Pulp Waste
One of the most sustainable aspects of making almond milk at home is the ability to repurpose the leftover pulp, which is often discarded unnecessarily. This fibrous material is rich in fiber, protein, and healthy fats, making it a valuable ingredient for various culinary applications.
You can spread the wet pulp on a baking sheet and dehydrate it in the oven at a low temperature until it becomes crisp, then grind it into a fine almond flour suitable for gluten-free baking. Alternatively, mix the damp pulp directly into cookie dough, muffin batter, or granola bars to boost nutrition and moisture content without altering the flavor significantly.
Another creative use is to make almond meal crackers by mixing the pulp with olive oil, spices, and seeds, then baking until crunchy. You can also add the pulp to smoothies for extra fiber, though the texture will be thicker. For a savory twist, fold the pulp into meatballs, veggie burgers, or soups to act as a binder and add bulk.
Drying the pulp completely allows you to store it in an airtight container in the pantry for future use, ensuring you get the maximum value from every almond you purchase. By finding ways to utilize the pulp, you eliminate food waste and create additional meals from what would otherwise be garbage, aligning with eco-friendly cooking practices.
Related guides
- How To Make Almond Milk In Ninja Blender: Easy Step-by-Step Guide
- Vitamix Cold Foam Blender
- Vitamix Commercial Blender
Frequently Asked Questions
Can I use raw almonds instead of blanched?
Yes, you can use raw almonds with their skins on, which adds fiber and a nuttier flavor. However, the milk may appear slightly darker and have a more textured mouthfeel compared to using blanched almonds.
How long does homemade almond milk last?
Fresh almond milk stored in an airtight container in the refrigerator typically lasts for three to five days. Always check for off smells or changes in texture before consuming.
Can I freeze almond milk for later use?
Yes, almond milk freezes well for up to three months. Pour it into ice cube trays or freezer-safe jars, thaw in the fridge overnight, and shake well before using.
Why is my almond milk separating?
Separation is natural because there are no emulsifiers in homemade milk. Simply shake the container vigorously before pouring to recombine the water and oil phases.
Is almond milk safe for people with nut allergies?
No, almond milk is made from tree nuts and isn’t safe for individuals with nut allergies. Always check labels carefully if purchasing commercial brands or sharing homemade batches.
Can I make almond milk without a Vitamix?
Yes, you can use any high-speed blender, but a Vitamix is particularly effective due to its powerful motor. Lower-powered blenders may require longer blending times and more frequent stopping.
Next Steps for Your Kitchen Journey
Now that you understand the full process, grab a bag of raw almonds and start your first batch today to experience the difference in taste and quality. Experiment with different flavorings and ratios to discover your personal favorite version of this versatile, plant-based drink.
Conclusion
Once you try this, you’ll likely want to tweak the sweetness or add a splash of vanilla. Why not experiment with different nuts next time? Your kitchen is ready for more delicious, homemade drinks whenever you feel like blending again.