How to Make a Smoothie With an Oster Blender
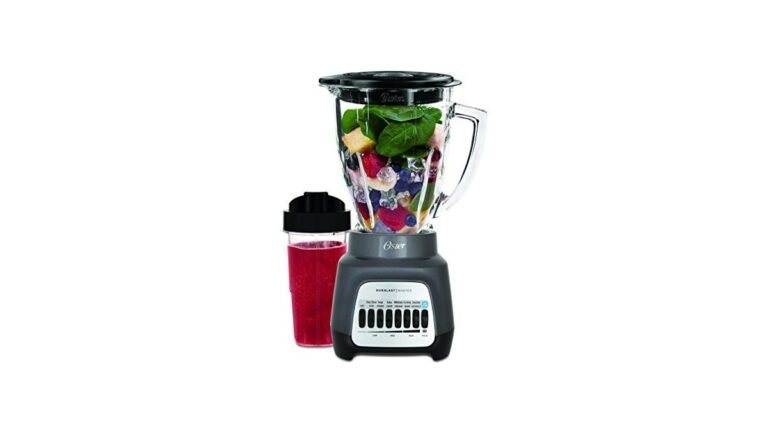
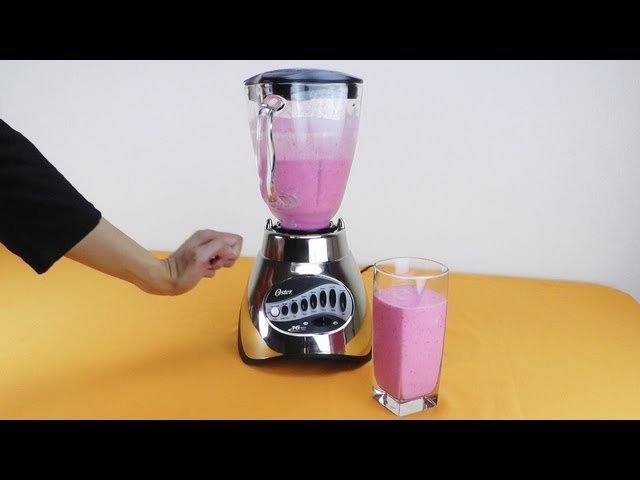
Making a smoothie in an Oster blender comes down to three things: loading the jar in the right order, using enough liquid to let the blades pull the ingredients down, and choosing the right speed and program for what you’re blending. Get those right, and even an entry-level Oster model turns out a smooth, drinkable result in under a minute.
Key Takeaways
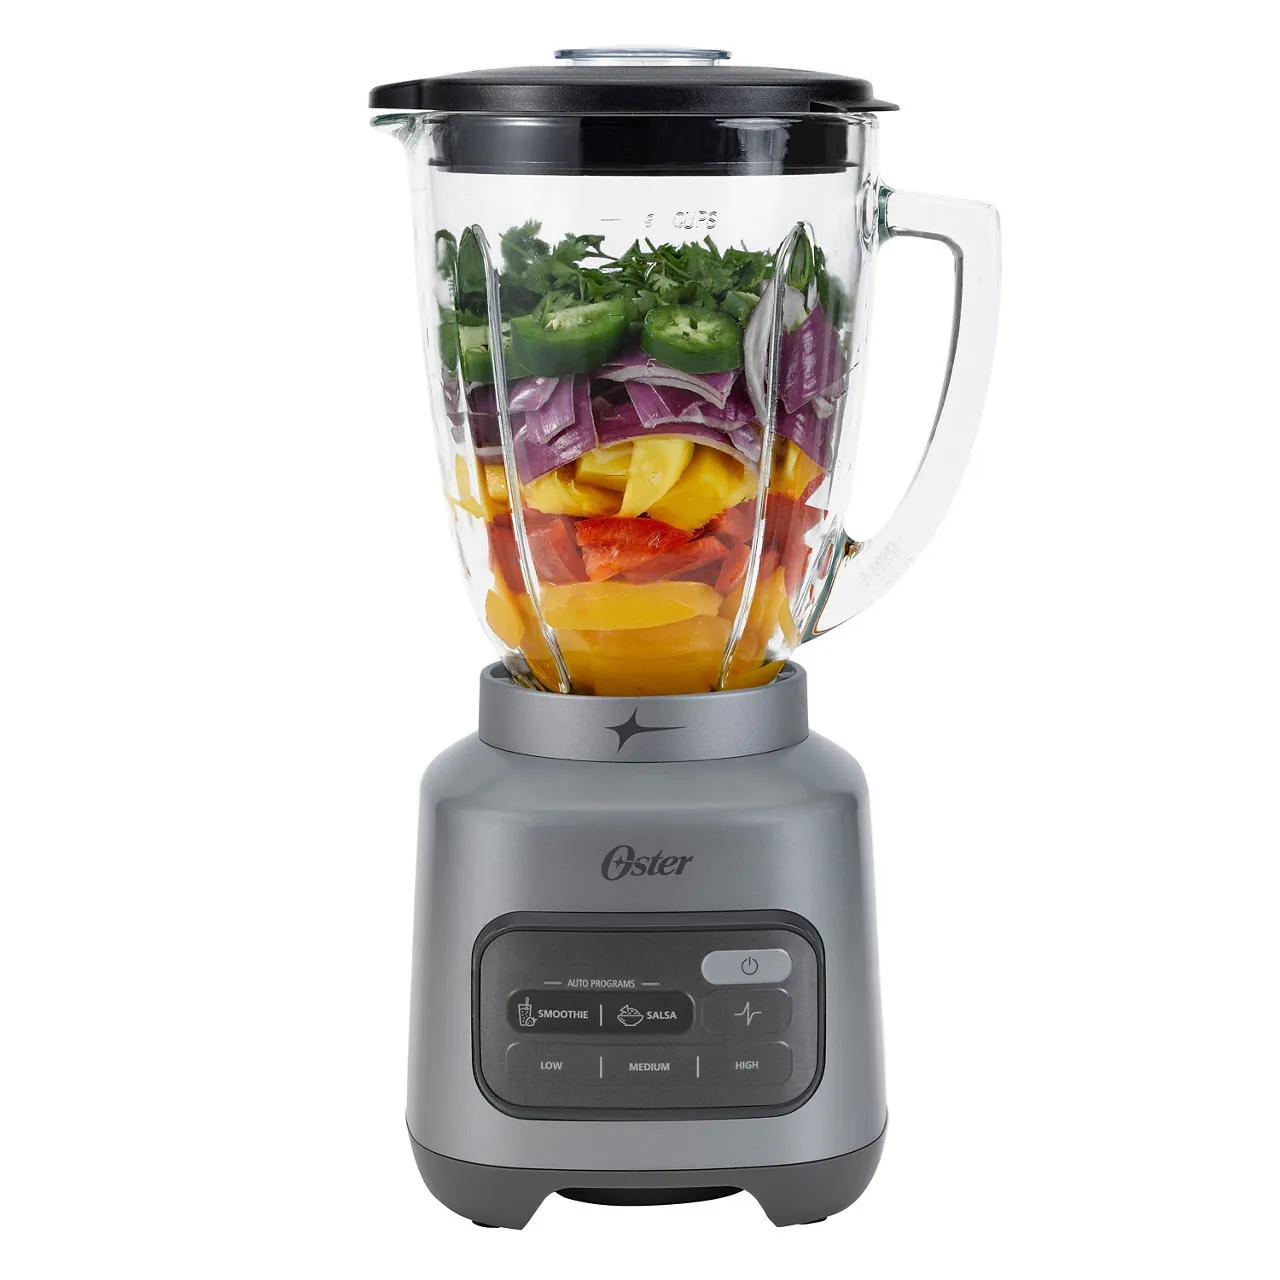
- Liquid goes in first, then soft ingredients, then leafy greens, then frozen fruit and ice on top — this order keeps the blades from cavitating (spinning in an air pocket).
- Fill the jar to roughly 60–75 percent for a single-serve smoothie; overfilling is the number one cause of a stalled blade.
- Start on Low (or the Smoothie preset), then move to High for 30–45 seconds; pulsing is your friend for thick mixtures.
- Frozen fruit needs a liquid partner — at least 1/2 cup of water, milk, or juice per 1 cup of frozen fruit, or the motor will just spin air.
- Most Oster jars, blades, and lids are dishwasher-safe on the top rack, but the motor base never goes in water.
- If the blend stalls, stop, unplug, and stir — never reach into the jar with the motor running or use a spoon while it’s plugged in.
Before You Start: Know Your Oster Model
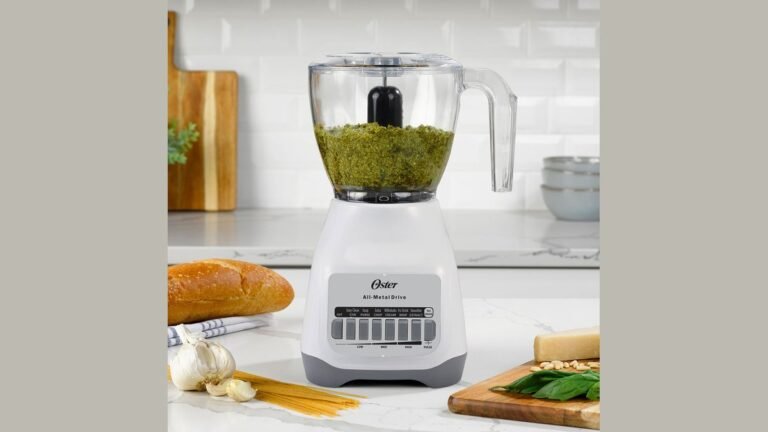
Oster has made blenders for decades, and the lineup ranges from a simple two-speed countertop machine to the Oster Pro 1200 and the Oster Versa series, which include preset programs. The good news: the technique is nearly identical across all of them. What changes is how much control you have.
The Main Oster Blender Types
| Model Type | Typical Speeds/Programs | Jar | Best For | Watch Out For |
|---|---|---|---|---|
| Oster 2-Speed / 3-Speed (classic countertop) | Low, High, sometimes Pulse | 5–6 cup glass or plastic | Basic fruit smoothies, protein shakes | No presets; you control timing manually |
| Oster Pro 1200 | Low, Medium, High, Pulse + presets | 6-cup+ | Frozen fruit, greens, thicker blends | Needs enough liquid or it stalls |
| Oster Versa (including Sport and Pro) | Multiple speeds + Smoothie, Soup, Frozen Dessert presets | 32–64 oz | High-volume, nut butters, hot soups | Larger jar means you need a bigger batch to blend well |
| Oster MyBlend / Personal | Single speed or blend-and-go | 20 oz personal cup | One serving, on-the-go | Small cup = less room for error on liquid |
| Oster Reverse Crush | Preset that reverses blade direction | 6-cup | Frozen fruit, ice | Reverse cycle only helps if you loaded correctly |
Pro Tip: Check the wattage printed on the bottom of your base. Blenders under 500 watts handle frozen fruit fine but need more liquid and more patience; 1000-watt-and-up models like the Pro 1200 plow through frozen chunks with less liquid.
What You Need
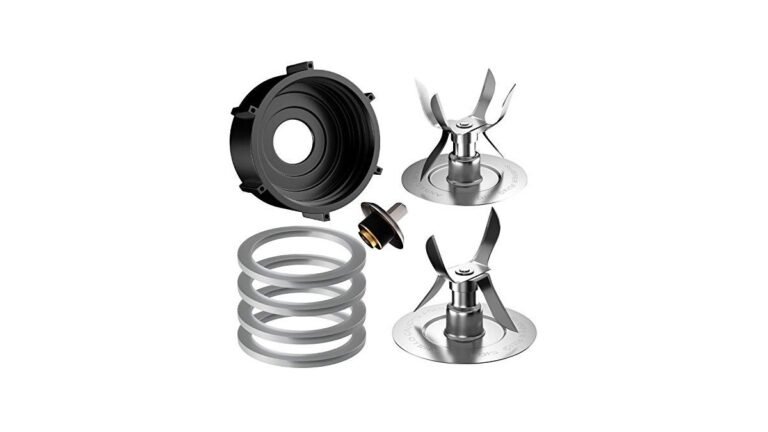
- Your Oster blender base, jar, blade assembly, and lid (make sure the gasket/seal ring is seated — a missing gasket means leaks)
- A liquid: water, milk, plant milk, yogurt, juice, or coconut water
- Soft ingredients: banana, mango, berries, yogurt, nut butter, protein powder
- Optional frozen ingredients: frozen fruit, ice cubes
- A spatula (for stirring with the blender OFF and unplugged)
The Universal Oster Smoothie Method
This is the core process. Follow it and you’ll get a consistent result on almost any Oster model.
Step 1: Add Liquid First
Pour your liquid into the jar before anything else. This isn’t a preference — it’s physics. The blades need liquid at the bottom to create a vortex that pulls solid pieces down into the blade. If you put frozen fruit in first, the blades spin in an empty pocket of air and nothing moves.
Start with 1/2 to 1 cup of liquid for a single serving. You can always add more, but you can’t take it out.
Step 2: Add Soft Ingredients
Layer soft items next: yogurt, nut butter, protein powder, fresh banana, avocado, cooked oats. These sit in the liquid and get pulled into the blade early, which creates a smooth base.
Step 3: Add Leafy Greens (If Using)
If you’re making a green smoothie, add spinach or kale above the soft ingredients but below the frozen fruit. Greens are light and tend to float; putting them lower helps them get caught in the vortex instead of plastering themselves to the jar wall.
Step 4: Add Frozen Fruit and Ice Last
Frozen fruit, ice cubes, and frozen vegetables go on top. Their weight pushes everything down as they get pulled into the blade. This is the single biggest difference between a smooth smoothie and a chunky one.
Step 5: Lock the Lid and Start Low
Secure the lid and make sure the blade assembly is tightened onto the jar (for models where the blade screws on). Start on Low for 10–15 seconds to break up the big pieces, then switch to High.
Step 6: Blend 30–60 Seconds
Most Oster blenders need 30 to 60 seconds on High for a fully smooth result. If your model has a Smoothie preset, use it — it’s programmed with the right speed changes. If your model has Pulse, use short pulses for thick mixtures.
Step 7: Stop, Check, and Adjust
Turn the blender off and unplug it before doing anything else. Look at the texture. If it’s too thick, add liquid 1/4 cup at a time and blend again. If it’s too thin, add more frozen fruit or a few ice cubes.
Oster Smoothie Recipes by Model
Different Oster models have different sweet spots. Here’s a starting recipe for each.
| Model | Recipe | Liquid | Frozen/Solid | Time |
|---|---|---|---|---|
| 2-Speed Countertop | Classic Banana-Berry | 1 cup milk | 1 banana, 1 cup frozen berries | Low 10 sec, High 45 sec |
| Oster Pro 1200 | Green Recovery | 1 cup coconut water | 1 cup spinach, 1/2 avocado, 1 cup frozen mango | Smoothie preset or High 45 sec |
| Oster Versa | Big-Batch Protein | 2 cups milk | 2 bananas, 2 cups frozen fruit, 2 scoops protein | High 60 sec |
| MyBlend Personal | Single-Serve PB Banana | 3/4 cup milk | 1 banana, 1 tbsp peanut butter, 1/2 cup ice | Blend 45 sec, shake if needed |
| Reverse Crush | Triple-Berry Crush | 3/4 cup juice | 1.5 cups frozen mixed berries | Reverse Crush preset |
Basic Banana-Berry Smoothie (Works on Any Oster)
- Pour 1 cup milk (dairy or plant) into the jar.
- Add 1 fresh banana, broken into chunks.
- Add 1/2 cup plain yogurt (optional, for creaminess).
- Add 1 cup frozen mixed berries on top.
- Optional: 1 tablespoon honey or a pitted date.
- Lid on, start on Low for 10 seconds, then High for 45 seconds.
Green Smoothie That Doesn’t Taste Like Salad
- 3/4 cup coconut water or orange juice.
- 1/2 avocado (makes it creamy and hides the greens).
- 1 cup fresh spinach, packed loosely.
- 1 cup frozen pineapple or mango.
- 1/2 banana.
- Blend on High for 45–60 seconds until no green flecks remain.
Pro Tip: Freeze your banana in chunks ahead of time. A frozen banana adds thickness and natural sweetness without needing ice, which dilutes flavor as it melts.
How to Fix a Smoothie That Won’t Blend
This is the most common Oster complaint, and it’s almost always fixable without returning the blender.
The Blade Is Spinning but Nothing Moves
This is called cavitation — the blades have created an air pocket and there’s nothing for them to grab. Fix it by stopping the blender, unplugging it, and using a spatula to push the ingredients down toward the blade. Add 1/4 cup of liquid and restart on Low.
There’s a Big Air Bubble at the Bottom
Same problem, different symptom. Take the jar off, give it a few shakes, or use the tamper if your model came with one (never use a metal utensil). Then restart on Low.
The Motor Smells Hot or the Base Is Warm
Stop immediately. Let the motor cool for 10–15 minutes. Oster motors have thermal protection, and repeated long blends on High with thick mixtures can trigger it. Blend in shorter bursts going forward.
The Smoothie Is Chunky, Not Smooth
Blend longer — but in 20-second bursts, not one long run. If it’s still chunky after 90 seconds total, your liquid-to-solid ratio is off. Add liquid.
The Lid Is Suctioned On
Turn the blender off, wait a few seconds for pressure to equalize, then twist. If it’s really stuck, run the jar under warm water at the lid seam.
Warning: Never put a spoon, spatula, or any utensil into the jar while the blender is plugged in — even if it’s off. Unplug it first, every time.
Loading Order: The Layer-by-Layer Cheat Sheet
Getting the order right is the single highest-impact change most people can make. Here it’s in one place.
| Layer | What Goes Here | Why |
|---|---|---|
| 1 (bottom) | Liquid: water, milk, juice, yogurt | Creates the vortex the blades need |
| 2 | Soft solids: banana, avocado, nut butter, protein powder | Blends into the liquid quickly |
| 3 | Leafy greens: spinach, kale | Sits in the vortex instead of on the wall |
| 4 | Fresh fruit: mango, peach, berries | Gets pulled down by the weight above |
| 5 (top) | Frozen fruit and ice | Weight pushes everything into the blade |
This order works on every Oster model, from the cheapest two-speed to the Versa.
Speed Settings and When to Use Them
Oster speed dials vary, but the logic is consistent.
- Low / Speed 1: Start here. Breaks up large chunks, mixes liquid with soft ingredients. Use for 10–15 seconds at the start of every blend.
- Medium / Speed 2 (if available): Good for protein shakes and thin mixtures that don’t need full power.
- High / Speed 3+: The workhorse. Use for frozen fruit, ice, and greens. 30–60 seconds.
- Pulse: Short bursts. Best for thick mixtures, nut butters, and when you want texture control.
- Presets (Smoothie, Frozen Drink, etc.): Let the machine do the work. These run a programmed sequence of speeds and pauses.
Do You Need the Presets?
No, but they help. If your Oster has a Smoothie preset, it typically runs a low-speed start, a high-speed blend, and a pause — which is exactly the manual sequence you’d do anyway. On models without presets, replicate it: Low 10 seconds → High 45 seconds → pause → High 15 seconds.
Liquid-to-Solid Ratios That Actually Work
Getting the ratio wrong is the second most common problem. Here’s a reliable starting framework.
| Smoothie Type | Liquid per 2 Cups of Solids | Notes |
|---|---|---|
| Thin / drinkable | 1 to 1.25 cups | Good for protein shakes, juice-based blends |
| Standard | 3/4 to 1 cup | The default for most fruit smoothies |
| Thick / spoonable | 1/2 to 3/4 cup | Smoothie bowls; expect to need a tamper or more pauses |
| Green smoothie | 3/4 to 1 cup | Greens release water as they blend, so start lower |
| Nut butter / date-heavy | 1 to 1.5 cups | Sticky ingredients need more liquid to move |
Pro Tip: When in doubt, start with less liquid and add more. It’s much easier to thin a thick smoothie than to thicken a watery one — though a few extra ice cubes or a spoonful of oats will help if you overshoot.
Oster Jar Sizes and Batch Sizes
Your jar size determines how much you can blend at once. Underfilling is almost as bad as overfilling, because the blades need enough material to create a vortex.
| Jar Size | Ideal Batch | Minimum Batch | Maximum |
|---|---|---|---|
| 20 oz personal cup | 16 oz | 10 oz | 18 oz (leave headroom) |
| 5–6 cup (40–48 oz) | 24–32 oz | 16 oz | 40 oz |
| 32 oz | 20–24 oz | 12 oz | 28 oz |
| 48–64 oz (Versa) | 32–48 oz | 24 oz | 56 oz |
The rule of thumb: fill to 60–75 percent of the jar’s capacity. That leaves room for the vortex to form and for expansion.
Cleaning Your Oster Blender the Right Way
A dirty blender is a blender you stop using. Make cleanup fast and you’ll actually keep making smoothies.
The 30-Second Rinse Method
- Fill the jar one-third full with warm water.
- Add one drop of dish soap.
- Put the lid on and blend on Low for 10–20 seconds.
- Pour out, rinse, and turn the jar upside down to dry.
Do this immediately after blending, before anything dries on the blade.
Deep Cleaning
- Jar: Most Oster glass and plastic jars are dishwasher-safe on the top rack. Check your manual — some plastic jars warp on the bottom rack.
- Blade assembly: Removable blade bases are usually dishwasher-safe. If yours isn’t removable, wash by hand with a bottle brush, carefully, holding the blade by the base.
- Lid and gasket: Pull the gasket out of the lid and wash both. Food trapped under the gasket is a common source of smell.
- Motor base: Wipe with a damp cloth only. Never submerge the base.
Warning: The blades are sharp. When hand-washing the blade assembly, hold it by the plastic collar, not the blades, and never leave it in soapy water where you can’t see it.
Troubleshooting Table: Symptom to Fix
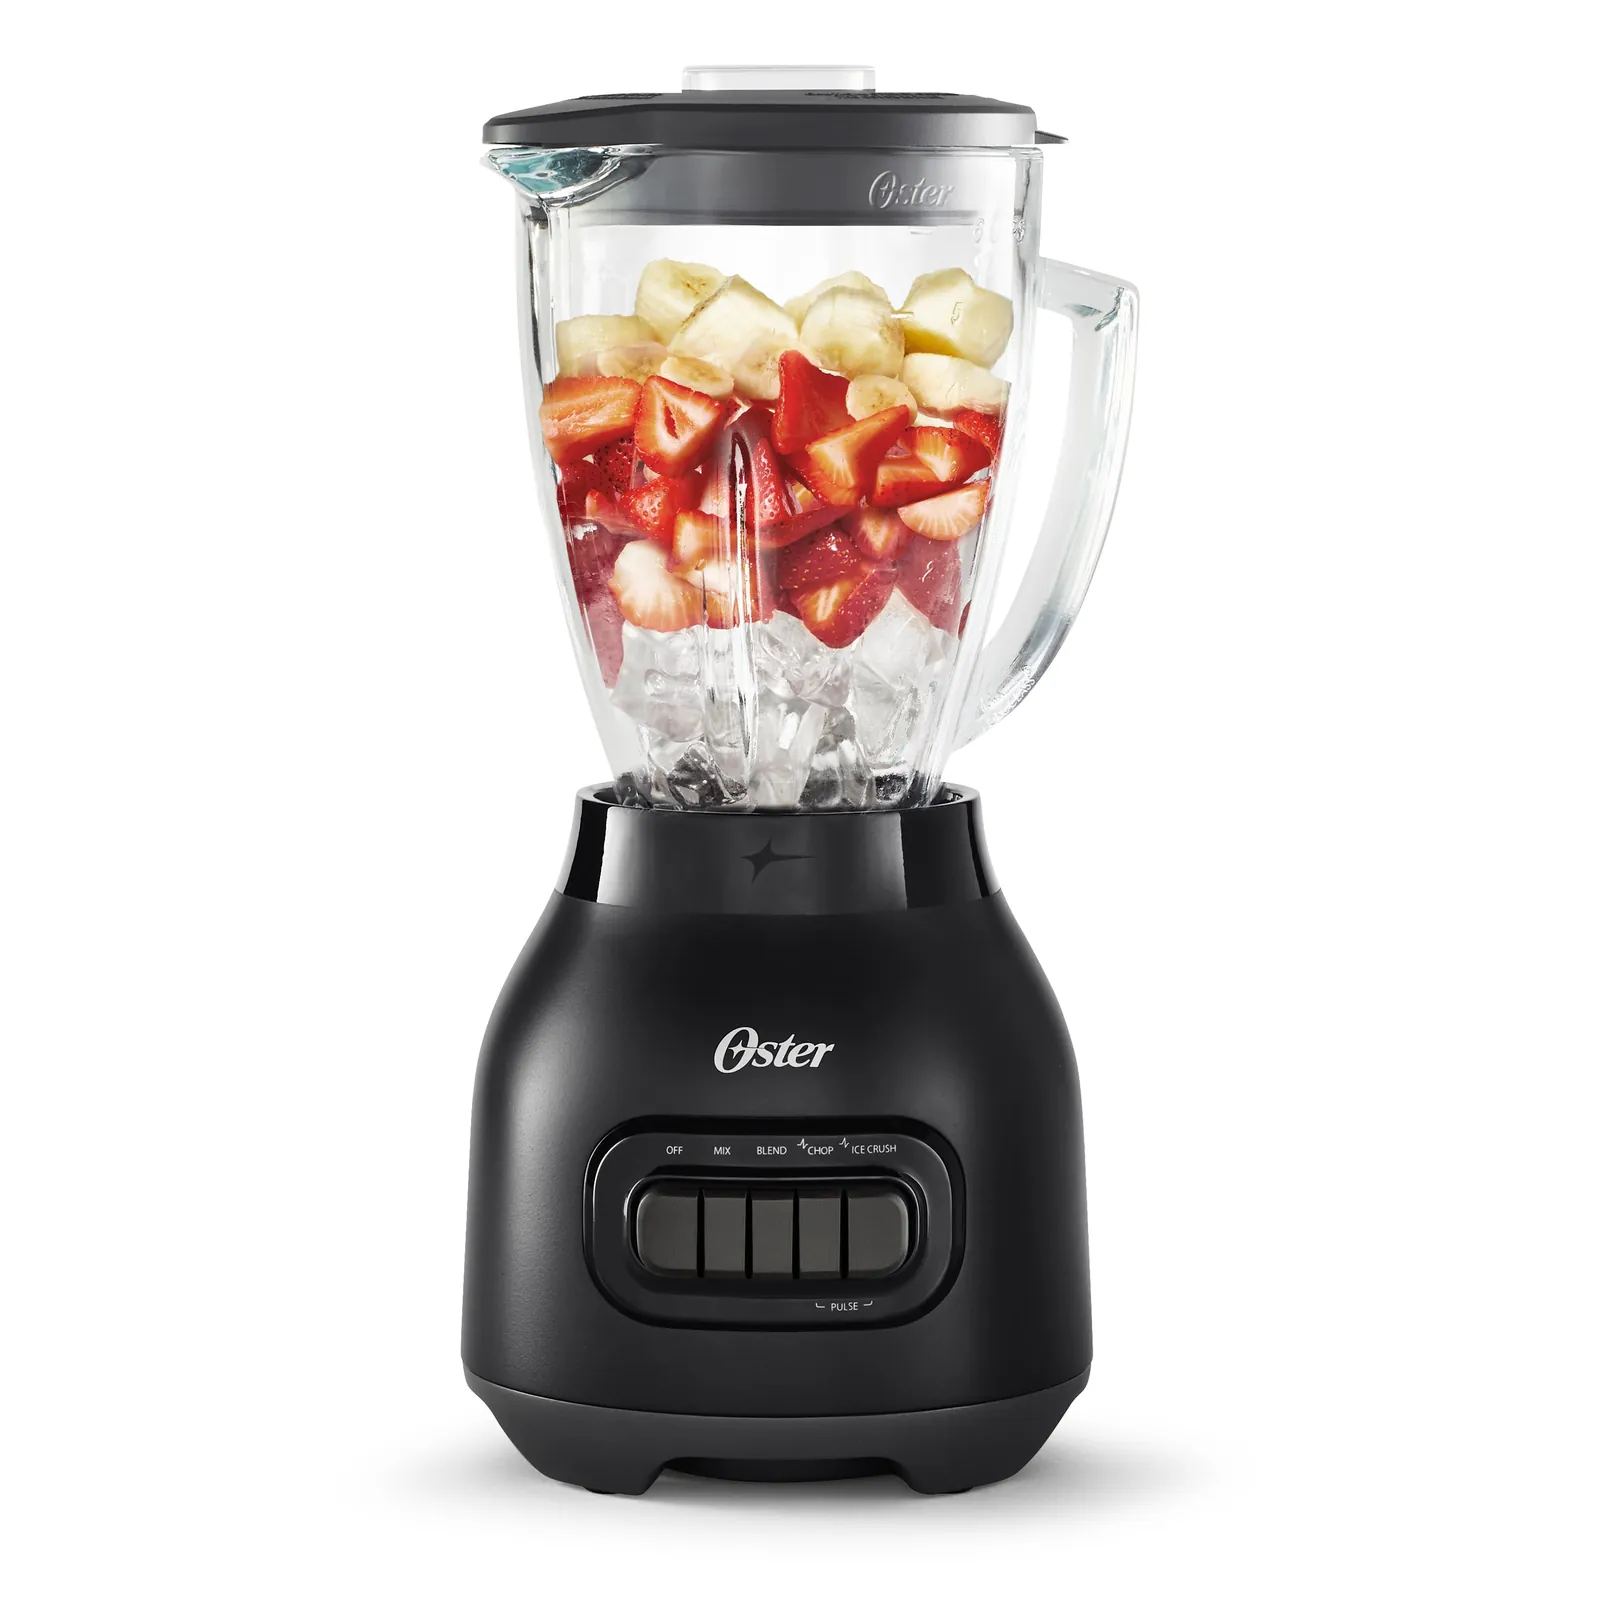
| Symptom | Likely Cause | Fix |
|---|---|---|
| Blades spin, nothing blends | Air pocket / cavitation | Unplug, stir, add 1/4 cup liquid, restart on Low |
| Motor won’t start | Thermal cutoff or not seated | Cool 15 min; check jar is locked on base |
| Leaking from the base of the jar | Missing or misaligned gasket | Reseat or replace the gasket |
| Smoothie is warm | Blended too long | Blend in shorter bursts; use frozen fruit instead of ice |
| Chunky texture | Not enough liquid or too short a blend | Add liquid; blend 20 more seconds on High |
| Burning smell | Motor overload | Stop, cool, reduce batch size or liquid |
| Lid won’t come off | Suction from vacuum | Wait 10 seconds, then twist; warm water on the seam |
Frequently Asked Questions
How long should I blend a smoothie in an Oster blender?
Most smoothies need 30 to 60 seconds total: about 10–15 seconds on Low to break up chunks, then 30–45 seconds on High. Thick mixtures with frozen fruit may need 60–90 seconds in short bursts. If it’s still chunky after 90 seconds, the problem is your liquid ratio, not the time.
Why does my Oster blender just spin and not blend?
You’ve created an air pocket, usually because frozen ingredients went in before the liquid or there isn’t enough liquid overall. Unplug the blender, stir the contents with a spatula, add 1/4 cup of liquid, and restart on Low before moving to High.
Can I put frozen fruit in an Oster blender?
Yes, and it’s what Oster blenders are built for. The key is to put frozen fruit on top of the liquid and soft ingredients, and to use at least 1/2 cup of liquid per cup of frozen fruit. Models like the Oster Pro 1200 and Versa handle frozen fruit with less liquid than the basic two-speed models.
What’s the right order to load an Oster blender?
Liquid first, then soft ingredients (yogurt, nut butter, banana), then leafy greens, then fresh fruit, then frozen fruit and ice on top. This order lets the blades form a vortex and pull everything down instead of spinning in an air pocket.
Is the Oster blender jar dishwasher safe?
Most Oster glass jars and many plastic jars are top-rack dishwasher safe, and removable blade assemblies usually are too. The motor base is never dishwasher safe — wipe it with a damp cloth. Check your specific model’s manual, since some plastic jars can warp on a heated dry cycle.
How do I stop my Oster blender from leaking?
Check the gasket (the rubber ring inside the blade base or lid). If it’s missing, cracked, or misaligned, the jar will leak. Reseat it firmly or order a replacement gasket for your model. Also make sure the blade base is screwed on tight before blending.
Conclusion
Once you’ve got the loading order and the liquid ratio down, the rest is just repetition — start with the banana-berry recipe, adjust the thickness to your taste, and rinse the jar the moment you’re done. That one habit keeps the blender on your counter instead of in a cabinet, which is the only thing that really determines whether you’ll actually use it tomorrow morning.