How To Make Nut Butter With Ninja Blender: Easy Homemade Recipe
Making your own nut butter at home is easier than you might think. Many people love the taste and health benefits of nut butter, but store-bought jars can be expensive and often contain added sugars or oils. Using a Ninja Blender, you can create creamy, flavorful nut butter in your own kitchen. This article will guide you through every step, from choosing the right nuts to storing your homemade butter. You’ll learn not just the basics, but also some expert tricks that most beginners miss. Whether you want peanut, almond, cashew, or mixed nut butter, the Ninja Blender can handle it all. Let’s get started and turn your favorite nuts into a delicious, healthy spread.
Why Make Nut Butter At Home?
Store-bought nut butter is convenient, but there are several reasons to make your own. First, you control the ingredients. You can avoid unwanted additives like sugar, salt, or palm oil. Second, homemade nut butter is often fresher, with a stronger flavor and smoother texture. Third, making nut butter can be cheaper in the long run, especially if you buy nuts in bulk.
Another advantage is customization. You can mix different nuts, add flavors like cinnamon or vanilla, and even adjust the texture. Homemade nut butter is also safer for people with allergies, since you know exactly what is inside.
Choosing The Right Nuts
The nuts you select will affect the taste, texture, and nutrition of your butter. Most people use peanuts, almonds, or cashews, but you can also try pecans, walnuts, hazelnuts, or mixed nuts. Each nut has its own unique flavor and fat content.
When buying nuts, look for these qualities:
- Raw or roasted: Roasted nuts give a deeper flavor, but raw nuts work well too.
- Unsalted: Salted nuts can make your butter too salty.
- Freshness: Old or rancid nuts will ruin the taste.
- Organic: If possible, choose organic nuts for fewer pesticides.
Here’s a comparison of common nuts used for nut butter:
| Nut Type | Flavor | Fat Content (per 100g) | Texture in Butter |
|---|---|---|---|
| Peanuts | Earthy, slightly sweet | ~49g | Creamy, smooth |
| Almonds | Rich, mild | ~50g | Thick, slightly gritty |
| Cashews | Buttery, sweet | ~46g | Very creamy |
| Hazelnuts | Nutty, aromatic | ~61g | Rich, slightly oily |
A non-obvious insight: cashew butter tends to be softer and easier to blend than almond or peanut butter due to its higher starch content. This can be helpful if you want a quick, creamy spread.
Preparing Nuts For Blending
Proper preparation makes blending easier and results in better nut butter. Here’s what you need to do:
- Roasting: Even if you buy raw nuts, roasting them brings out their natural oils and flavor. Spread nuts on a baking sheet and roast at 350°F (175°C) for 10–15 minutes. Stir halfway to prevent burning. Let them cool for 5 minutes.
- Removing skins: For almonds and peanuts, the skins can make butter gritty. After roasting, rub nuts with a clean towel to remove loose skins. For hazelnuts, roll them in a towel after roasting.
- Checking for freshness: Taste a few nuts before blending. If they taste bitter or stale, don’t use them.
Roasting is a step many beginners skip, but it makes a big difference in both taste and texture.
Equipment: Why Use A Ninja Blender?
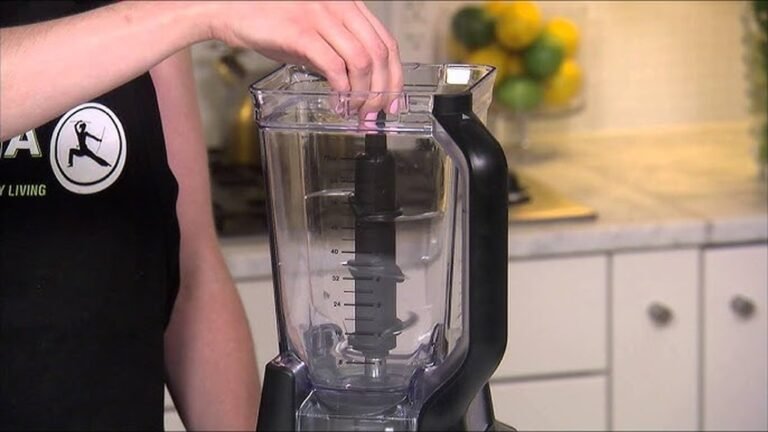
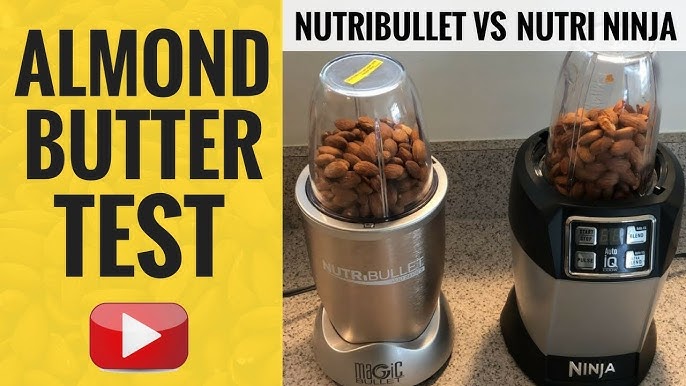
A Ninja Blender is powerful enough to crush nuts and release their oils, which is essential for creamy nut butter. Many lower-powered blenders struggle with nuts, leading to chunky or dry butter.
Benefits of using a Ninja Blender:
- Strong motor: Handles tough nuts easily.
- Sharp blades: Create smoother butter.
- Large capacity: You can make big batches.
- Versatility: Suitable for both nut butter and other recipes.
Here’s a quick comparison of Ninja Blender models suitable for nut butter:
| Model | Motor Power (Watts) | Capacity | Recommended for Nut Butter? |
|---|---|---|---|
| Ninja Professional 1000 | 1000 | 72 oz | Yes |
| Ninja Foodi Power Nutri Duo | 1200 | 24 oz | Excellent |
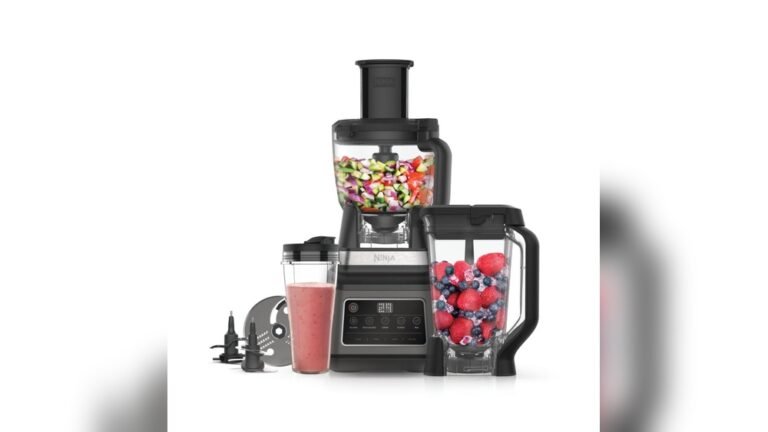
| Ninja Mega Kitchen System | 1500 | 72 oz | Best for large batches |
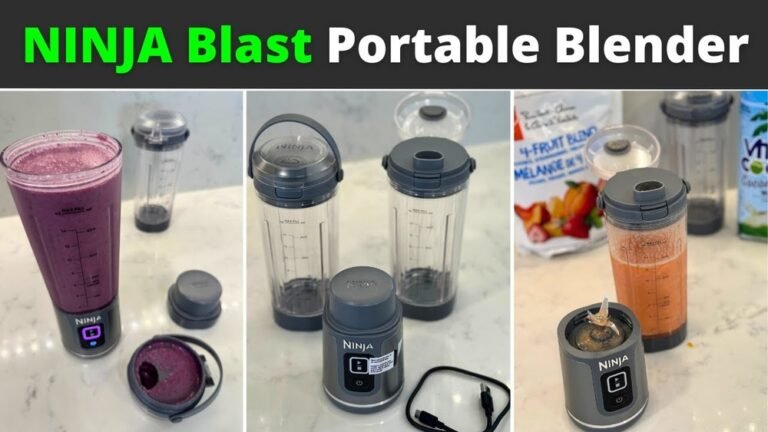
If you only have a small Ninja blender, start with smaller batches to avoid overloading the motor.
Ingredients And Measurements
Making nut butter is simple, but exact measurements help you get the best results. Here’s what you need for a basic batch:
- 2 cups nuts (about 300g; choose any type)
- 1–2 tablespoons oil (optional; use neutral oil like grapeseed, sunflower, or coconut)
- Pinch of salt (optional)
- Sweetener (optional; honey, maple syrup, or agave, 1–2 teaspoons)
The oil helps if the nuts are dry or if your blender struggles. Most nuts, especially roasted, release enough oil on their own. Sweetener and salt are optional for flavor.
A practical tip: Always start with less oil and sweetener. You can add more, but you can’t remove them if you add too much.
Step-by-step: Making Nut Butter With Ninja Blender
Follow these clear steps to make nut butter:
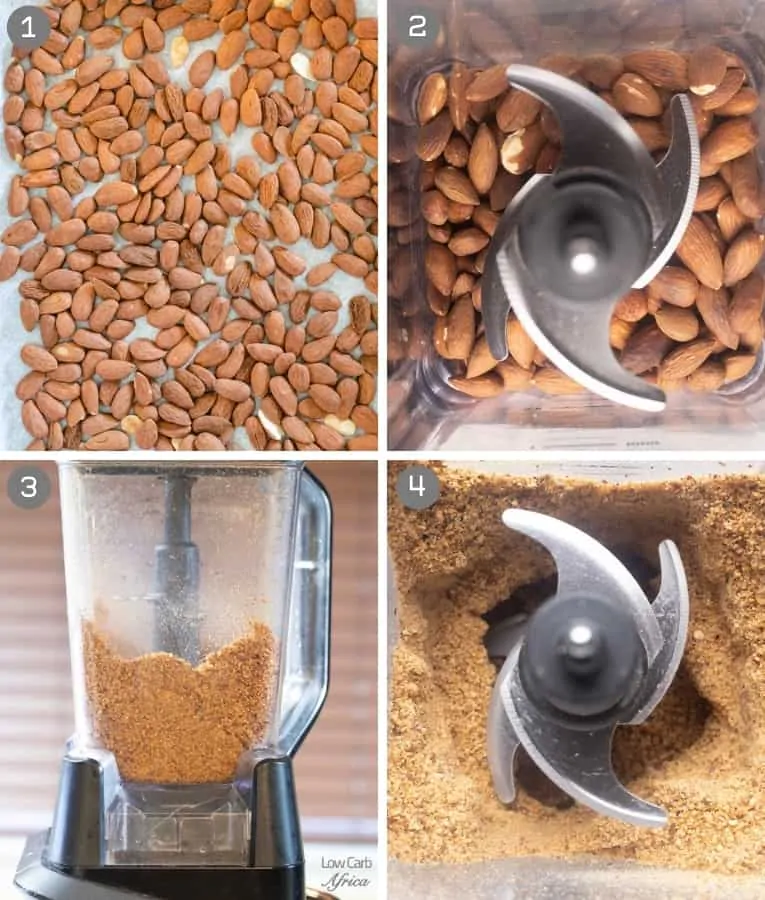
- Prepare nuts: Roast and cool your nuts as described above.
- Add nuts to blender: Pour nuts into the Ninja Blender jar. Use the pulse setting for a few seconds to break them into small pieces.
- Blend: Set the blender to high speed. Blend for 30–60 seconds, then stop and scrape down the sides with a spatula.
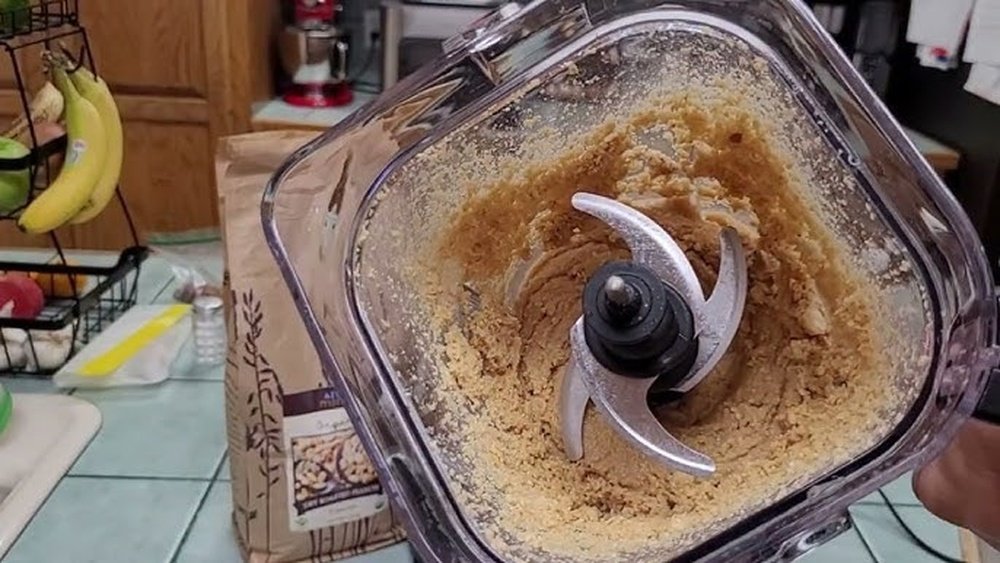
- Check consistency: The mixture will look crumbly at first. Keep blending, pausing every 30–60 seconds to scrape down sides and let the motor rest.
- Add oil (if needed): If the butter stays dry or thick after 2–3 minutes, add 1 tablespoon oil. Blend again. Repeat until creamy.
- Add salt/sweetener: Taste the butter. Add a pinch of salt or sweetener if desired, then blend for another 30 seconds.
- Finish blending: Blend until the butter is smooth and glossy. This can take 3–5 minutes total, depending on the nuts and blender power.
- Cool and store: Transfer nut butter to a glass jar. Let it cool, then seal tightly.
Common beginner mistake: Over-blending can make nut butter too oily and runny. Stop as soon as the butter is creamy but not liquid.
Credit: www.youtube.com
Troubleshooting: Problems And Solutions
Making nut butter is simple, but a few issues can happen. Here’s how to solve them:
- Butter is too dry: Add more oil, 1 teaspoon at a time.
- Butter is too oily: Use less oil next time. Stir before using; oil often separates during storage.
- Blender overheating: Blend in short bursts. Let the motor cool for 1–2 minutes between sessions.
- Butter won’t blend: Use smaller batches, or add oil. Make sure nuts are roasted for easier blending.
- Chunky texture: Blend longer, scrape sides, or add a bit more oil.
A non-obvious insight: If your blender struggles, warm the nuts slightly before blending. Warm nuts release oil faster, making blending easier.
Flavor Variations And Add-ins
One of the best things about homemade nut butter is customization. Try these ideas:
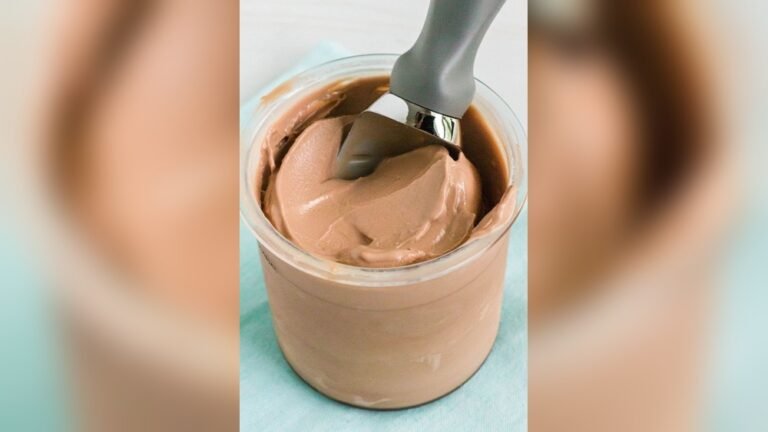
- Chocolate nut butter: Blend in 1–2 tablespoons cocoa powder and 2 teaspoons honey.
- Cinnamon almond butter: Add 1 teaspoon cinnamon and a pinch of nutmeg.
- Vanilla cashew butter: Add 1 teaspoon vanilla extract and 1 teaspoon maple syrup.
- Spicy peanut butter: Mix in ½ teaspoon chili powder or cayenne pepper.
- Mixed nut butter: Combine equal parts almonds, cashews, and hazelnuts.
You can also add chia seeds, flax seeds, or shredded coconut for extra nutrition. Always add flavorings after the nuts are blended, then blend for an extra 30 seconds to mix well.

Credit: www.asaucykitchen.com
Storing Your Nut Butter
Homemade nut butter doesn’t contain preservatives, so storage is important. Here’s how to keep it fresh:
- Glass jars: Use clean, dry glass jars with tight lids.
- Refrigerate: Store in the fridge for 1–2 months. Oil may separate; stir before using.
- Room temperature: Nut butter lasts up to 2 weeks outside the fridge. Keep it in a cool, dry place.
- Freeze: For longer storage, freeze nut butter in airtight containers. Thaw in the fridge before using.
A practical tip: Always use a clean spoon to scoop nut butter to prevent contamination.
Nutrition Facts And Health Benefits
Nut butter is packed with nutrients. Here are the basic nutrition facts for 2 tablespoons (about 32g) of common nut butters:
| Type | Calories | Protein | Fat | Carbs |
|---|---|---|---|---|
| Peanut Butter | 190 | 8g | 16g | 7g |
| Almond Butter | 200 | 7g | 18g | 6g |
| Cashew Butter | 180 | 5g | 14g | 8g |
| Hazelnut Butter | 210 | 6g | 20g | 5g |
Nut butter is a good source of healthy fats, protein, and fiber. It also contains vitamins (E, B6) and minerals (magnesium, potassium). Eating nut butter can help with heart health, weight management, and energy. But remember, nut butter is calorie-rich, so eat it in moderation.
Credit: lowcarbafrica.com
Practical Uses For Homemade Nut Butter
Nut butter is versatile and can be used in many ways:
- On toast: Spread nut butter on bread for a quick breakfast.
- In smoothies: Add a tablespoon for creaminess and protein.
- Baking: Use nut butter in cookies, brownies, or cakes.
- Sauces: Mix with soy sauce, honey, and garlic for a tasty dip.
- Oatmeal: Stir into warm oats for extra flavor.
Another useful tip: Homemade nut butter can replace store-bought spreads in most recipes, but it may taste fresher and less sweet.
Cleaning Your Ninja Blender After Making Nut Butter
Nut butter is sticky, so cleaning your blender properly is important. Here’s how:
- Remove excess: Scrape out as much butter as possible with a spatula.
- Soak: Fill the jar with warm water and a drop of dish soap. Let it soak for 10–15 minutes.
- Blend: Run the blender for 30 seconds with the soapy water.
- Rinse: Rinse thoroughly with clean water.
- Dry: Let all parts air dry before reassembling.
A calm expert’s advice: Clean your blender immediately after making nut butter. Dried nut butter is much harder to remove.
Cost Comparison: Homemade Vs Store-bought
Making nut butter at home can save money. Let’s compare the costs:
| Type | Store Price (16 oz) | Homemade Cost (16 oz) | Savings |
|---|---|---|---|
| Peanut Butter | $3.50 | $2.00 | $1.50 |
| Almond Butter | $8.00 | $5.50 | $2.50 |
| Cashew Butter | $9.00 | $6.00 | $3.00 |
Prices are based on average US grocery costs. Buying nuts in bulk can lower the homemade cost even further.
Safety Tips For Making Nut Butter
Nut butter is safe to make, but you should follow some basic safety rules:
- Check for allergies: If you or anyone in your home has nut allergies, be careful. Clean all equipment thoroughly.
- Avoid cross-contamination: Use separate jars and utensils for different nut butters.
- Don’t overfill blender: Too many nuts can strain the motor and cause overheating.
- Supervise children: Kids can help, but adults should handle the blender.
- Store properly: Bad storage can cause nut butter to spoil or grow mold.
Expert Tips For Perfect Nut Butter
Here are some tricks learned from experience:
- Blend when nuts are warm: Warm nuts release oil faster, making blending easier.
- Use a spatula with a flat edge: This helps scrape butter from corners and sides.
- Let butter rest: After blending, let the butter sit for 10–15 minutes. It thickens as it cools.
- Experiment with ratios: Try mixing 70% almonds with 30% cashews for a creamy texture.
- Add seeds: Pumpkin seeds or sunflower seeds can add flavor and nutrition.
Many beginners miss the importance of letting nut butter rest. It’s tempting to eat it immediately, but resting improves both flavor and texture.
Frequently Asked Questions
How Long Does Homemade Nut Butter Last?
Homemade nut butter lasts 1–2 months in the fridge and up to 2 weeks at room temperature. Always use a clean spoon to avoid contamination, and stir if oil separates.
Can I Make Nut Butter Without Adding Oil?
Yes, many nuts release enough oil on their own. If the butter is too dry, add 1–2 teaspoons of neutral oil. Roasting nuts helps release their natural oils.
Is Homemade Nut Butter Healthier Than Store-bought?
Usually, yes. Homemade nut butter contains fewer additives and no preservatives. You control the salt and sugar levels. It’s also fresher and can be made organic.
Can I Use Other Nuts Besides Peanuts And Almonds?
Definitely. Try cashews, hazelnuts, walnuts, or mix different nuts. Each type gives a unique flavor and texture. Be sure to check for allergies.
Does Ninja Blender Work Better Than Food Processors?
For nut butter, a Ninja Blender is powerful and versatile. Food processors work well too, but Ninja’s strong motor and blades can create smoother butter faster. For more info on blender types and performance, visit Consumer Reports.
Making nut butter with a Ninja Blender is a rewarding process. You get fresh, tasty, and healthy spreads for less money and with full control over ingredients. With these tips and steps, you’ll create nut butter that rivals any store-bought jar.
Enjoy experimenting with flavors, and share your homemade creations with friends and family.