How To Make Oat Milk In Ninja Blender: Easy Step-by-Step Guide
Making oat milk at home is easier than many people think, and it can save money compared to store-bought versions. With a Ninja blender, you can quickly blend oats and water to create a creamy, plant-based milk that works well for coffee, cereals, smoothies, or baking. Oat milk is also free from dairy, soy, and nuts, so it suits many diets and allergies. In this article, you’ll learn how to make oat milk step-by-step, understand ingredient choices, troubleshoot common problems, and see how homemade compares to store brands. You’ll also find practical tips for getting the best texture and flavor, plus answers to common questions. Whether you’re new to oat milk or want to improve your recipe, this guide offers everything you need.
Why Make Oat Milk At Home?
Store-bought oat milk is convenient, but homemade has several advantages. When you make it yourself, you control the ingredients. Many commercial oat milks contain added sugars, gums, oils, or preservatives. By using only oats and water, you avoid these extras.
Cost is another factor. One quart of store-bought oat milk can cost $3–$5. Homemade oat milk costs less than $1 per batch, depending on the type of oats you use.
Freshness matters too. Homemade oat milk tastes fresher and can be tailored to your preference. You can adjust sweetness, add flavor, or change thickness as you like.
Finally, making oat milk is quick. With a Ninja blender, the process takes less than 10 minutes from start to finish.
Choosing Ingredients For Oat Milk
Picking the right oats and other ingredients is key to good oat milk. Quality ingredients make a noticeable difference in taste and texture.
Types Of Oats
There are three main types of oats:
- Rolled oats: These are flat, steamed oats. They blend well and give a smooth texture.
- Steel-cut oats: These are whole oat kernels chopped into pieces. They need longer blending and can make the milk gritty.
- Instant oats: These are finely processed and cook quickly. They can create slimy oat milk.
For best results, use rolled oats. They balance texture and flavor, and most homemade oat milk recipes recommend them.
Water Quality
Use cold, filtered water. Tap water with a strong taste can affect the milk’s flavor. Cold water helps prevent sliminess.
Optional Add-ins
You can customize oat milk with:
- Salt: A pinch enhances flavor.
- Sweeteners: Maple syrup, honey, or sugar add sweetness.
- Vanilla extract: For a classic flavor.
- Cocoa powder: For chocolate oat milk.
- Cinnamon: For warmth and spice.
Start with basic oat milk, then experiment with add-ins as you get comfortable.
Equipment Needed
You don’t need fancy tools, but some items help make oat milk easier and smoother.
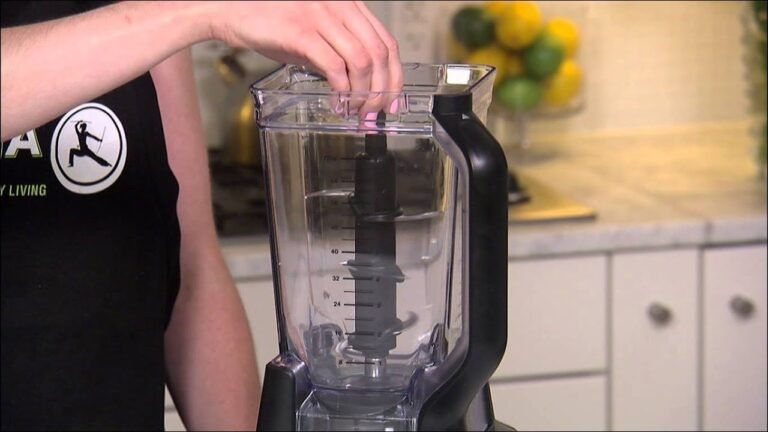
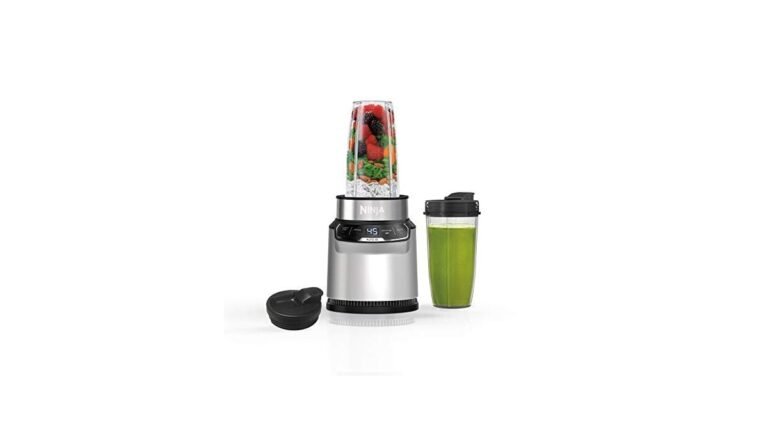
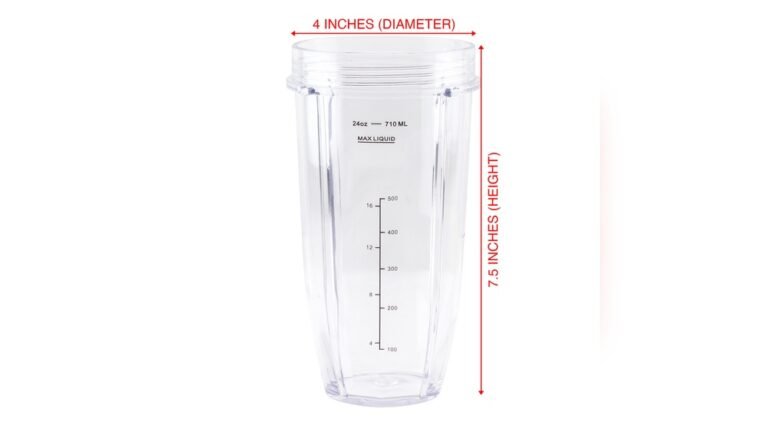
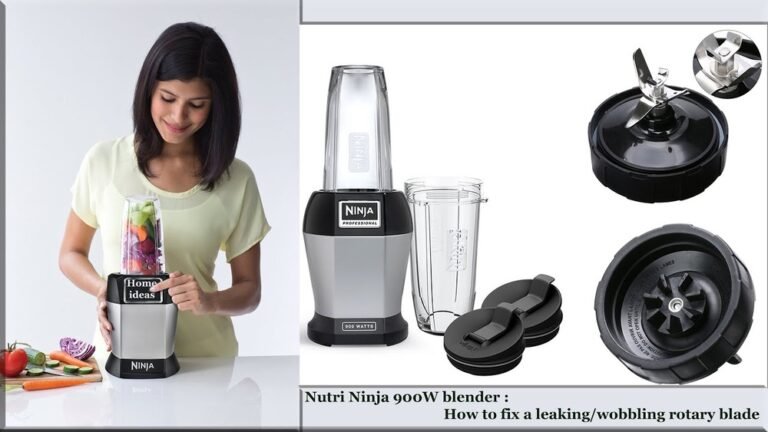
- Ninja blender: Any model with at least 1000 watts works well.
- Fine mesh strainer: Removes oat pulp.
- Nut milk bag: Gives a smoother result than a strainer.
- Large bowl: Catches strained milk.
- Storage container: A glass jar or bottle for refrigerating milk.
If you don’t have a nut milk bag, you can use cheesecloth or a clean kitchen towel.
Step-by-step: Making Oat Milk In Ninja Blender
Here’s a simple recipe for oat milk using your Ninja blender. This batch makes about 4 cups (1 quart), enough for a week in most households.
Ingredients
- 1 cup rolled oats
- 4 cups cold filtered water
- Optional: 1–2 tablespoons sweetener (maple syrup, honey, or sugar)
- Optional: ½ teaspoon vanilla extract
- Optional: Pinch of salt
Instructions
- Measure oats and water: Place 1 cup rolled oats and 4 cups cold water in the blender.
- Add extras: If using sweetener, vanilla, or salt, add them now.
- Blend: Secure the lid and blend for 30–45 seconds on high. Avoid blending longer or the milk can get slimy.
- Strain: Pour the mixture through a nut milk bag or fine mesh strainer into a bowl. Squeeze or press gently to extract as much liquid as possible.
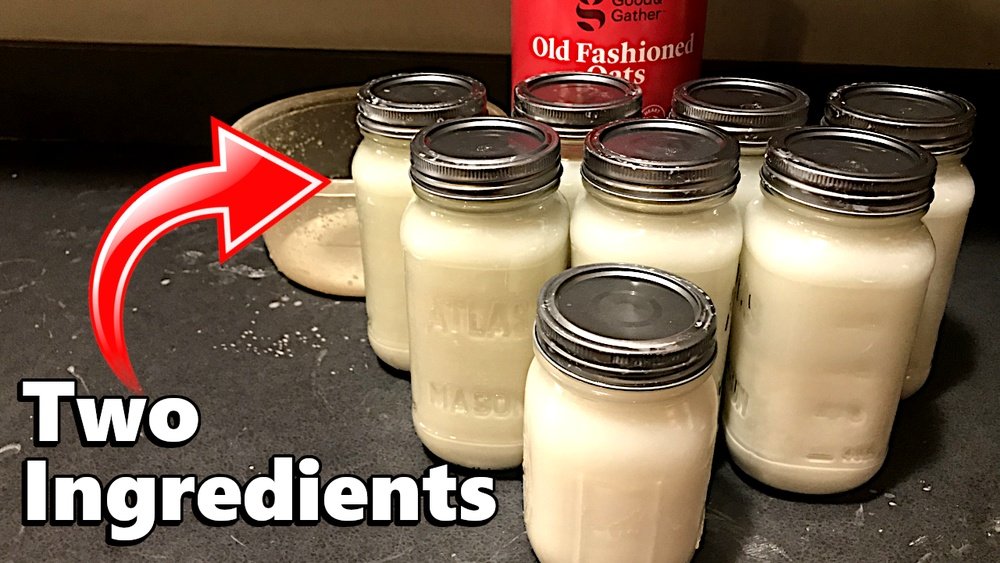
- Transfer: Pour strained milk into a clean jar or bottle for storage.
- Refrigerate: Store oat milk in the fridge. It keeps for 4–5 days.
Tips For Best Texture
- Don’t over-blend. More blending breaks oats down too much, causing slime.
- Use cold water. Warm water increases starch and sliminess.
- Strain twice for extra smoothness.
- Shake before use; homemade oat milk separates naturally.
Troubleshooting Common Oat Milk Problems
Homemade oat milk can sometimes turn out too slimy, watery, or grainy. Here’s how to fix those issues:
Slimy Texture
Sliminess is the most common problem. It happens when oats release too much starch.
- Use cold water.
- Blend no longer than 45 seconds.
- Avoid steel-cut or instant oats.
Watery Milk
If your oat milk is too thin, increase the amount of oats or blend slightly longer.
- Try 1¼ cups oats per 4 cups water.
- Add a small amount of oil (like sunflower or coconut) for creaminess.
Grainy Milk
Grainy oat milk means the pulp wasn’t strained well.
- Use a nut milk bag, not just a strainer.
- Strain twice for smoother milk.
Separation
Homemade oat milk separates after sitting. This is normal.
- Shake or stir before each use.
Comparing Ninja Blender With Other Blenders
The Ninja blender is popular for oat milk because it’s powerful and affordable. How does it compare with other brands for this task?
| Blender | Power (Watts) | Price Range | Oat Milk Texture | Ease of Cleaning |
|---|---|---|---|---|
| Ninja Blender | 1000–1500 | $80–$150 | Smooth, less slimy | Easy |
| Vitamix | 1400–1800 | $350–$500 | Very smooth | Moderate |
| NutriBullet | 600–1200 | $60–$120 | Good, sometimes grainy | Easy |
| Oster | 700–1200 | $50–$100 | Average, can be watery | Easy |
Ninja blenders offer a strong balance of price and performance. They blend oats efficiently without excessive heat, which prevents sliminess.
Nutrition Facts: Homemade Vs Store-bought Oat Milk
Homemade oat milk has a different nutritional profile than store-bought. Store brands often add vitamins, minerals, and oils.
| Type | Calories (per cup) | Protein | Sugar | Added Ingredients |
|---|---|---|---|---|
| Homemade Oat Milk | 60–80 | 2g | 0–5g (depends on sweetener) | None |
| Store-Bought Oat Milk | 110–130 | 2–3g | 6–8g | Oil, gums, vitamins |
Homemade oat milk is usually lower in calories and sugar. It contains less protein than dairy milk, but is suitable for most plant-based diets.
Practical Uses For Oat Milk
Oat milk is versatile. Here are some common uses:
- Coffee and Tea: Oat milk foams well for lattes and cappuccinos.
- Cereal and Granola: Pour over breakfast grains for a creamy taste.
- Smoothies: Use as a base instead of dairy milk.
- Baking: Substitute for cow’s milk in cakes, muffins, and pancakes.
- Cooking: Use in soups or sauces for added creaminess.
Oat milk isn’t suitable for recipes that need high protein or fat, like cheese or yogurt, but it’s excellent for most everyday uses.

Credit: www.notquitenigella.com
Storing And Preserving Homemade Oat Milk
Homemade oat milk doesn’t last as long as commercial brands because it lacks preservatives.
- Store in a sealed container in the refrigerator.
- Use within 4–5 days.
- Shake before using, as separation is normal.
If you notice sour smell or taste, discard the milk. Don’t freeze oat milk; freezing can make it grainy and separate.
Customizing Oat Milk: Flavor And Texture
One advantage of homemade oat milk is that you can adjust it to your taste.
Flavor Variations
- Vanilla Oat Milk: Add ½ teaspoon vanilla extract.
- Chocolate Oat Milk: Add 1 tablespoon cocoa powder and 2 tablespoons sweetener.
- Cinnamon Oat Milk: Add ½ teaspoon ground cinnamon.
Adjusting Thickness
- For thicker milk, use more oats (1½ cups oats per 4 cups water).
- For thinner milk, use fewer oats (¾ cup oats per 4 cups water).
Sweetening
- Maple syrup, agave, or honey are good options.
- Start with 1 tablespoon and adjust to taste.
Non-obvious Tips For Perfect Oat Milk
Most guides cover basic steps, but here are a few insights many beginners miss:
- Rinse Oats Before Blending: Rinsing removes extra starch and helps prevent sliminess. Place oats in a sieve and rinse under cold water until water runs clear.
- Don’t Soak Oats Overnight: Unlike nut milks, soaking oats releases more starch and can make the milk slimy. Blend dry oats for best results.
- Strain Promptly: Don’t let blended oat milk sit before straining. The longer it sits, the more starch is released.
These steps can improve texture and reduce problems.
Environmental Impact: Oat Milk Vs Dairy Milk
Oat milk is considered eco-friendly. Growing oats uses less water and land than raising cows for dairy. According to studies, oat milk creates less greenhouse gas and uses about 80% less water than cow’s milk production.
If you’re interested in learning more about the environmental impact of oat milk, check this BBC overview.
Common Mistakes When Making Oat Milk
Beginners sometimes make errors that affect oat milk quality. Here are mistakes to avoid:
- Blending too long: This increases starch and causes slime.
- Using warm water: Warm water speeds up starch release.
- Skipping the straining step: Without straining, milk is gritty.
- Soaking oats: Soaking is not needed and makes milk slimy.
- Storing too long: Homemade oat milk spoils after a few days.
Keep these points in mind for better results.
Cost Savings: Homemade Vs Store-bought
How much can you save by making oat milk at home?
| Source | Cost per Quart | Annual Cost (Weekly Use) | Savings per Year |
|---|---|---|---|
| Homemade | $0.80 | $41.60 | $104–$208 |
| Store-Bought | $3.00–$5.00 | $156–$260 | – |
Making oat milk at home saves $100–$200 per year if you use it regularly.

Credit: www.thegraciouspantry.com
Oat Milk For Special Diets
Oat milk suits many dietary needs:
- Vegan: No animal products.
- Nut-free: Safe for those with nut allergies.
- Soy-free: Good for soy allergy.
- Lactose-free: No dairy.
If you need gluten-free oat milk, use certified gluten-free oats. Regular oats can be contaminated with wheat during processing.
Using Leftover Oat Pulp
After straining, you’ll have leftover oat pulp. Don’t throw it away; it’s useful.
- Add to smoothies for fiber.
- Mix into muffins, cookies, or pancakes.
- Use in oatmeal or porridge.
- Compost for garden soil.
Oat pulp is high in fiber and can add nutrition to baked goods.

Credit: www.budgetbytes.com
Cleaning Your Ninja Blender After Making Oat Milk
Oat milk leaves residue in the blender. Here’s how to clean it:
- Rinse jar and blades with warm water.
- Fill jar halfway with water and a drop of dish soap. Blend for 30 seconds.
- Rinse thoroughly.
- Dry before storing.
Quick cleaning prevents buildup and keeps your blender working well.
Frequently Asked Questions
How Long Does Homemade Oat Milk Last?
Homemade oat milk lasts 4–5 days in the refrigerator. It does not contain preservatives, so always check for sour smell or taste before using.
Can I Make Oat Milk Without A Nut Milk Bag?
Yes, you can use a fine mesh strainer, cheesecloth, or a clean kitchen towel. However, a nut milk bag gives the smoothest result and is easiest to use.
Is Oat Milk Gluten-free?
Oat milk can be gluten-free if you use certified gluten-free oats. Regular oats may be contaminated with gluten during processing, so check labels if gluten is a concern.
Why Does My Oat Milk Get Slimy?
Sliminess comes from over-blending, using warm water, or soaking oats. Use cold water, blend for 30–45 seconds only, and strain immediately for best texture.
Can I Heat Homemade Oat Milk?
Yes, but heat gently. Homemade oat milk can thicken or separate if boiled. Warm it slowly for coffee or cooking, and stir often.
Making oat milk in a Ninja blender is quick, affordable, and customizable. With simple steps and quality ingredients, you can create fresh oat milk that tastes great and meets your dietary needs. By following the tips and avoiding common mistakes, your oat milk will have a smooth texture and clean flavor.
Whether you use it in coffee, baking, or just want a healthy alternative to dairy, homemade oat milk is a smart, eco-friendly choice. Try it out, and enjoy the benefits of making your own plant-based milk.