Can You Blend Coffee Beans in a Nutribullet Blender?
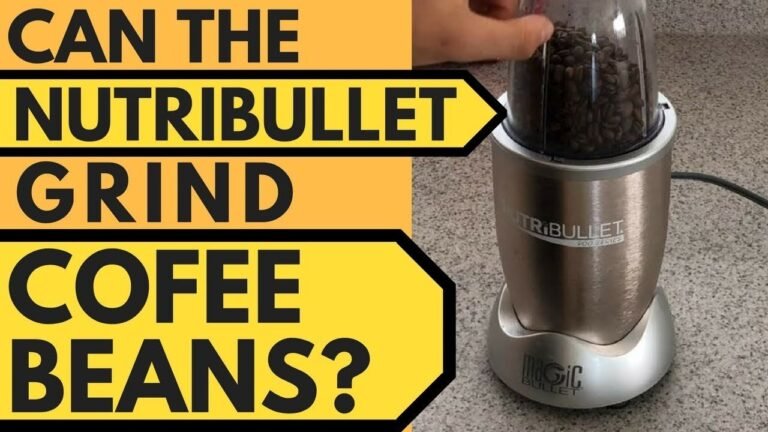
Yes — you can blend coffee beans in a Nutribullet blender, but only in small amounts, and only if you accept coarse, uneven grounds. The one thing that flips this answer is your blade: the flat extractor blade that ships with most Nutribullet models. If you have that blade, you’ll get something close to coarse grind. If you only have the milling blade, you’ll get powder and dust mixed together.
So before you do anything else, pull your blade out and look at it. Flat and wide means go ahead with a small batch. Tall and narrow means stop, or use it only for a few seconds at a time.
When a Nutribullet works for coffee beans
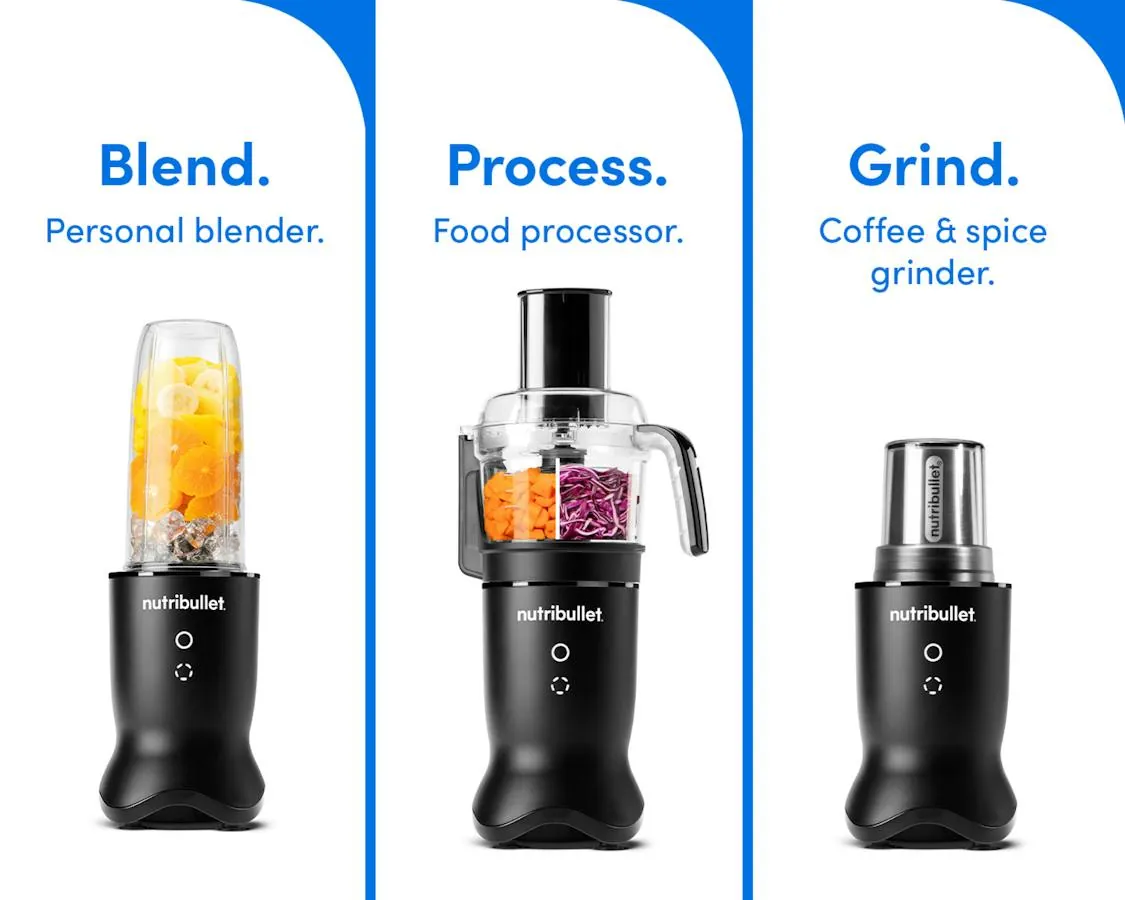
A Nutribullet can grind beans if your batch is small and your expectations match what the machine does. It’s a blender, not a burr grinder. The blades chop; they don’t crush beans between two surfaces the way a burr grinder does. That difference decides everything below.
| Your situation | Answer | Why |
|---|---|---|
| You have the flat extractor blade | Yes, small batches | Wider blade, more even chop |
| You only have the milling blade | Usually not | Narrow blade, powder and chunks mix |
| You’re grinding for a French press | Yes | Coarse grind hides uneven pieces |
| You’re grinding for espresso | No | Espresso needs a fine, even grind |
| You’re filling the cup halfway | No | Too much bean, blade stalls |
| You want beans for tomorrow morning | No | Ground coffee loses aroma fast |
| You’re grinding 2 tablespoons or less | Yes | Small load stays loose and moves |
Two tablespoons is the practical ceiling. That’s about 12 grams, enough for one mug of drip coffee. Go past that and the beans at the bottom sit still while the top ones spin.
What actually decides the result
Bean load decides the grind, not the machine’s power rating. A Nutribullet spins fast, but speed means nothing if the beans can’t reach the blades. Fill the cup a quarter of the way and the beans tumble freely, so every piece meets a blade many times. Fill it halfway and the bottom layer becomes a cushion. The blades spin above it and you get dust on top, whole beans underneath.
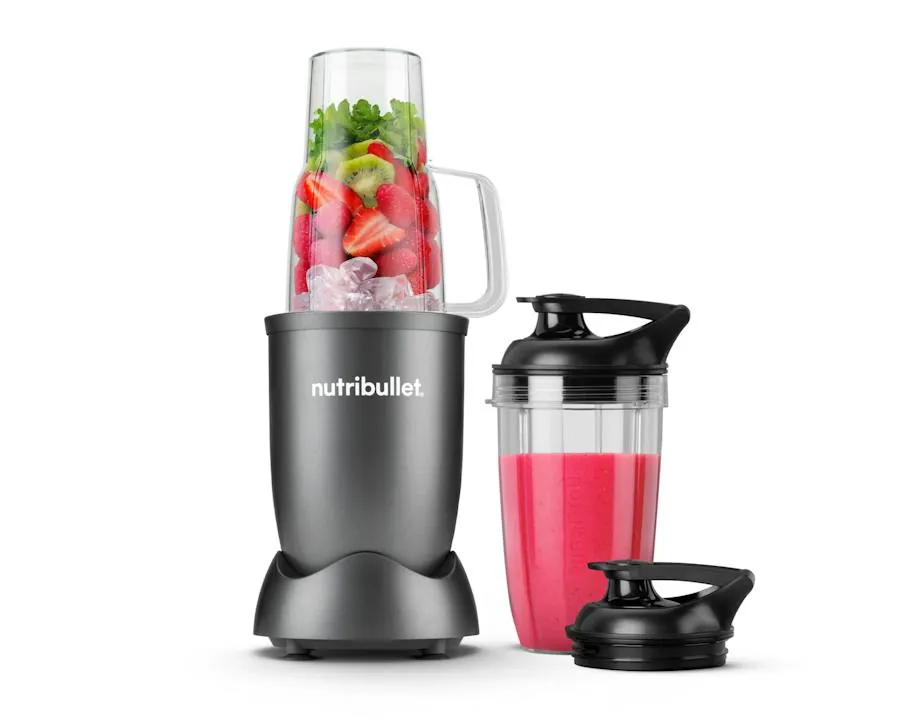
The blade shape is the second factor. Nutribullet sells two blades that people confuse. The extractor blade is flat with blades sweeping outward, and it moves the whole load in a circular current. The milling blade is taller and narrower, built for dry goods like flax and oats. For coffee, the flat one gives you a more even chop. The tall one tends to fling beans to the wall and leave them there.
Bean hardness matters too, but less than people think. Dark roasts are more brittle and break faster than light roasts. A light, dense bean needs a few more pulses. You can feel this — hard beans rattle longer before they break down.
Oil is the quiet problem. Coffee beans carry oils, and a blender cup traps them on the plastic. That film goes stale and flavors the next thing you blend.
If your batch is 2 tablespoons or less and you have the flat blade, pulse in 2-second bursts; if your cup is more than a quarter full or you have the tall milling blade, grind in smaller amounts or use a burr grinder instead.
How to grind beans without wrecking the cup
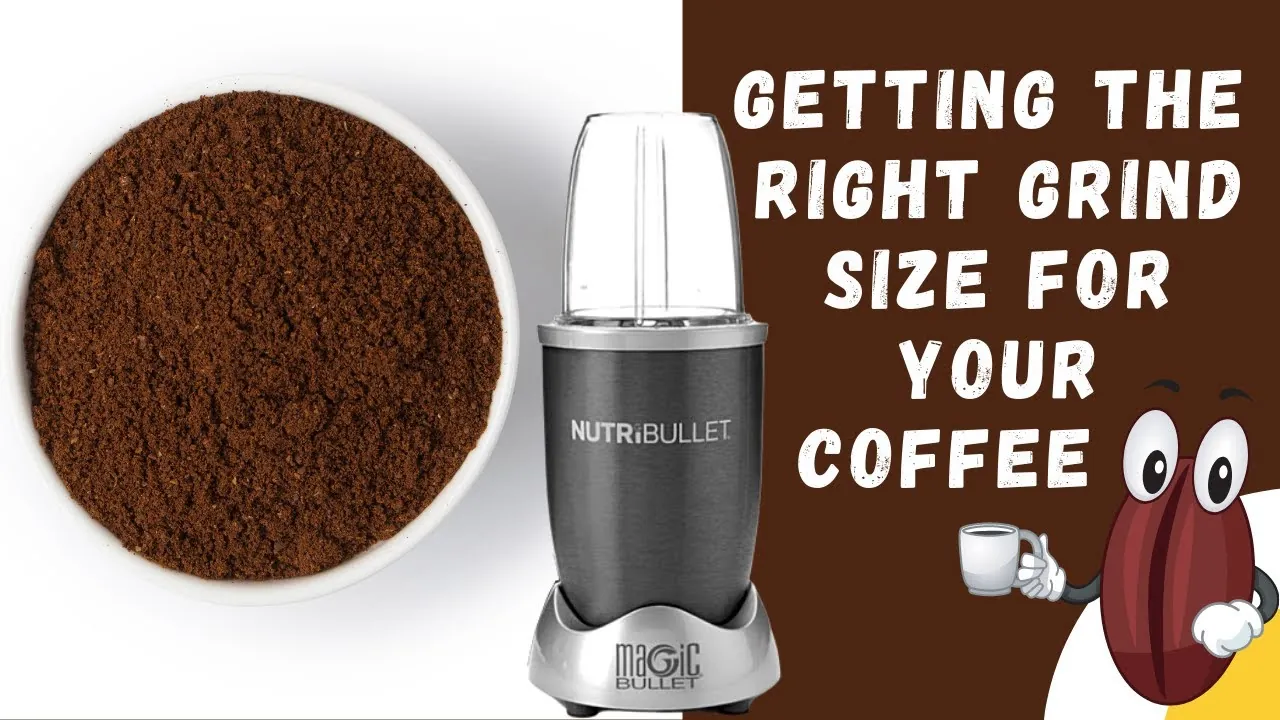
- Add no more than 2 tablespoons of beans. That’s roughly 12 grams, one mug’s worth. The sign it worked: the beans move freely when you shake the cup, with clear space above them.
- Fit the flat extractor blade, not the milling blade. The flat blade creates a current that carries beans into the cutting edge. If the beans just spin against the wall and don’t fall back, you have the wrong blade.
- Pulse for 2 seconds, then stop for 2 seconds. Repeat 5 to 8 times. Short bursts let the beans settle back onto the blades. Continuous running heats the grounds and clogs the bottom.
- Shake the cup between pulses. This is the step most people skip. Shaking redistributes the chunks so the big pieces come back to the top. You’ll hear the sound change from rattling to a finer, softer tone.
- Stop when the grounds look like coarse sand. For a French press or drip, that’s your target. If you see powder clinging to the walls and whole beans at the bottom, you’ve overfilled — tip some out and pulse again.
- Empty the cup right away and wipe it out. Coffee oils set on plastic and hold onto smell. Rinse with warm water and a drop of dish soap, then dry.
- Use the grounds within about a week. Ground coffee loses its aroma faster than whole beans because more surface is exposed to air. Keep them in a sealed jar away from light.
What to expect from the grind
You’ll get a mix of particle sizes — some fine dust, some coarse chunks. That’s normal for a blade grinder. It won’t match a burr grinder, and it won’t be consistent enough for espresso, where an uneven grind causes channeling and a sour or bitter shot.
For a French press, the uneven grind is less of a problem. The metal mesh filter catches most of it. You’ll get a slightly muddy cup with some sediment at the bottom, which many people don’t mind.
For drip coffee, expect a slower brew and a bit more bitterness, because the fine dust extracts faster than the coarse pieces.
The mistake that ruins the batch
Overfilling is the one error that shows up again and again, and it costs you the whole batch. People see a big cup, pour in a full scoop, and press the button. The blade spins, the top layer turns to powder, and the bottom layer stays whole. The result is a cup that tastes both weak and bitter at the same time — weak because the whole beans gave up nothing, bitter because the dust gave up everything at once.
The cost is real: you waste about 12 grams of beans per failed batch, plus the time spent cleaning a gummed-up cup. Do that a few mornings in a row and a bag of beans disappears with nothing good to show for it.
The check is simple. Before you press the button, look at the cup from the side. If the beans reach higher than a quarter of the cup, pour some back into the bag. You want clear space above the beans so they can jump and fall.
A second check: listen. A healthy grind sounds like dry rice rattling. A struggling one sounds like a low, stuck hum with no rattle. Stop and shake if you hear that.
The two mistakes that look like overfilling but are not: too little coffee, and a blade that has gone dull. Both give you a weak cup with whole beans left at the bottom, so people add more beans and make the first problem worse.
Test it before you blame the fill line. Run a batch with the cup half full. If the grind still comes out uneven, the blade is worn and no amount of measuring will fix it. If a half cup grinds clean, your scoop was simply too big.
One habit covers all of it: fill, look, listen, then press. Ten seconds of checking beats throwing out a batch and starting over.
When a blender isn’t the right tool
- You want espresso. Espresso needs a fine, even grind that a blade can’t produce, and a bad grind ruins the shot. A burr grinder is the only tool that gets you there.
- You’re grinding more than 2 tablespoons at a time. Blenders can’t handle a full batch, so you’d be pulsing for 10 minutes. A burr grinder does a week’s worth in under a minute.
- You grind coffee every morning. The daily pulse-and-shake routine gets old fast, and the uneven result shows in the cup. A burr grinder pays for itself in consistency.
- You want a quiet kitchen at 6 a.m. Blenders are loud, and there’s no way around it. A hand grinder is slower but far quieter.
- You only need grounds once or twice a month. Here the blender is fine, and buying a grinder makes no sense. Use the flat blade, keep the batch small, and accept the uneven grind.
If you’re in the first three groups, this isn’t a job for a blender, and no technique will fix it.
The tell is what you do with the grounds afterward. If they go straight into a drip basket or a French press, the blender’s uneven particles mostly even out in the soak, and you’ll barely notice. If they get tamped into a portafilter or measured into a pour-over cone, every coarse chunk and fine dust particle changes how the water moves through the bed.
One more case worth naming: cold brew. Coarse and consistent matters more than fine, and a blender overshoots into powder that clouds the concentrate and clogs the filter. If you brew cold, grind in short pulses and sift out the dust, or borrow a burr grinder for the batch.
Cost matters too. A hand grinder runs less than a mid-range blender, so “I’ll just use what I have” only saves money if the blender is already on your counter and the coffee is going in a drip machine.
When to stop and buy a grinder
You’ll know it’s time to stop when the workarounds cost more than the tool. Watch for these signs:
- You’re pulsing for more than 2 minutes for one mug. A burr grinder does the same job in about 20 seconds. The time gap tells you the blender is fighting the beans, not grinding them.
- Your espresso shots taste sour or bitter no matter what you change. Uneven particles extract at different speeds, and no dose or tamp fixes that. A barista or a good coffee shop can confirm the grind is the problem.
- You’ve burned out a blade or cracked a cup. Replacement parts cost money, and a blender used hard for dry goods wears faster. Nutribullet’s own manual covers what the blades are designed for — check it before pushing further.
- You want repeatable results. A burr grinder gives you the same grind at the same setting every time. A blender gives you a different result each morning, which makes it impossible to dial in a recipe.
- You’re grinding for someone with a sensitive stomach or a medical diet. Consistency matters for how coffee sits with you, and a doctor or dietitian is the right person to ask, not a blender manual.
The line is simple: if you’re grinding for one mug and you don’t mind sediment, keep going. If you want the same cup every day, stop and get a burr grinder.
Related guides
Frequently asked questions
Can you grind coffee beans in a Nutribullet?
Yes, in small amounts — 2 tablespoons (about 12 grams) or less per batch. Use the flat extractor blade and pulse in 2-second bursts, 5 to 8 times, shaking between pulses. You’ll get a coarse, uneven grind good enough for a French press or drip coffee. It won’t work for espresso, which needs a fine, even grind that only a burr grinder delivers.
Why do my coffee beans not grind evenly in a blender?
Because a blender chops with spinning blades instead of crushing beans between two burr surfaces, so particles come out in mixed sizes. Overfilling makes it worse — beans at the bottom sit still while the top layer turns to dust. Keep the cup no more than a quarter full and shake between pulses. Expect some unevenness no matter what you do.
How long should I blend coffee beans in a Nutribullet?
About 10 to 16 seconds of total blade time, split into 5 to 8 pulses of 2 seconds each, with a 2-second pause between them. This assumes a small batch of 2 tablespoons. For a slightly bigger batch, add 2 to 3 more pulses and shake more often. Stop when the grounds look like coarse sand.
Is it safe to grind coffee beans in a Nutribullet?
Yes, for the blender and for you, as long as you keep the batch small and don’t run it continuously. Long runs heat the motor and the grounds. Never put your hand or a spoon into the cup while the blade is attached — the blades are sharp. Unplug the base before you clean around it.
What happens if I fill the Nutribullet cup too full with beans?
The blade stalls or spins without reaching the bottom layer. You get powder on top and whole beans underneath, so your coffee tastes weak and bitter at once. You also waste the batch. Pour beans back until the cup is no more than a quarter full, then pulse again.
Does it matter which Nutribullet blade I use for coffee?
Yes, and it’s the biggest single factor. The flat extractor blade moves the whole load in a current, so beans keep meeting the edge. The taller milling blade flings beans to the wall and leaves chunks behind. Check your blade before you start — flat means go, tall means expect a rougher result.
Can I use a Nutribullet for espresso grounds?
No. Espresso needs a fine, even grind, and a blade grinder can’t produce one. Uneven particles cause channeling, where water finds the loose spots and skips the rest, giving you a sour or bitter shot. A burr grinder is the tool for espresso. A coffee shop can grind a bag for you if you only need it now and then.
How long do ground coffee beans stay fresh?
About 1 to 2 weeks in a sealed container away from light and heat, compared with 1 to 2 months for whole beans. Ground coffee has more surface exposed to air, so it loses aroma faster. This assumes a cool, dark cupboard — a warm spot above the stove cuts that time short. Grind only what you’ll use in a week.
Start with two tablespoons and the flat blade
Pull your blade out first and check its shape. If it’s the flat extractor blade, measure 2 tablespoons of beans, pulse in short bursts, and shake between them. You’ll get coarse grounds in under a minute, good enough for a French press or a drip cone, with some sediment in the cup. That’s the honest result from a blender.
Two tablespoons is roughly a single mug. Go past three and the blades stop cutting and start throwing beans against the wall of the jar. The bottom layer sits still while the top turns to dust, so you end up with powder and whole beans in the same batch.
If the grounds come out mostly powder with whole beans left at the bottom, you’ve overfilled — tip some out and try again. If that keeps happening even with a small batch, or if you want the same cup every single morning, that’s your sign to stop and buy a burr grinder.