How To Use Nutribullet Blender Combo: Cups and Pitcher Guide
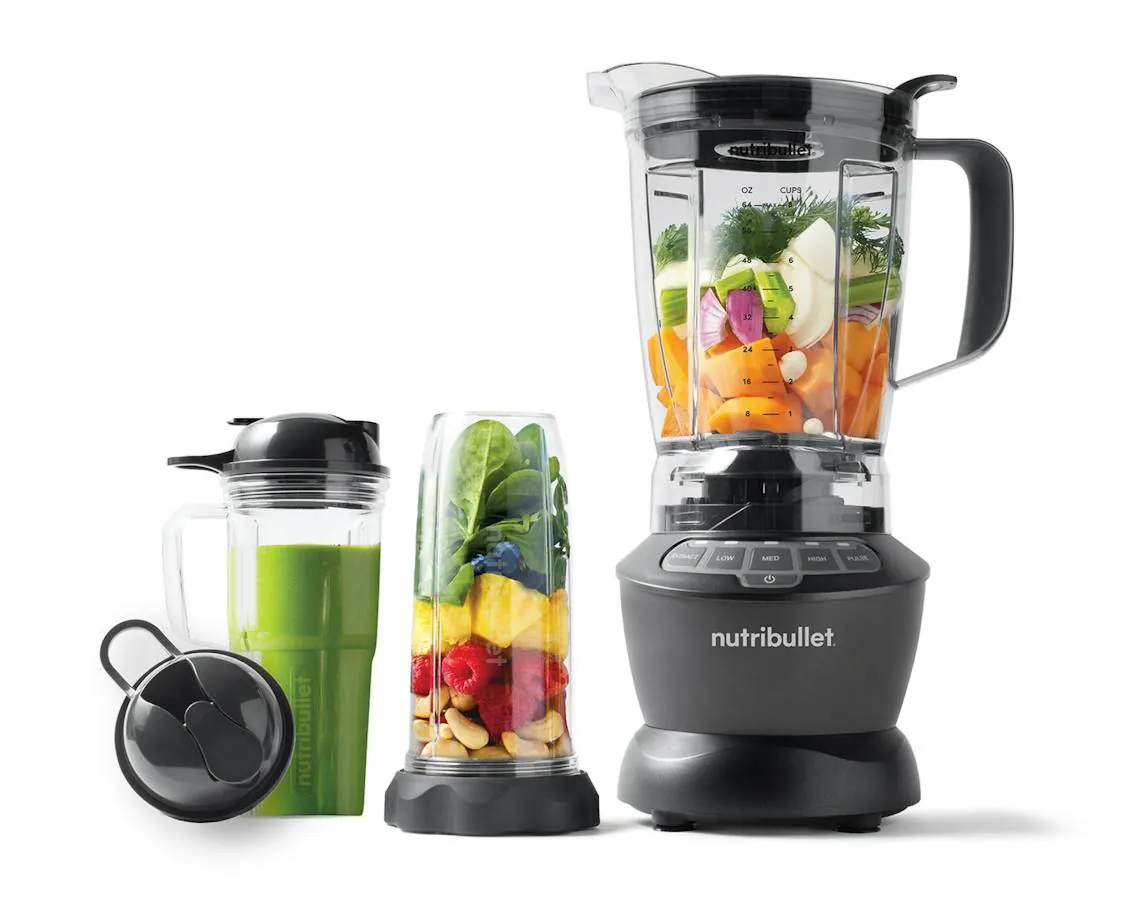
The NutriBullet Blender Combo works two ways: single-serve cups you twist onto the motor base, and a large pitcher you blend with the dial on the side. Pick the cup for smoothies and sauces for one or two people, pick the 64-oz pitcher when you’re blending for a family or a big batch. Both use the same 1,200-watt base — the jar you attach decides how it runs.
What changes the answer for you is mostly three things: which jar you’re using, how much liquid you start with, and what you’re blending. Frozen fruit needs more liquid than fresh. Hot ingredients aren’t allowed in the cups at all. The rest of this page walks through setup, the steps for each jar, and what to do when it doesn’t behave.
Which Nutribullet Blender Combo user you’re
Most people who search this are holding a new box, or they’ve had the machine for a while and only ever used one jar. It helps to know which one you are, because you need different things from these instructions.
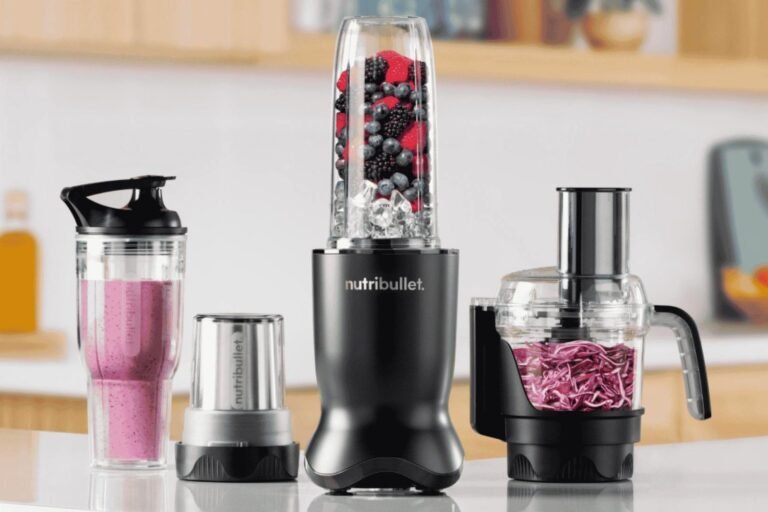
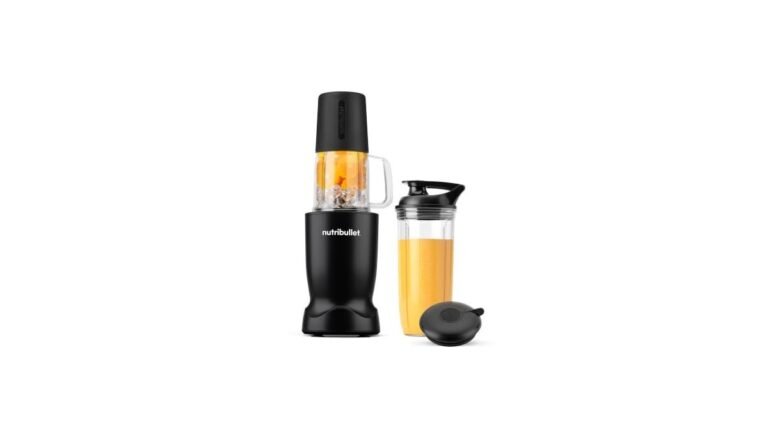
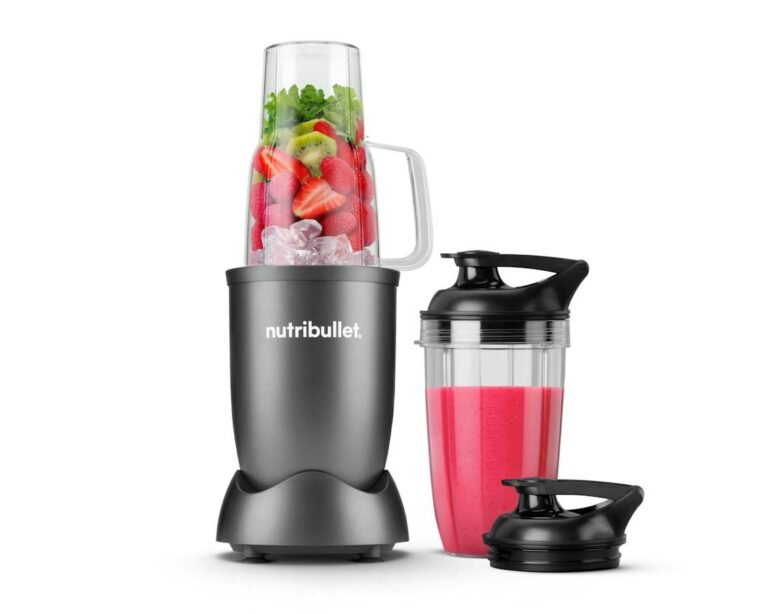
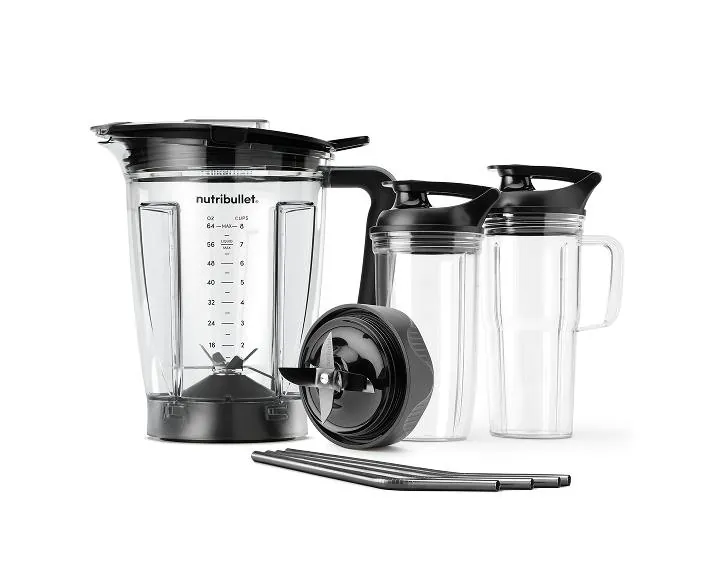
The first reader has just unboxed it. You’ve got the motor base, the 64-oz pitcher with its lid and tamper, a couple of cups with their lids, and the blade assemblies. You don’t need recipes yet — you need to know which blade goes with which jar, how the lids lock, and why it won’t start.
The second reader uses the cups daily but has never run the pitcher. You’re missing batching, the tamper, and the pulse setting — the reasons the pitcher exists.
The third reader is troubleshooting. It stopped mid-blend, or the light flashes and nothing moves. You’ll get the most from the troubleshooting table further down, though the setup steps will still help you find the cause.
This page assumes you own the standard NutriBullet Blender Combo: the 1,200-watt base with the extractor blade for cups and a separate pitcher blade. If you have a different model — a Pro 1000 or a small 600-watt cup blender — your parts and settings differ, so check the manual that came with yours.
What changes how your blend turns out
Four things decide whether you get a smooth drink or a chunky, stalled mess. They matter in this order.
Liquid first, and enough of it. The blades need fluid to create a vortex that pulls ingredients down. For a single cup, 4 to 6 oz of liquid under the solid ingredients is the working range; for the full 64-oz pitcher, start with at least 8 to 12 oz and add more if it stalls. Too little liquid is the single most common cause of a blender that spins but does nothing. If your drink comes out thick and the blades churn air, add liquid 2 oz at a time.
What you put in, and how big it is. Frozen fruit blends fine in the cups. Whole ice cubes, hard raw root vegetables, and chunks bigger than about an inch don’t — they stall the blade or wear it. Cut anything dense to 1-inch pieces. Fresh leafy greens go in without preparation. Dates and nuts need soaking or very generous liquid.
How full the jar is. The cups have a max fill line molded into the side — never pass it, and stay well under it with frozen ingredients because the volume expands as it blends. The pitcher shouldn’t be filled past its max line either, and hot liquids are only allowed in the pitcher, never the sealed cups, because heat builds pressure that can blow the lid off.
How long you run it. The cups run on a fixed cycle; pressing and twisting runs them continuously. Most smoothies are done in 45 to 60 seconds. Running it far longer doesn’t make it smoother — it heats the drink and strains the motor. If it’s not smooth by then, the problem is liquid or chunk size, not time.
The one people get wrong most often is the liquid. They load frozen fruit and a scoop of powder, press down, and wonder why nothing moves.
Using the cups and the pitcher, step by step
Set the base on a dry, level counter near an outlet. Plug it in. Everything below assumes that’s done.
For the single-serve cups:
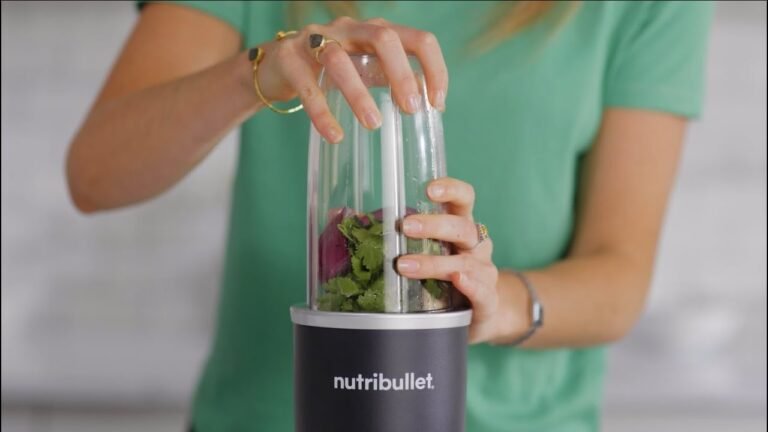
- Add your liquid first — 4 to 6 oz for a standard cup. Water, milk, or juice all work. The liquid should cover the blade area once it’s assembled.
- Add soft ingredients next: yogurt, greens, fresh fruit. Then frozen fruit on top, cut to roughly 1-inch pieces if it’s a big block.
- Screw the extractor blade onto the cup until it’s snug — hand-tight, no tools. You shouldn’t see the threads anymore.
- Turn the cup upside down and check for drips at the seal before you put it on the base. If it leaks, unscrew and reseat the blade.
- Place the cup on the base, blade side down, and twist clockwise until it locks. The light on the base turns on when it’s seated correctly — no light means it isn’t locked.
- Press and twist slightly to run it, or press down firmly and hold for a continuous run. Run 45 to 60 seconds for a smoothie; stop and shake the cup gently if ingredients aren’t moving.
- Untwist, flip the cup right side up, unscrew the blade, and drink or screw on the to-go lid. If you added anything perishable, drink it within about 2 hours or refrigerate it.
For the 64-oz pitcher:
- Set the pitcher on the base and twist it clockwise until it locks. It only seats one way — handle toward you is the usual resting position.
- Add liquid first, at least 8 to 12 oz for a full batch, then ingredients up to the max fill line. Never past it.
- Fit the lid and turn it until it clicks. The center cap can stay on for normal blending; remove it to add ingredients while running.
- Turn the dial to your speed — low, medium, or high — or use pulse for short bursts on chunky salsas and crushing ice. High for 45 to 90 seconds handles most smooth batches.
- Use the tamper through the lid opening only if ingredients stop circulating. Keep it against the side of the pitcher, not down on the blades.
- Turn the dial to off, wait for the blades to stop completely, then unlock the pitcher before pouring.
The judgement call that separates a good result from a lucky one is stopping early. Experienced users stop the machine while the texture still looks a touch loose, because it keeps thickening as the foam settles and the frozen fruit fully incorporates. If you blend until it looks perfect in the jar, you’ll pour something slightly overworked.
Situations and what to do in each
Different jobs need different jars and different handling. This table covers the situations people actually arrive in.
| Situation | What to do | What it takes | What to watch for |
|---|---|---|---|
| Morning smoothie, one person | Use a cup, liquid first, 45–60 sec | About 2 minutes | Don’t pass the max line |
| Batch of smoothies for four | Use the pitcher, medium-high, 60–90 sec | About 5 minutes | Stay under max fill |
| Frozen fruit straight from freezer | Add extra 2 oz liquid, run longer | Slightly longer run | Stalling and air pockets |
| Salsa or chunky dip | Pitcher, pulse only, 4–6 bursts | 2–3 minutes | Over-processing turns it watery |
| Protein or greens powder | Add powder after liquid, blend normally | No extra time | Powder clumps at the bottom |
| Crushing ice | Pitcher with pulse bursts, splash of water | 1–2 minutes | Cups aren’t rated for ice alone |
| Hot soup or warmed liquid | Pitcher only, start on low | A few minutes | Never hot liquids in sealed cups |
The details good blends have in common
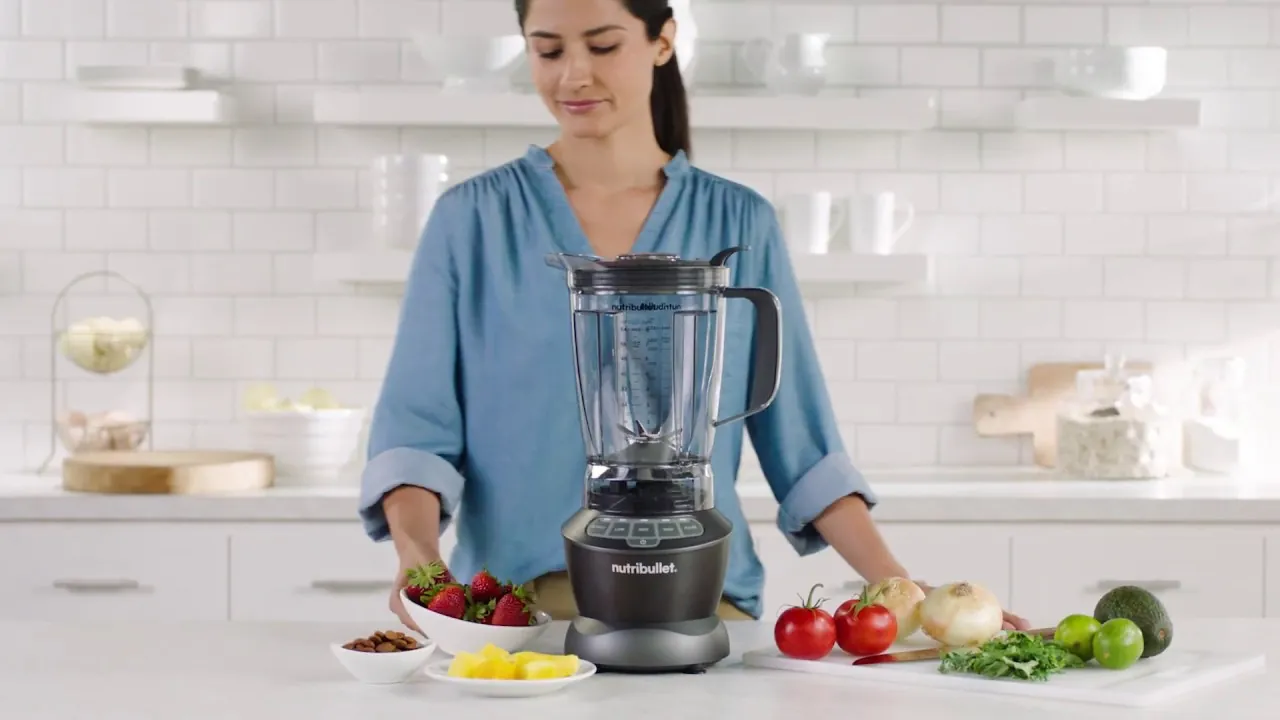
People who get smooth results every time aren’t doing anything secret. They’ve just settled on an order and a few checks that remove the usual failure points.
How they load and run it
Liquid always goes in first, and they measure it rather than guessing — 4 to 6 oz in a cup, 8 to 12 oz minimum in the pitcher. Soft ingredients sit in the middle of the load, frozen and dense items on top, so the blade meets liquid before it meets anything hard.
They start the pitcher on low for a couple of seconds, then step up, which stops ingredients from wedging against the wall. And they run in short bursts when things stall instead of holding the machine down and hoping. A stalled blend needs liquid or a shake, not more time.
What they check and what they leave alone
They check the fill line every time, even when they’re sure, because frozen fruit volume is easy to misjudge. They check the blade seal is seated before flipping a cup. They rinse the blade and cup within a few minutes of use — dried smoothie on the blade seal is the main reason seals wear early and cups start leaking.
What they leave alone is the machine itself: no prying at the blade assembly with utensils, no running the base empty, no scrubbing the blade assembly in the dishwasher beyond what the manual allows. The blade assembly and cups are top-rack dishwasher safe per NutriBullet’s care guidance, but the motor base never goes near water — a damp cloth on the base is the whole job.
When it doesn’t work, and the fix
Most problems have an obvious cause once you know what you’re looking at. Match what you notice to the row below before you assume the machine is broken.
| What you notice | What it usually means | What to do first | How to stop it happening again |
|---|---|---|---|
| Light flashes, motor won’t run | Jar or cup isn’t twisted fully into place | Untwist and relock it | Line up the tabs before twisting |
| Motor spins, nothing blends | Too little liquid, or chunks too big | Stop, add 2 oz liquid | Measure liquid first every time |
| Stopped mid-blend and won’t restart | Motor overheated from a long run | Unplug, wait 15–20 minutes | Run 60 seconds or less at a time |
| Loud grinding noise | Blade assembly loose or food jammed under it | Stop, check blade is tight | Rinse blades right after use |
| Cup leaks at the blade | Seal worn or blade not seated | Reseat the blade; replace seal if it still leaks | Hand-wash the seal, skip harsh scrubbing |
| Drink comes out warm | Run too long, or re-blended repeatedly | Chill ingredients before blending | One 60-second run is usually enough |
| Burning smell | Overload, or motor fault | Stop immediately, unplug | Cut ingredients smaller, less ice |
If the machine won’t run after cooling down and reseating everything, stop there. Motor and electrical faults aren’t a do-it-yourself repair — contact NutriBullet’s customer support or the retailer you bought it from, especially while it’s under warranty.
The rules that come with the machine
A few limits aren’t preferences — they’re conditions of safe use, and they come from NutriBullet’s own manual and safety guidance.
Never blend hot liquids or ingredients in the sealed cups. Heat builds pressure in a sealed container, and the lid can release violently when you twist it off. Hot liquids belong in the pitcher only, with the lid vented and a towel over it, started on low.
Never fill past the max line on either jar — the pitcher’s line and the cups’ lines are molded into the plastic, so you can read yours directly. Don’t run the blender empty, and don’t leave it running unattended. Don’t immerse the motor base in water; it’s an electrical appliance, and a damp cloth is the only cleaning it needs.
Blade assemblies are sharp on all edges — handle them by the plastic collar, never the fins. If a blade assembly is damaged, replace the whole assembly rather than trying to straighten or sharpen it. Warranty terms vary by country and where you bought the machine, so check the warranty card in your box or the support section of NutriBullet’s official site for your exact coverage period and what voids it.
What it really costs you in time and effort
The purchase price is what it is — check the current price on the official NutriBullet site or at your retailer, because it changes with sales and bundles. The ongoing cost is small but real, and it’s mostly your time.
A daily cup smoothie takes about 2 to 3 minutes end to end: loading, blending for under a minute, and rinsing the cup and blade. A pitcher batch takes about 5 minutes but serves several people, so per serving it’s the cheaper option in both time and ingredients. The costs that creep up are avoidable ones: running the motor long past 60 seconds on hard loads shortens its life, and letting smoothie dry on the blade seal turns a 10-second rinse into a soaking session and eventually a replacement seal.
Replacement parts — cups, blades, gaskets — are sold separately on NutriBullet’s site, so a lost cup doesn’t mean a new machine. What moves your real cost most is how soon you rinse: rinse immediately and the maintenance cost is nearly zero; leave it overnight and you’ll pay in scrubbing and worn parts.
Keeping it working after every use
Maintenance here is mostly rinsing and storing, and it takes less than a minute if you do it straight away.
Rinse the cup, pitcher, and blade assembly with warm water right after use. For a deeper clean, the cups, pitcher, and blade assemblies are top-rack dishwasher safe according to NutriBullet’s care instructions — check your manual, because this differs between models. The motor base wipes with a damp cloth only, unplugged first. Store the blades with the protective cover on if you kept it, and keep the cord clear of the counter edge.
The signs that need attention: a cup that starts leaking at the blade means the gasket is wearing — replacement gaskets are inexpensive and take seconds to swap.
A blade that wobbles in its collar, or a base that smells hot after normal use, means it’s time to contact NutriBullet support rather than keep using it. If a blend starts taking noticeably longer than it used to with the same recipe, the blade is likely dulling; that’s a replacement blade, not a repair.
Times this isn’t the right tool
This machine is excellent at drinks, sauces, and batters, and honest about where it stops.
If you need to blend large batches of very thick dough or nut butter in quantity, the cups will stall and the pitcher will labour — a full-size high-power blender designed for thick loads, or a food processor, is the better tool. Nut butter in small amounts is possible in the cups with patience and oil, but it strains the motor, so don’t make a habit of it.
If you need to blend anything hot straight off the stove in volume, or grind dry grains into flour, neither is what this machine is built for — a dedicated immersion blender for soups, or a proper grain mill or dry-grains container, handles those safely. And if the motor itself has failed, smells of burning, or trips your breaker, that’s a warranty and customer-support job, not a home repair: opening the base is unsafe and voids your coverage.
Frequently asked questions
Can I put hot food in a NutriBullet Blender Combo cup?
No. Hot liquids and hot ingredients are only allowed in the pitcher, never in the sealed cups. Heat builds pressure inside a sealed cup and the lid can blow off when you open it. For hot soup, use the pitcher, start on low, and vent or crack the lid.
How long should I blend a smoothie?
About 45 to 60 seconds in a cup, or 60 to 90 seconds in the pitcher on medium-high, is enough for most smoothies. If it’s still chunky after that, add 2 oz of liquid rather than running longer — long runs just warm the drink and strain the motor.
Why is my NutriBullet not turning on?
Almost always the jar isn’t locked in fully, and the light on the base tells you — no light or a flashing light means reseat and twist until it locks. If it stops mid-blend, the motor has likely overheated; unplug it and wait 15 to 20 minutes before trying again.
Is it safe to crush ice in it?
Yes, but only in the pitcher, using pulse bursts with a small splash of water. The single-serve cups aren’t designed for crushing ice on its own — ice without enough liquid stalls the blade and wears it. Frozen fruit in the cups is fine.
What happens if I overfill the cup?
The blend has no room to circulate, so the blades churn air instead of pulling ingredients down, and the mix can leak out past the blade seal. Filling past the max line with frozen ingredients is worse, because expanding volume pushes liquid into the threads. Stop below the line every time.
Does it matter what order I add ingredients?
Yes, it matters a lot. Liquid first, then soft items like yogurt and greens, then frozen fruit or ice on top. This order puts fluid at the blades immediately and creates the vortex that pulls everything down. Powder before liquid is the classic clumping mistake.
How do I clean the blade assembly without cutting myself?
Hold it by the plastic collar, never the blades. Rinse it under warm water immediately after use, pointing the blade edges away from your fingers. For dried-on food, soak it in warm soapy water for a few minutes rather than scrubbing at it with a sponge or fork.
Can I blend dry ingredients like oats or nuts?
Small amounts work if there’s enough liquid in the recipe — oats into a smoothie, soaked nuts into a sauce. Dry grinding on its own, like making flour, isn’t what this machine is designed for, and it strains the motor and blades. Use a food processor or a grinder built for dry goods.
Your first blend
Start with the cup: 5 oz of milk, half a banana, a handful of frozen berries, blend 50 seconds. If it pours smooth and the blade seal is dry when you unscrew it, you’ve got it. If it stalls or the light flashes, reseat the cup and add liquid before you run it again — and if it still won’t start after that, stop and contact NutriBullet support.