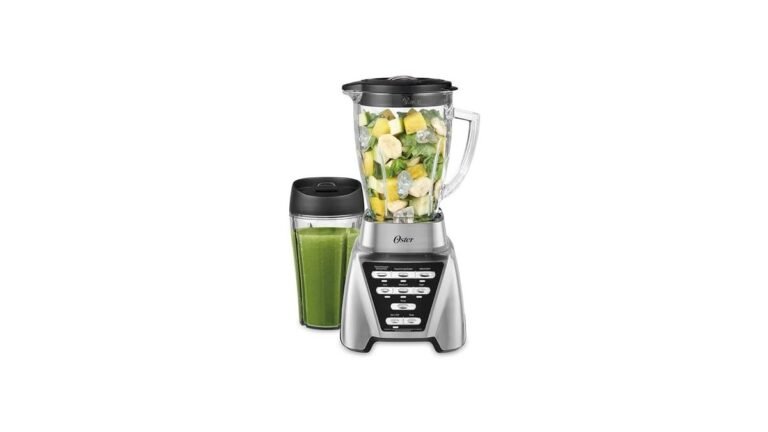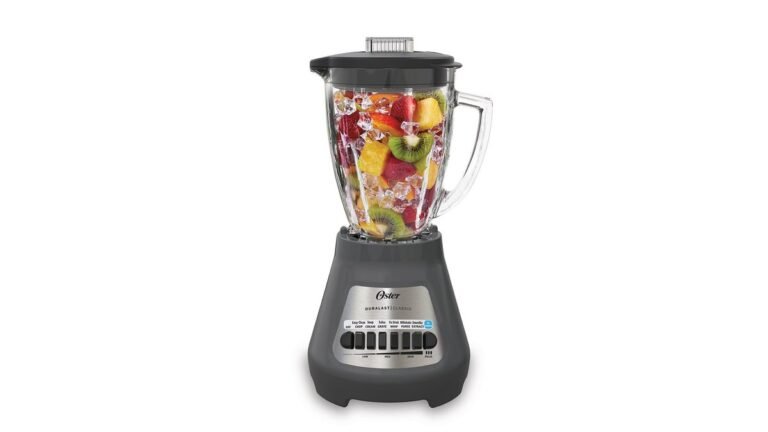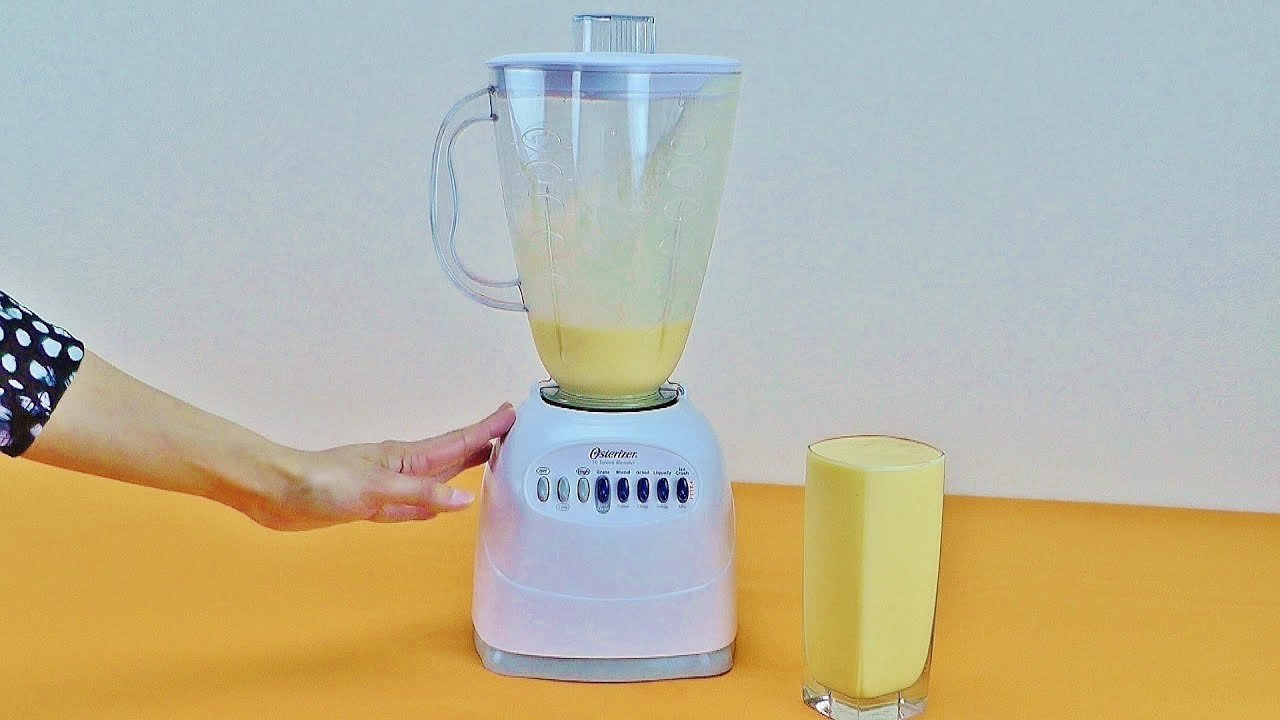
How To Use an Osterizer 10 Speed Blender: Step by Step
To use an Osterizer 10 speed blender, put the jar on the base, add liquid first, lock the lid, press the speed that matches your food, and stop when the mixture runs smooth. Most jobs take 30 to 60 seconds. Hard foods like ice need short pulses, not one long run.
Three things change that answer: which Osterizer model you have, whether your jar is glass or plastic, and how full you load it. This page covers all three, so you can match the steps to your own machine.
Who this page is for
Three kinds of people search this title. The second has owned one for years but only ever pressed the top button, and now wants to try soups and frozen drinks. The third inherited one from a parent and can’t tell if it still works right.
Each needs something different. The first needs the controls explained in plain words. The third needs a few checks to judge whether the machine is worth keeping.
This page serves all three, but it assumes one thing: your blender has a working motor, an intact jar, and a lid that locks. If the motor smells like burning, or the blade assembly wobbles, stop and read the repair section below instead.
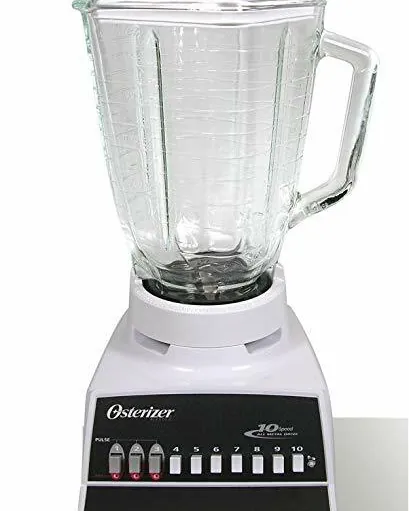
The page also assumes a standard 5-cup jar, which is the most common Osterizer size. If your jar is smaller or larger, the fill lines change but the speeds don’t. Look at the markings on your own jar to see which size you have.
If you want recipes rather than controls, a cookbook will serve you better. This page is about running the machine.
What decides how well it turns out
Load order matters more than speed. Liquid goes in first, then soft foods, then hard items like ice on top. A blender pulls food down toward the blades, so the bottom layer sets the flow for everything above it. If you dump ice in first and liquid last, the blades spin in air and the ice just sits there.
Jar material changes your habits. Glass jars are heavier and hold temperature better, so they’re fine for warm soups. Plastic jars scratch over time, and scratches hold onto smells from garlic or onion. Check your jar by holding it up to a light — if you see fine scratches inside, that’s normal wear, not a fault.
Fill level decides whether you get a smooth blend or a mess. Most Osterizer jars have a maximum line, usually 4 cups of liquid in a 5-cup jar. Going past it pushes liquid up into the lid and out the top. When you’re blending something that foams, like milk or soapy water for cleaning, stay under half.
The blade assembly is the part people get wrong most often. It should sit flat and tight in the jar base. If it rocks when you press it, or if liquid seeps out under the jar during blending, the seal is worn. That’s a replaceable part, not a reason to throw the machine away.
Finally, the speed you pick. The 10 speeds run from very slow stirring to full pulverizing. Using a high speed for a job that needs a low one doesn’t ruin the food, but it does splash and it heats the mixture. Match the speed to the job.
Step-by-step: running your Osterizer
Set the base on a flat, dry counter. Wipe the counter first. A wet base can slide when the motor starts. Press down on the base with one hand — if it rocks, move it to a flatter spot before you plug it in.
Seat the jar on the base and twist until it locks. Most Osterizer jars turn clockwise about a quarter turn. Let go and try to lift the jar straight up. If it comes off, it isn’t locked. Don’t run the motor until it stays put.
Add liquid first, up to the 4-cup line for a 5-cup jar. For a smoothie, that’s about 1 cup of milk or juice. For soup, add the broth before the vegetables. Leave the top inch of the jar empty so the mixture has room to move.
Add soft foods, then hard foods, then ice last. Cut large pieces into chunks about 1 inch across. Fill to no more than two-thirds of the jar. A full jar of solid food won’t circulate, and the blades will just carve a tunnel through the middle.
Put the lid on and press it down all the way around. The center cap should sit flat. If your lid has a removable center cap, keep it in for thick mixes and take it out only when you’re adding oil or liquid while the motor runs.
Start on speed 1 or 2, then move up. Press the low button first and let it run for 5 seconds. This pulls the food down into the blades. Then step up one speed at a time. Jumping straight to speed 10 throws the contents up into the lid.
Run 30 to 60 seconds for most jobs, and stop to check. Smoothies and soups are usually done in under a minute. If the mixture isn’t moving, stop the motor, take the lid off, and push the food down with a spatula. Never use your fingers or a spoon while the machine is plugged in and running.
Use short pulses for ice and frozen fruit. Press and release, about 1 second on and 1 second off, 5 to 8 times. Then run continuously for 10 to 20 seconds. Long continuous runs on ice heat the motor and wear the blade.
Press the off button and wait for the blades to stop completely. This takes a few seconds. Only then lift the jar off the base.
Twist the jar apart and rinse it right away. Warm water and a drop of dish soap, run on speed 2 for 10 seconds, does most of the cleaning. Rinse the lid and blade assembly separately. Don’t put the base in water.
The judgement call that separates a good blend from a bad one is knowing when to stop and scrape. If the food on the sides isn’t moving after 15 seconds, more speed won’t fix it. Stop the motor, push everything down toward the blades, and start again on a low speed. That one habit prevents most burnt motors and most lumpy results.
Speeds and jobs at a glance
Speeds 1 through 4 handle liquids and soft foods, 5 through 7 cover batters and purees, and 8 through 10 are for ice and hard ingredients. The table below matches the common jobs to a starting speed.
| Your situation | What to do | What it takes | What to watch for |
|---|---|---|---|
| Salad dressing or vinaigrette | Speed 1 to 2, 15 seconds | Under a minute | Don’t over-blend or it thickens |
| Smoothie with fresh fruit | Speed 3 to 5, 45 seconds | About 1 minute | Cut fruit into 1-inch chunks |
| Pancake batter | Speed 4 to 5, 20 seconds | Under a minute | Stop while small lumps remain |
| Hot soup, cooled slightly | Speed 3, then 6, 60 seconds | 2 minutes total | Never fill past half the jar |
| Frozen fruit or ice cubes | Pulse on speed 8, then run 20 seconds | 1 to 2 minutes | Add 1/4 cup liquid per cup of ice |
| Nut butter or thick paste | Speed 7, scraping every 20 seconds | 5 to 10 minutes | Small batches only, 1 cup max |
| Cleaning the jar | Warm water, soap, speed 2, 10 seconds | Under a minute | Rinse the blade assembly by hand |
What experienced users do differently
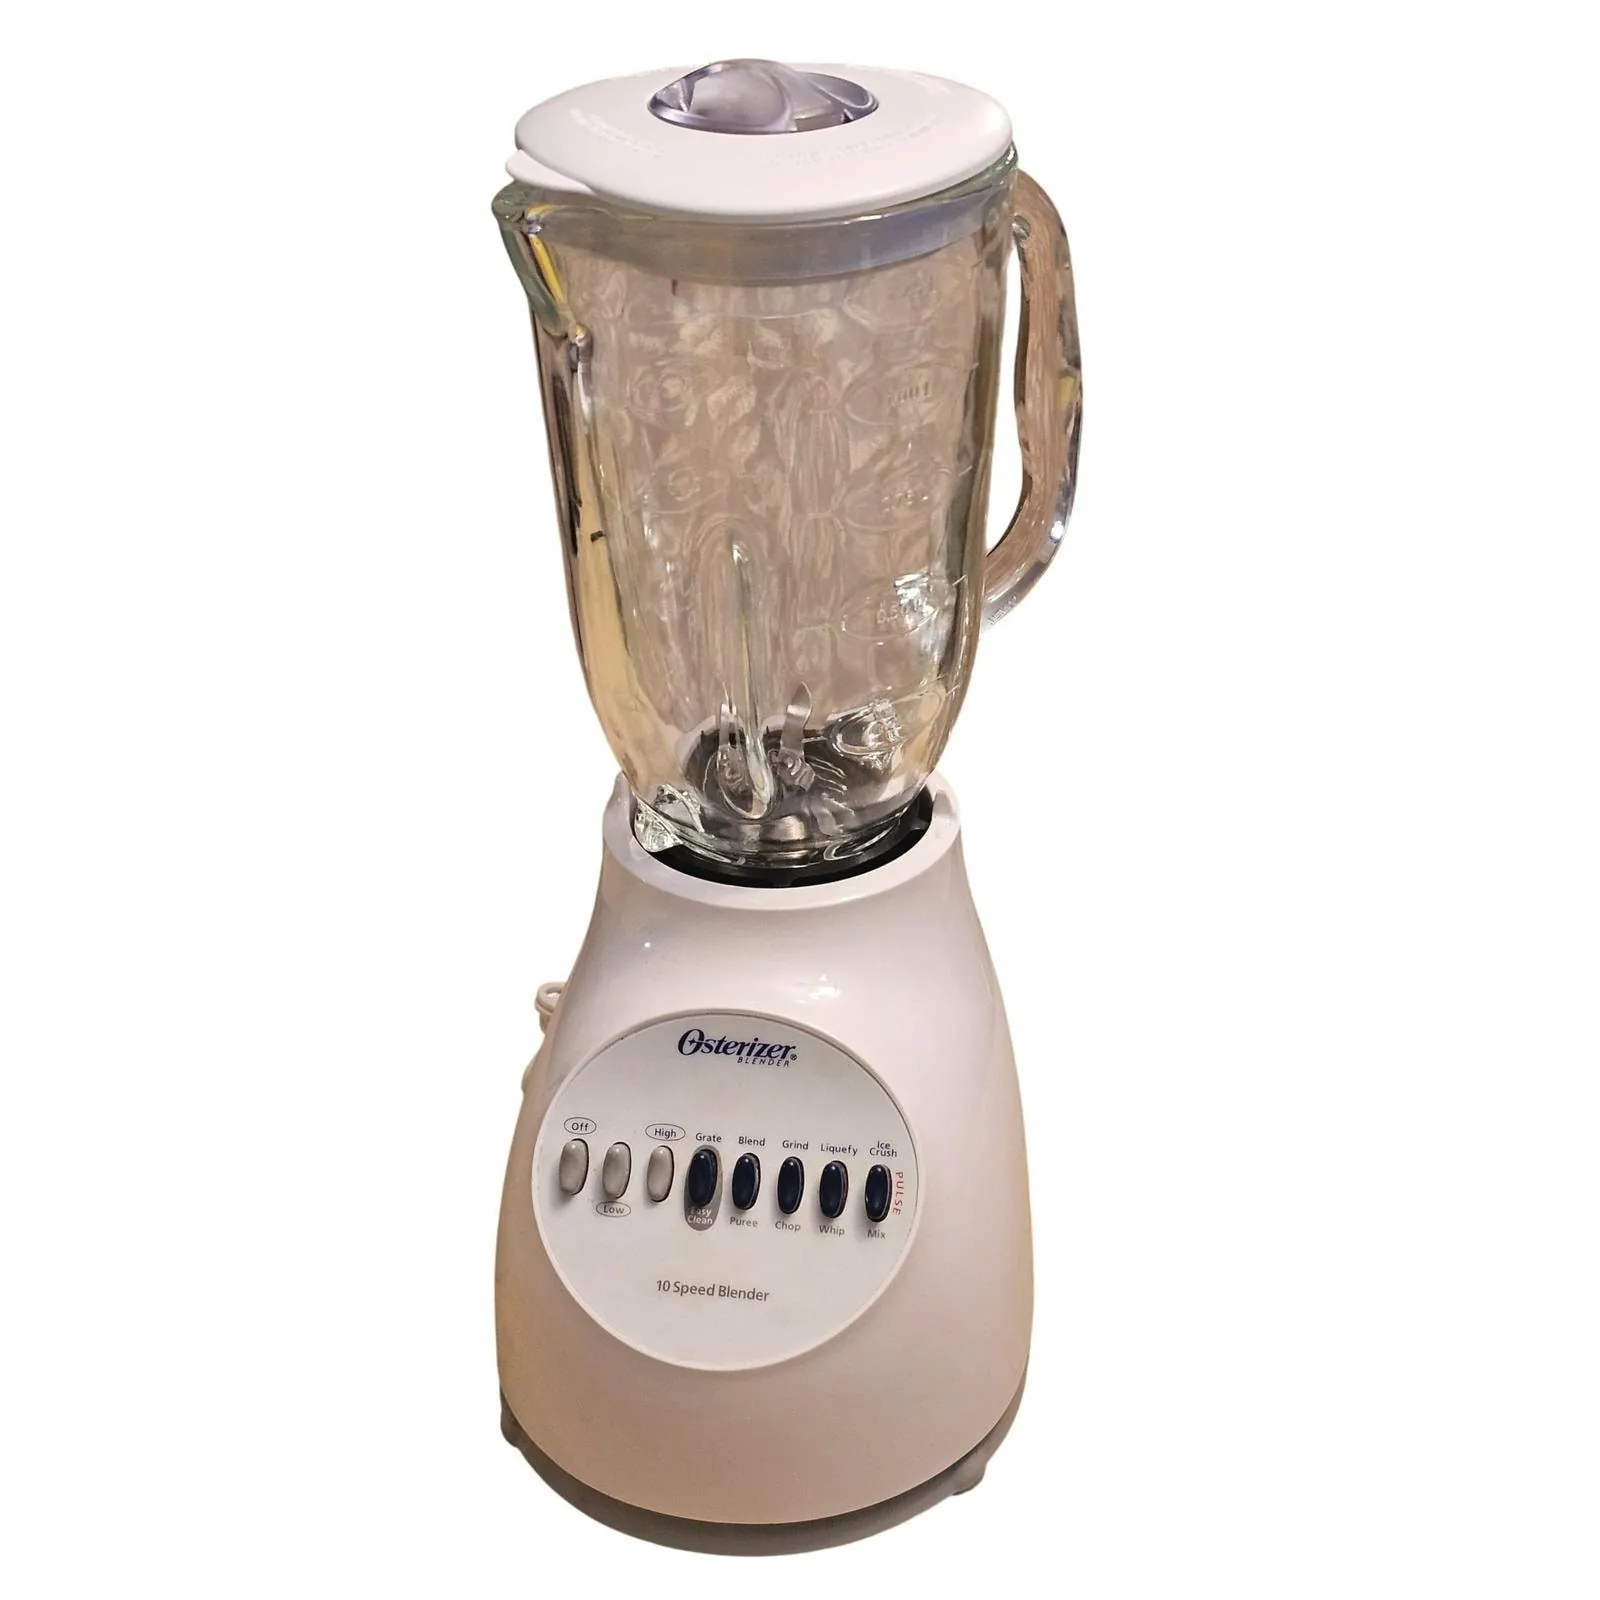
They load in the right order, every time
The order is liquid, soft, hard, ice — no exceptions. That order lets the blades create a vortex that pulls everything down. Skip it and you’ll stand there pushing food down with a spatula while the motor whines.
Experienced users also cut food smaller than they think they need to. Chunks of 1 inch or less blend in half the time of 2-inch chunks. That’s not a preference, it’s just less work for the motor.
They stop before they think they should
A blend that looks slightly chunky at 40 seconds is usually smooth at 50. A blend left running for 3 minutes is warm, thin, and hard on the motor. The habit is to check at 30 seconds, then add 10 seconds at a time.
They also leave the machine alone while it runs. Standing over it and adding more liquid every few seconds is how jars get overfilled. Add what you need at the start, then let it work.
When something goes wrong
Most problems trace back to load order, fill level, or a worn part. The table below covers what you’ll actually notice.
| What you notice | What it usually means | What to do first | How to stop it happening again |
|---|---|---|---|
| Food won’t move, blades spin free | Air pocket around the blades | Stop, scrape down, restart on speed 1 | Add liquid before solids |
| Liquid leaks under the jar | Worn jar-base seal | Tighten the blade assembly by hand | Replace the seal when it loosens |
| Burning smell from the base | Motor overheating | Stop at once, unplug, let it cool 30 minutes | Run shorter bursts, smaller batches |
| Mixture is warm after blending | Too long at high speed | Stop sooner next time | Check at 30 seconds, not 3 minutes |
| Loud rattling or clunking | Jar not locked, or loose blade | Turn off, reseat the jar | Twist until the jar won’t lift off |
| Lumps left on the jar walls | Food stuck above the blades | Stop, scrape down, run 10 more seconds | Fill to two-thirds, not to the top |
| Blades won’t turn at all | No power, or jammed food | Check the outlet and the plug first | Cut food into 1-inch chunks |
If the blades won’t turn and the outlet is fine, don’t take the base apart. The motor and wiring sit inside a sealed housing, and a capacitor inside can hold a dangerous charge even when the blender is unplugged. That’s a job for a repair shop, not a kitchen table.
The rules and limits that apply
The main limit is the fill line on your own jar. Oster prints a maximum capacity on the jar, usually 5 cups total with a 4-cup liquid line. That line exists because the jar needs headspace for the mixture to move. Going past it sends hot liquid out the top, and hot liquid from a blender can scald.
Electrical safety rules apply too. In the US, a UL listing mark on the base indicates the unit was tested to UL’s household safety standards. If your blender has no such mark, treat it as an unknown and don’t leave it running unattended.
Cleaning limits matter as well. The base, cord, and plug should never go in water or a dishwasher. Only the jar, lid, and blade assembly are meant to be washed. Check your own model’s manual or the Oster website for your specific jar’s dishwasher guidance, because it differs between glass and plastic jars.
One more: never blend hot liquid in a sealed jar. Leave the center cap off and cover the opening with a folded towel. Steam builds pressure fast, and a sealed jar of hot soup can blow its lid off.
What this really costs you
The money side is small if your blender already works. A replacement jar-base seal or blade assembly is an inexpensive part, and you can check today’s price on the Oster website or at a hardware store that stocks blender parts. Prices change, so look it up rather than trusting a number from a blog.
A whole new jar costs more than a seal, and a new base costs more again. Compare the part price against a new machine before you buy — sometimes the gap is small.
The real cost is time and attention. A smoothie takes about 2 minutes from counter to rinse. Soup takes longer because you have to cool it slightly first, then blend in batches if the jar is small. Nut butter takes 5 to 10 minutes with scraping, which surprises people who expect it to work like a smoothie.
The cost that catches people out is the motor. Long, hot runs wear it down. Running 30-to-60-second bursts with rests between them is what makes an Osterizer last. If you blend thick mixtures daily, expect to replace the machine sooner than someone who makes one smoothie a week.
Keeping it running well
Rinse the jar within a few minutes of use. Dried food sets hard on the blade assembly and takes far more effort to remove later. Warm water, a drop of soap, and 10 seconds on speed 2 handles most of it.
Check the blade assembly periodically. Hold the jar up and look at the seal under the blades. If it’s cracked, stiff, or blackened, replace it. A failing seal is the most common cause of leaks, and it’s a cheap fix.
The sign that your blender needs attention again is a change in sound. A machine that used to hum and now rattles, or one that struggles on a job it used to handle, is telling you something. Stop, check the jar lock, check the blade tightness, and check that you haven’t been overfilling.
Store the jar off the base if you have the counter space. It saves the jar lock from constant pressure and makes the base easier to wipe down.
When an Osterizer isn’t the right tool
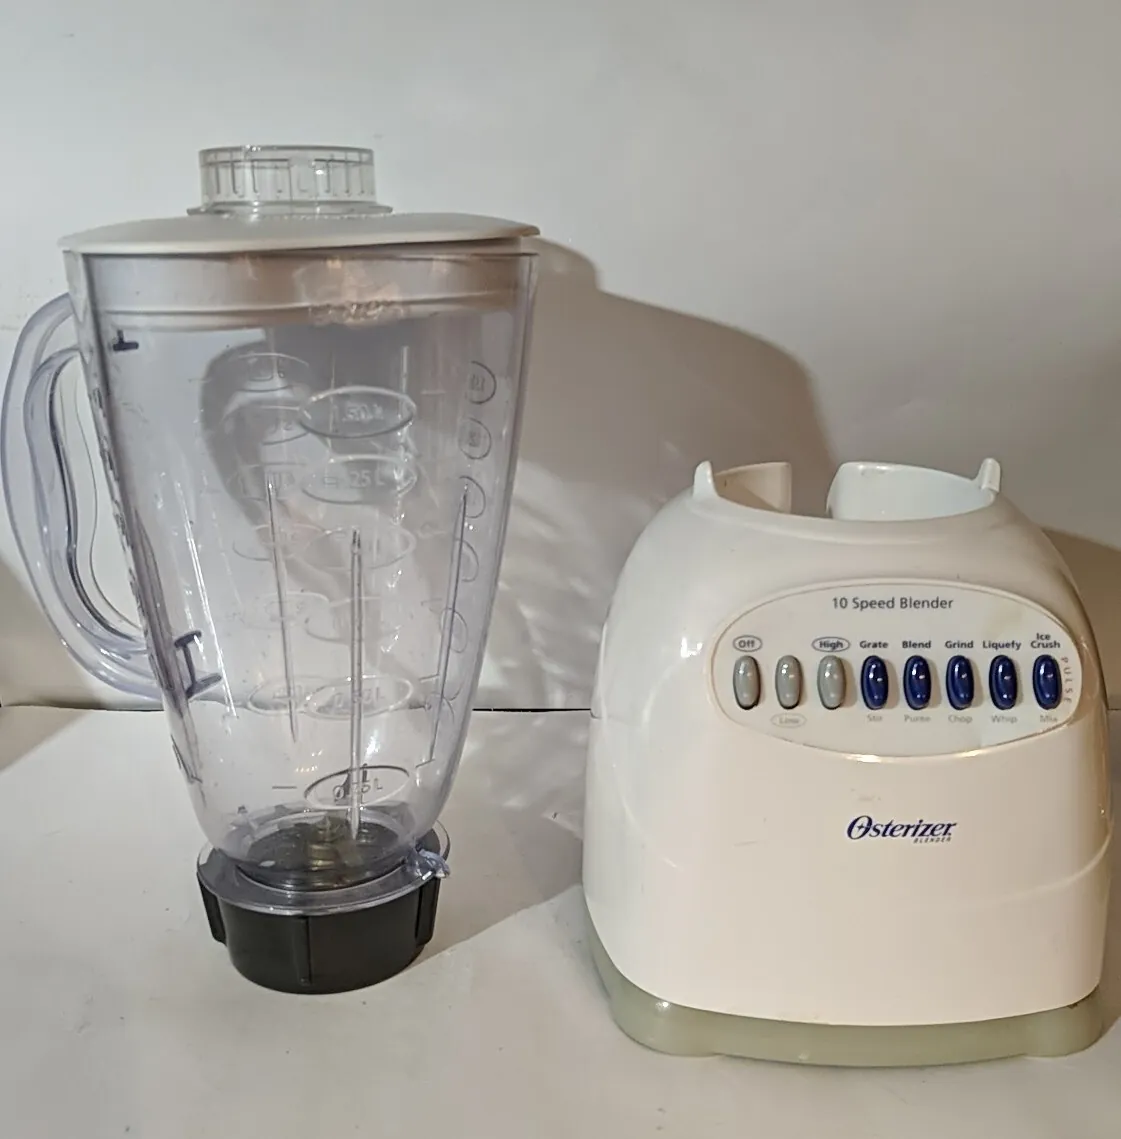
A 10-speed Osterizer is the wrong choice for hot liquids straight off the stove. If you want to blend boiling soup, use an immersion blender instead — it goes right into the pot and avoids the whole transfer-and-vent problem.
It’s also the wrong tool for large batches. If you regularly blend more than 5 cups at once, a food processor or a high-power blender with a bigger jar will do the job in one pass instead of three. Small batches in a small jar are fine; forcing a big batch into it isn’t.
And it’s the wrong choice if the motor or wiring is faulty. Anything inside the base — the motor, the switch assembly, the cord where it enters the housing — needs a qualified repair technician. Don’t open the housing yourself, even to look.
Frequently asked questions
How long do you blend a smoothie in an Osterizer?
About 45 to 60 seconds on speed 3 to 5, assuming a 5-cup jar filled to two-thirds with 1 cup of liquid. Check at 30 seconds. If chunks remain on the jar walls, stop, scrape down, and run 10 more seconds. Going past 90 seconds warms the drink and thins it out.
Can you crush ice in a 10-speed Osterizer?
Yes, on speeds 8 to 10, using pulses rather than one long run. Add about 1/4 cup of liquid for every 1 cup of ice so the blades have something to pull. Pulse 5 to 8 times at 1 second each, then run continuously for 10 to 20 seconds. Dry ice with no liquid just spins.
Why does my Osterizer smell like burning?
The motor is overheating, usually from long runs or too much thick food in the jar. Stop and unplug it at once, then let it cool for 30 minutes. Next time, run 30-to-60-second bursts with rests between, and keep thick mixtures to 1 cup per batch. If the smell returns on a light job, take it to a repair shop.
Is it safe to put hot soup in an Osterizer jar?
Only if the soup has cooled a little and you leave the center cap off, covering the opening with a folded towel. A sealed jar of hot liquid builds pressure and can blow the lid off. Never fill past half the jar with hot liquid, and never blend anything still at a rolling boil.
What’s the difference between the 10 speeds?
Speeds 1 to 4 stir and mix thin liquids and soft foods. Speeds 5 to 7 handle batters, purees, and thicker mixtures. Speeds 8 to 10 are for ice, frozen fruit, and hard ingredients. Start low to pull food into the blades, then step up. Your own model’s manual lists the exact jobs for each button.
How full should you fill an Osterizer jar?
No more than two-thirds full for solid food, and no more than the 4-cup liquid line in a standard 5-cup jar. Hot liquids should stay under half. The empty space at the top isn’t wasted — it’s where the mixture moves. Overfilling is the most common cause of leaks and messes.
Does the order you add ingredients matter?
Yes. Liquid first, then soft foods, then hard foods, then ice on top. The blades pull food downward, so the bottom layer controls the flow. Ice added first just sits above spinning blades. This one habit fixes most “my blender won’t blend” problems.
How often should you replace the blade assembly?
Replace it when the seal under the blades is cracked, stiff, or blackened, or when liquid seeps out under the jar during blending. There’s no fixed schedule — it depends on how often you blend and what you blend. Check the seal periodically by looking at it in good light. The part is widely available.
What to do next
Start with one simple job: a smoothie with 1 cup of liquid and cut fruit to two-thirds of the jar. Run it on speed 3 for 45 seconds and see how it looks. You’ll get a smooth drink and a feel for how the machine pulls food down. If the motor smells hot, the jar leaks, or the blades won’t turn with power at the outlet, stop there and take it to a repair shop.