Is Immersion Blender Good For Hummus? Pros, Cons & Tips
Making hummus at home has become a favorite for many. The creamy, rich dip made from chickpeas, tahini, lemon juice, and garlic is both healthy and delicious. But getting that perfect smooth texture can be tricky. Most recipes use a food processor or a blender, but many home cooks wonder: Is immersion blender good for hummus? If you’re considering using this handy tool, you’re not alone. Let’s explore how well an immersion blender works for hummus, compare it with other methods, and help you decide if it fits your kitchen routine.
What Is An Immersion Blender?
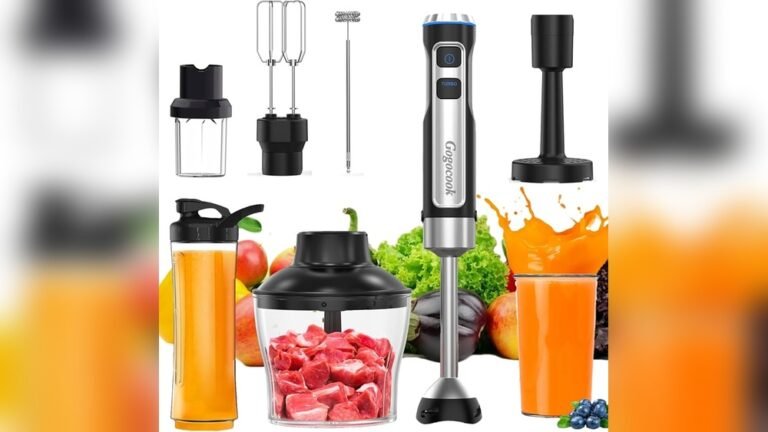
An immersion blender, also called a stick blender or hand blender, is a simple kitchen tool. It has a long body with blades at the end. You hold it in your hand and blend food directly in the bowl or pot. Unlike traditional blenders or food processors, it’s compact, easy to clean, and great for soups and sauces.
Immersion blenders come in different sizes and power levels. Some are basic models, while others have attachments for whisking or chopping. You plug it in, press a button, and the blades spin fast to puree or mix ingredients.
Why People Love Homemade Hummus
Homemade hummus tastes fresher than store-bought. You control the ingredients, the salt, the oil, and the flavor. It’s cheap, easy, and you can adjust the texture. Some like it chunky, others want it silky smooth. Making hummus at home means you can add more garlic, roasted peppers, or even extra lemon.
The challenge? Getting the right texture. Chickpeas are firm, and tahini is thick. Mixing by hand isn’t enough. You need a tool that can break down the beans and blend everything into a creamy dip.
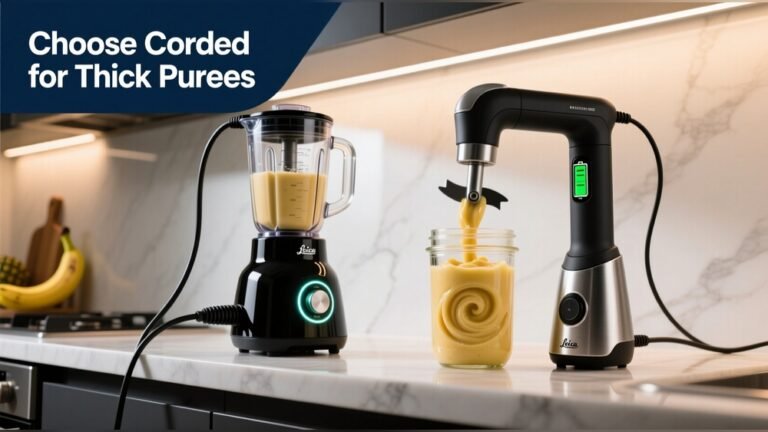
Comparing Tools: Immersion Blender Vs. Food Processor Vs. Stand Blender
Choosing the right tool is important. Let’s look at how the immersion blender stacks up against the food processor and stand blender for hummus.
| Tool | Texture | Ease of Use | Cleanup | Cost |
|---|---|---|---|---|
| Immersion Blender | Good, sometimes a bit chunky | Simple, blend in the bowl | Easy, rinse blade | Low to moderate |
| Food Processor | Very smooth | Easy, but needs transfer | More parts to clean | Moderate to high |
| Stand Blender | Smooth, but can struggle with thick mix | More steps, sometimes needs liquid | Can be harder to clean | Moderate to high |
Key Takeaways:
- The immersion blender is easy to use and clean.
- The food processor gives the smoothest texture.
- The stand blender works, but can have trouble blending thick hummus unless you add more liquid.
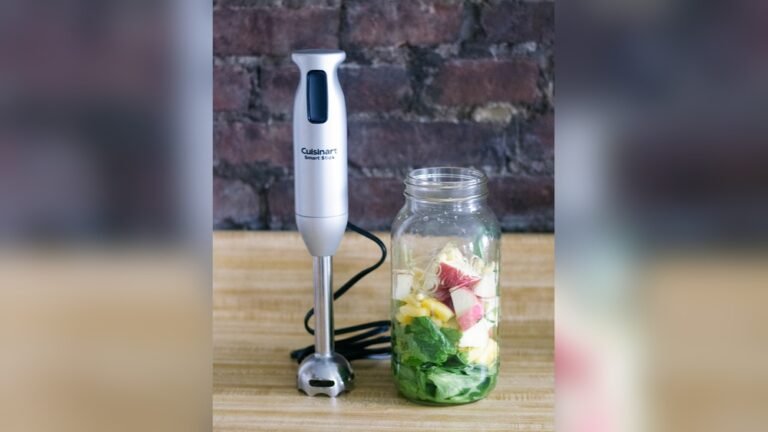
How Immersion Blender Works With Hummus
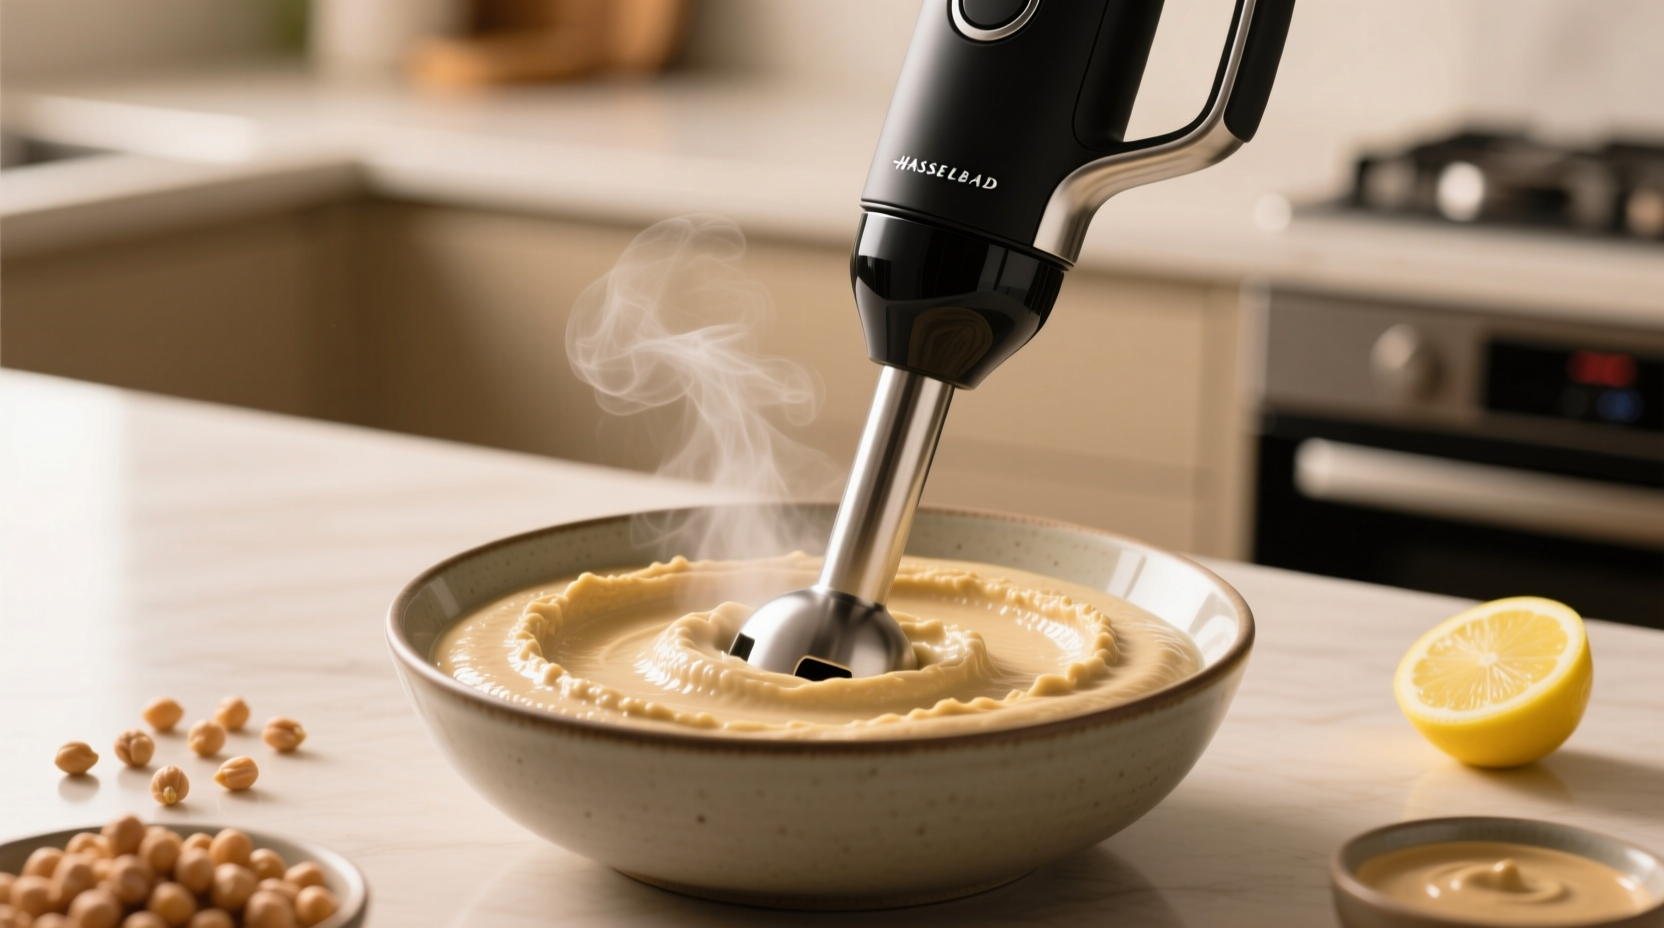
If you want to use an immersion blender for hummus, here’s what you need to know. The stick blender works best with softer beans and a bit of liquid. You need a tall, narrow container or deep bowl. The blades must stay covered in the mixture to avoid splashes.
Immersion blenders are strong, but they don’t have the same power as food processors. Chickpeas are dense. If you use canned chickpeas, they’re softer and easier to blend. Dried chickpeas, even after soaking and cooking, can be firm. Adding a little water, olive oil, or lemon juice helps the blender work smoothly.
Typical Results
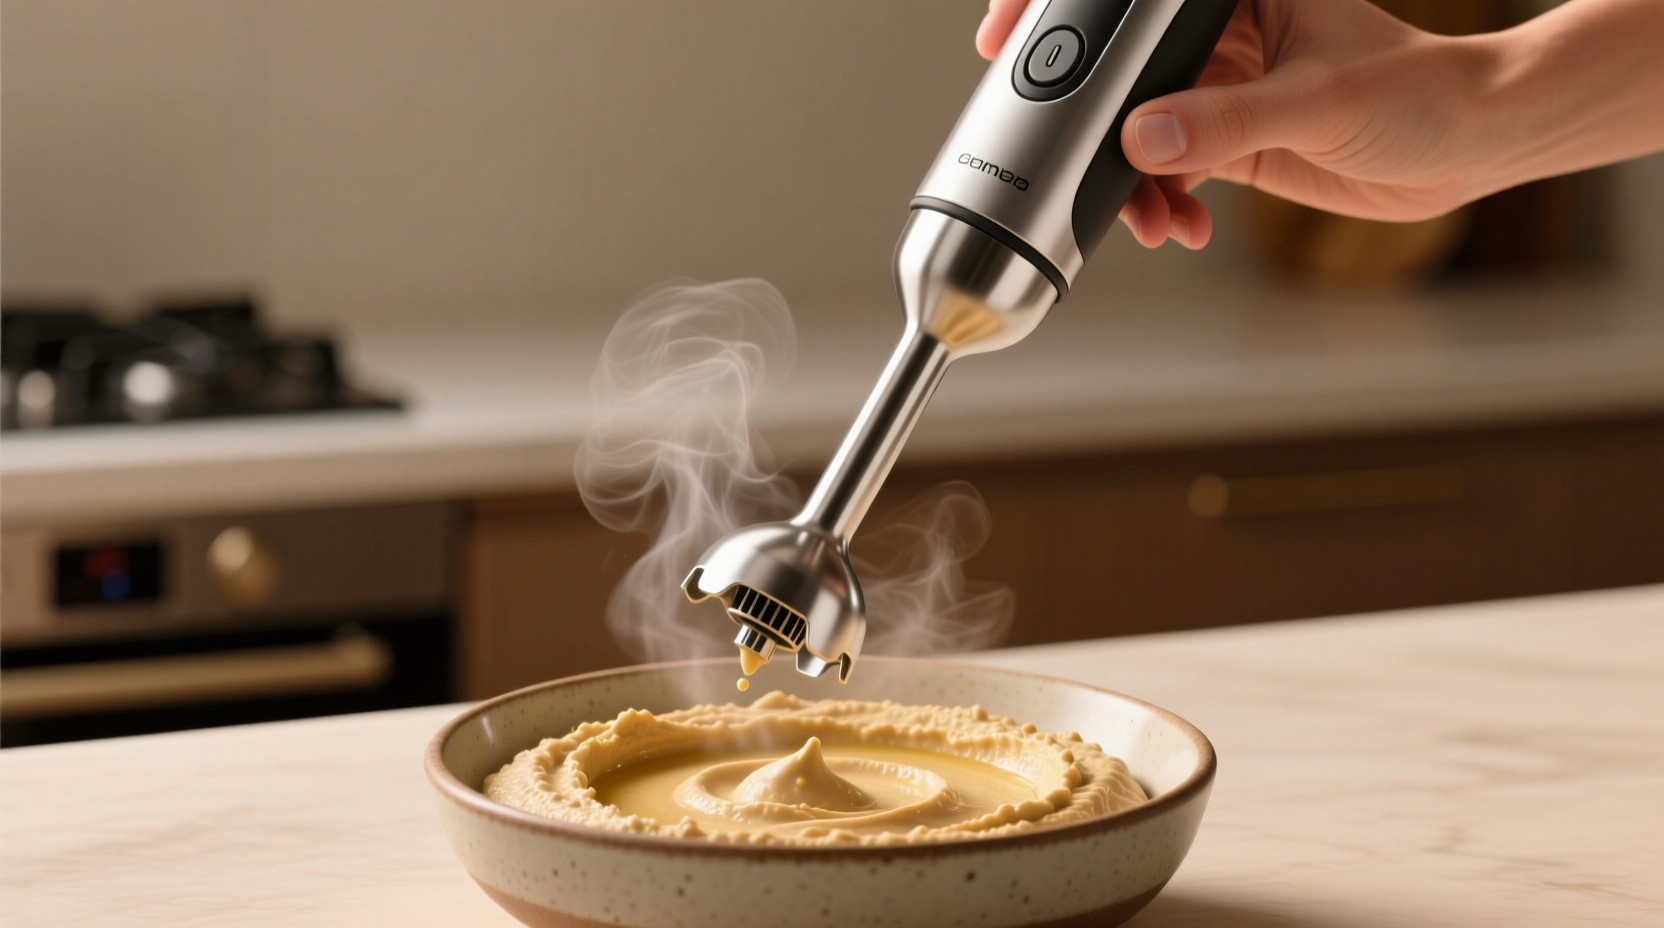
You get a creamy hummus, but sometimes the texture is not as fine as with a food processor. It can be a bit rustic, with tiny bits of chickpeas. For many, this is just right. For others, who want the extra-silky style, the immersion blender may not be enough.
Step-by-step: Making Hummus With Immersion Blender
Let’s walk through how to make hummus using an immersion blender.
Ingredients:
- 1 can (15 oz) chickpeas, drained and rinsed
- 1/4 cup tahini
- 2–3 tbsp lemon juice
- 1–2 cloves garlic
- 2–3 tbsp olive oil
- 2–4 tbsp water (as needed)
- 1/2 tsp salt
- Optional: Cumin, paprika, extra toppings
Instructions:
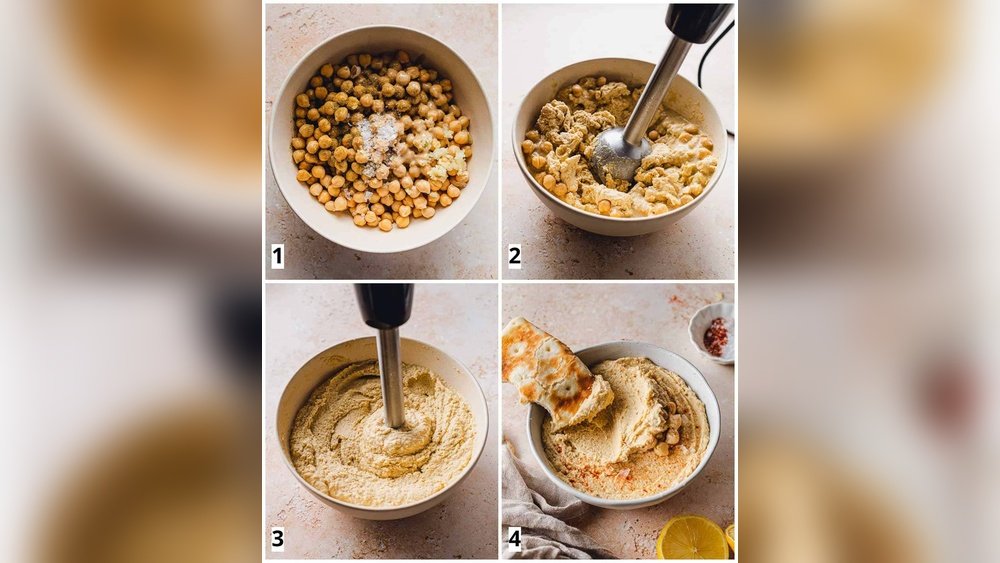
- Pour chickpeas, tahini, lemon juice, garlic, olive oil, and salt into a deep mixing bowl.
- Start blending with the immersion blender. Move the stick up and down, making sure all the chickpeas get mashed.
- If the mix is too thick, add water slowly. Keep blending until you reach your desired texture.
- Taste and adjust lemon juice, salt, or oil.
- Scrape down the sides with a spatula. Blend again for extra smoothness.
- Serve with pita, veggies, or as a spread.
Tips:
- For extra smooth hummus, peel the chickpeas before blending. This takes time but makes a big difference.
- Use a tall, narrow bowl for easier blending.
- Add liquid slowly. Too much water makes hummus runny.
Estimated Time:
Making hummus with an immersion blender takes about 10–15 minutes. Cleanup is quick—just rinse the blade and bowl.
Real-life Experience: What Home Cooks Say
Many cooks use immersion blenders for hummus because it’s convenient. Here are some insights from actual users:
- Easy cleanup: You don’t need to wash a big processor. Just rinse the blade.
- Good for small batches: Perfect for 1–2 cups.
- Versatile: Can also blend soups or smoothies.
- Texture trade-off: Some say immersion blender hummus is “good enough,” but not as creamy as restaurant-style.
One common mistake: Trying to blend too many chickpeas at once. The blender works best with smaller amounts. If you make more, blend in batches.
The Science Behind Smooth Hummus
Why is hummus sometimes chunky with an immersion blender? It’s about power and blade design. Food processors have sharp blades and strong motors. They create a vortex that pulls everything down. Immersion blenders rely on you moving the stick around. If the beans are too firm or there’s not enough liquid, the blades can’t fully puree them.
Peeling chickpeas is a game changer. Chickpea skins are tough and make hummus grainy. Removing the skins helps the immersion blender create a smoother dip. You can do this by rubbing cooked chickpeas between your hands or soaking them in baking soda water.
Pros And Cons Of Using Immersion Blender For Hummus
Let’s break down the benefits and challenges.
Pros:
- Quick setup: No need to assemble big machines.
- Easy to clean: Just rinse the stick.
- Good for small kitchens: Takes little space.
- Affordable: Cheaper than food processors.
- Versatile: Use for many recipes.
Cons:
- Texture: May not be as smooth as desired.
- Power: Struggles with large amounts or firm beans.
- Splatter risk: Needs a deep bowl to avoid mess.
- Manual effort: You must move the blender around.

Credit: myveganminimalist.com
How Immersion Blender Compares For Different Hummus Styles
Hummus recipes vary. Some are thick and chunky, others are smooth and creamy. Let’s see how the immersion blender performs for popular variations.
| Hummus Style | Immersion Blender Result | Tips for Better Texture |
|---|---|---|
| Classic | Good, slightly rustic | Peel chickpeas, add water |
| Roasted Red Pepper | Easy to blend, smooth | Roasted peppers soften mix |
| Chunky | Excellent | Blend less, keep some beans whole |
| Extra Creamy | Hard to achieve | Peel beans, blend longer |
| Spicy | Good, flavors mix well | Add spices before blending |
Non-obvious insight:
Roasted vegetables (like peppers or garlic) can help the immersion blender. They add moisture and soften the mix, making blending easier and texture smoother.
Practical Tips For Best Results
If you want to use an immersion blender for hummus, follow these practical tips.
- Cook chickpeas longer: Soft beans blend better. If you use canned beans, simmer them in water for 10 minutes to soften.
- Peel chickpeas: Remove skins for extra smoothness.
- Add liquid gradually: Start with little water, add more as needed.
- Use a narrow bowl: Keeps mixture deep enough to cover blades.
- Blend in batches: Don’t overload the bowl.
- Move blender slowly: Up and down, side to side, for even texture.
- Scrape sides: Use a spatula to mix in unblended bits.
- Blend longer: Extra time makes hummus smoother.
Credit: lifetips.alibaba.com
Common Mistakes When Using Immersion Blender For Hummus
Beginners often make these mistakes:
- Too thick mixture: The blender stalls. Always add a bit more liquid.
- Overfilling bowl: Makes blending uneven. Stick to small batches.
- Not peeling chickpeas: Leaves hummus grainy.
- Using shallow bowls: Causes splatter and mess.
- Rushing: Blending longer gives better texture.
When Should You Use Immersion Blender For Hummus?
Immersion blender is ideal for:
- Quick snacks: You want hummus fast, without a big cleanup.
- Small kitchens: Not enough space for big appliances.
- Small batches: Perfect for 1–2 servings.
- Experimenting: Trying new flavors or add-ins.
It’s not the best choice for:
- Big parties: Making large batches is slow and uneven.
- Extra-smooth hummus: Food processor is better.
- Firm, dry chickpeas: The blender struggles without enough liquid.
Credit: lifetips.alibaba.com
Cleaning And Maintaining Your Immersion Blender
Cleaning is easy. Unplug the blender, detach the blade, and rinse with warm water. For sticky hummus, soak in soapy water for a few minutes. Use a brush if needed. Dry fully before storing.
Maintenance tips:
- Check the blade for wear.
- Avoid blending very hot foods (can damage plastic parts).
- Store in a dry place.
Non-obvious insight:
Some immersion blenders have detachable blades. This makes cleaning easier and safer. Always check the manual for proper care.
Safety Considerations
Immersion blenders are safe when used correctly. Always unplug before cleaning. Keep fingers away from the blades. Don’t run the blender for too long at once—motors can overheat.
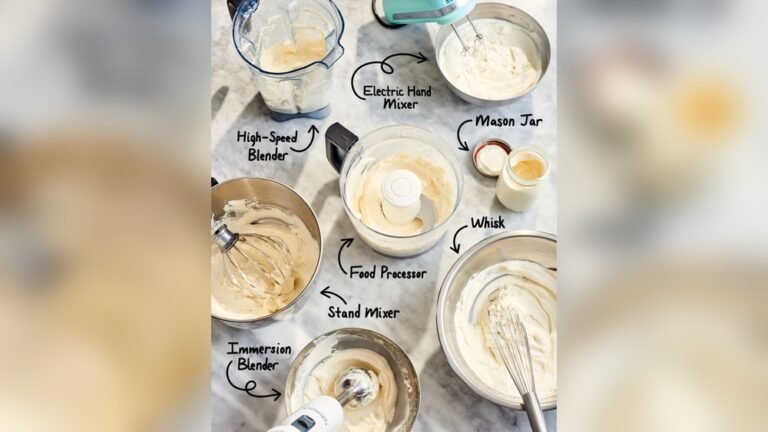
Alternatives To Immersion Blender For Hummus
If you’re not satisfied with immersion blender results, you have options:
- Food Processor: Gives the smoothest texture. Great for big batches.
- Stand Blender: Works for hummus, but may need more liquid.
- Manual masher: Good for chunky hummus, but labor intensive.
- Mortar and pestle: Traditional, great for rustic style.
Each tool has pros and cons. Choose based on your kitchen, batch size, and texture preference.
Hummus Texture: Why It Matters
Texture is key to good hummus. Smooth, creamy hummus is easier to dip and spread. Chunky hummus has more bite and rustic charm. Most people prefer somewhere in between.
Immersion blender gives you control. Blend longer for smoothness, shorter for chunkiness. Adding more oil or water softens the dip, but too much makes it runny.
Data point:
A survey by Serious Eats found that 60% of home cooks are happy with immersion blender hummus, but 30% prefer food processor for extra-smooth texture.
Is Immersion Blender Good For Hummus? Expert Opinions
Chefs and food bloggers have tested immersion blenders for hummus. Most agree: it works well for small batches, especially if you don’t mind slightly rustic texture.
Chef insight:
“Immersion blenders are great for quick hummus. If you want silky-smooth, peel your chickpeas and blend longer. ”
Food blogger tip:
“I use my immersion blender for hummus and soups. For parties, I switch to the food processor. ”
Cost Comparison: Immersion Blender Vs. Food Processor
Let’s see how much each tool costs.
| Tool | Average Price | Best Use Case | Durability |
|---|---|---|---|
| Immersion Blender | $20–$70 | Small batches, quick snacks | Good, lasts years |
| Food Processor | $60–$200 | Large batches, smooth texture | Excellent, heavy use |
| Stand Blender | $40–$150 | Smoothies, soups, hummus (with more liquid) | Good, but motor can burn out |
Immersion blenders are affordable. They take little space and work for many recipes. Food processors cost more but deliver extra-smooth hummus.
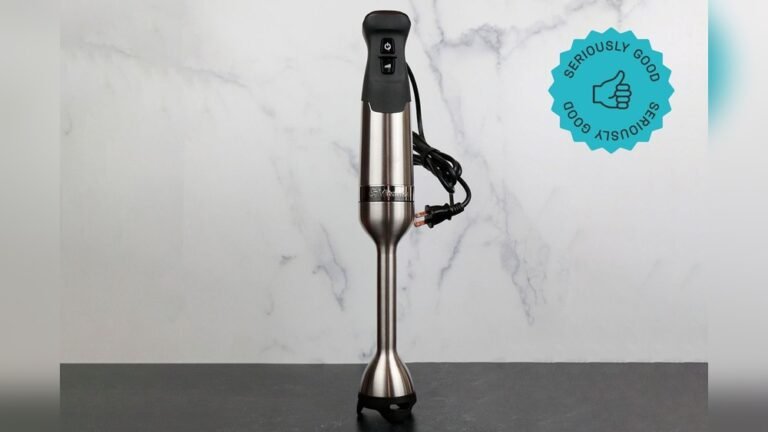
How To Choose The Best Immersion Blender For Hummus
If you decide to buy an immersion blender for hummus, look for these features:
- Power: Choose models with at least 200 watts.
- Blade shape: Curved blades blend better.
- Detachable shaft: Easier to clean.
- Speed settings: More control for different textures.
- Warranty: Longer coverage is better.
Common buyer mistake:
Choosing a weak model. Cheap immersion blenders may struggle with chickpeas. Invest in a mid-range or high-quality model if you plan to use often.
Nutritional Benefits Of Homemade Hummus
Hummus is healthy and packed with protein, fiber, and vitamins. Making it at home means no extra preservatives or additives. You control the oil and salt.
Nutrition facts (per 1/4 cup):
- Calories: 100–120
- Protein: 3–4g
- Fiber: 2–3g
- Fat: 5–7g
- Carbs: 10–12g
Homemade hummus is good for heart health, digestion, and weight management. It’s vegan and gluten-free.
Extra Uses For Immersion Blender In The Kitchen
Immersion blenders are not just for hummus. You can use them for:
- Soup: Blend right in the pot.
- Smoothies: Quick drinks, easy cleanup.
- Sauces: Creamy dressings and purees.
- Baby food: Soft purees for infants.
- Whipped cream: Some models have whisk attachments.
This makes the immersion blender a smart investment.
Environmental Impact
Immersion blenders use less energy than food processors or stand blenders. They’re smaller, require less plastic and metal, and last a long time. Making hummus at home also reduces packaging waste from store-bought containers.
When To Upgrade To A Food Processor
If you find yourself making hummus often, or want ultra-smooth texture, a food processor may be worth it. It’s faster for big batches, and can also chop, slice, and shred.
But for occasional use, small servings, or limited kitchen space, immersion blender is a reliable choice.
Summary: Should You Use Immersion Blender For Hummus?
The immersion blender is good for hummus if you value speed, easy cleanup, and don’t mind a slightly rustic texture. It works best with soft, peeled chickpeas and a bit of added liquid. For silky-smooth hummus or big batches, a food processor is better.
Most home cooks are happy with immersion blender hummus. The tool is affordable, versatile, and easy to use. It fits well in small kitchens and for quick snacks. Peel chickpeas and blend longer for best results. If you want perfect creaminess, consider upgrading.
But for everyday use, the immersion blender is a smart and practical choice.
For more information about immersion blenders and kitchen appliances, see Wikipedia.
Frequently Asked Questions
Can I Make Hummus With An Immersion Blender If I Use Dried Chickpeas?
Yes, but dried chickpeas must be fully cooked and soft. Simmer them longer, and peel the skins for smoother texture. If the beans are too firm, the immersion blender may not puree them well.
Why Is My Hummus Chunky With An Immersion Blender?
Chunky hummus happens if you use unpeeled chickpeas, don’t add enough liquid, or blend too quickly. Try peeling beans, adding more water or oil, and blending longer.
How Much Hummus Can I Make At Once With An Immersion Blender?
Immersion blenders work best with small batches—about 1–2 cups at a time. Overfilling the bowl can make blending uneven and messy.
Is Immersion Blender Hummus Healthier Than Store-bought?
Yes. Homemade hummus has no preservatives, less salt, and controlled oil. You choose the ingredients and adjust for your health needs.
Can Immersion Blender Replace Food Processor For Hummus?
For small batches and everyday use, yes. But for large amounts or silky-smooth texture, food processor is better. Immersion blender is great for convenience and quick snacks.
Making hummus at home is rewarding. The immersion blender is a good tool for most people. With a few simple tricks, you’ll enjoy fresh, tasty hummus anytime.