How Do I Add Recipes To The Vitamix Perfect Blend App
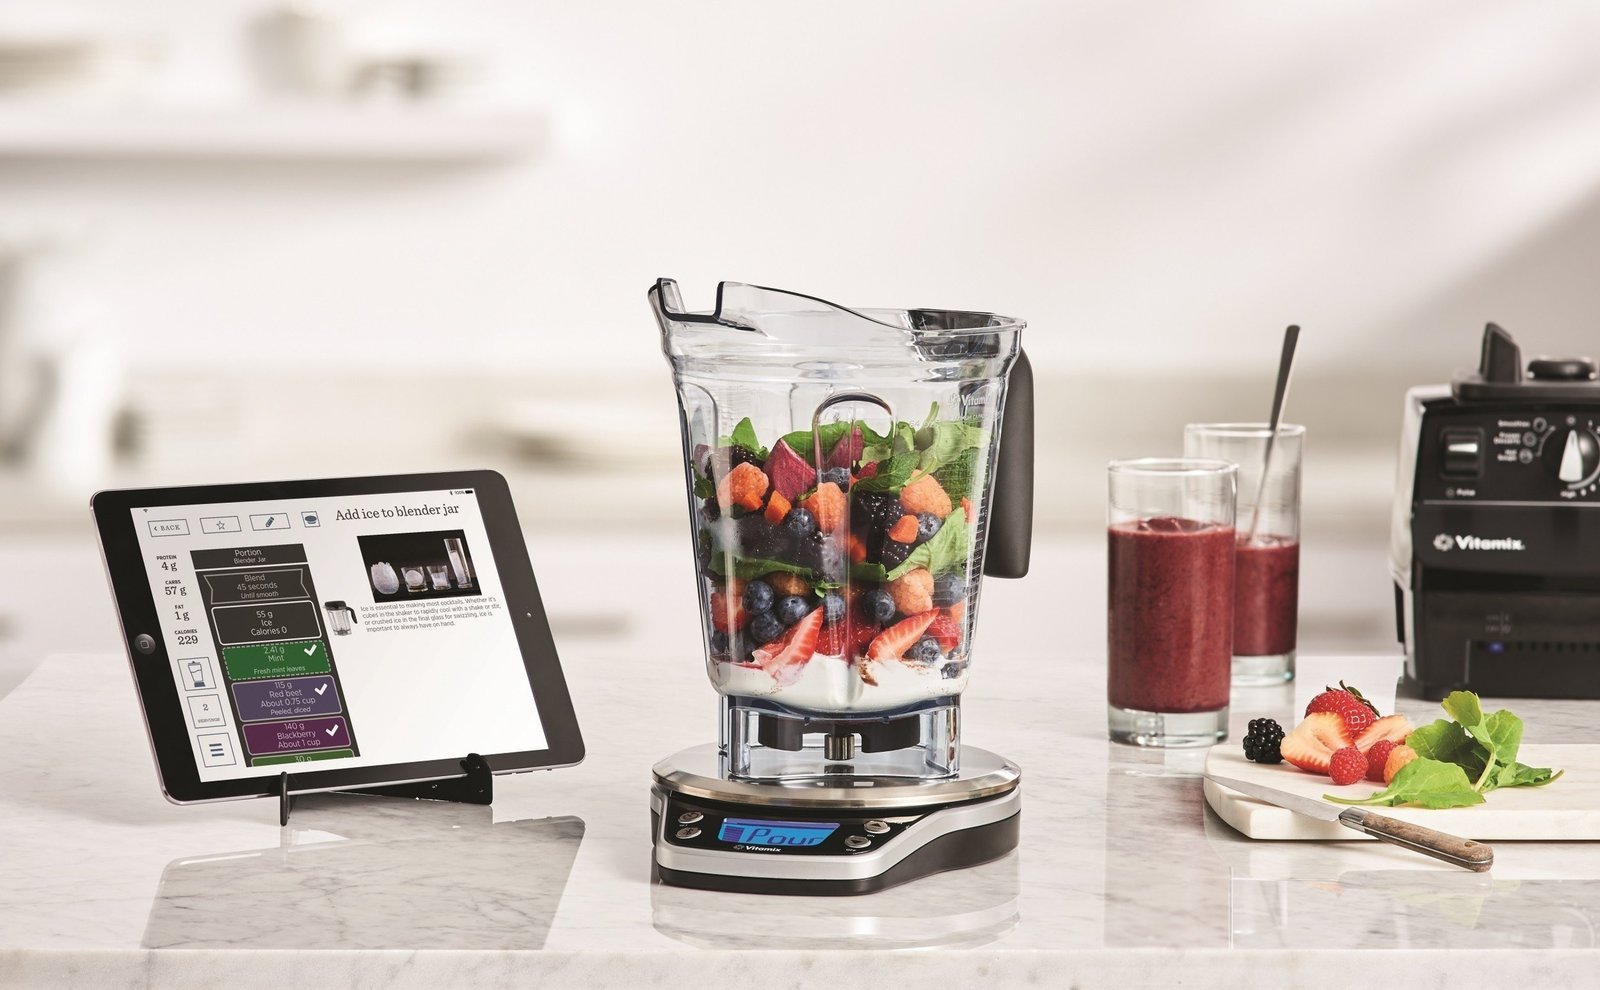
You can add custom meals to the app by opening the My Recipes tab and selecting the plus icon to enter your ingredients. Adding recipes to the Vitamix Perfect Blend depends on whether you use the manual entry mode or the library sync feature.
These steps vary based on your phone operating system, such as iOS or Android, and the version of the app you have installed. You should check the “About” section in your app settings to confirm you’re using the latest software version, as older versions may have different menu layouts for saving custom content.
Users of the Vitamix Perfect Blend App
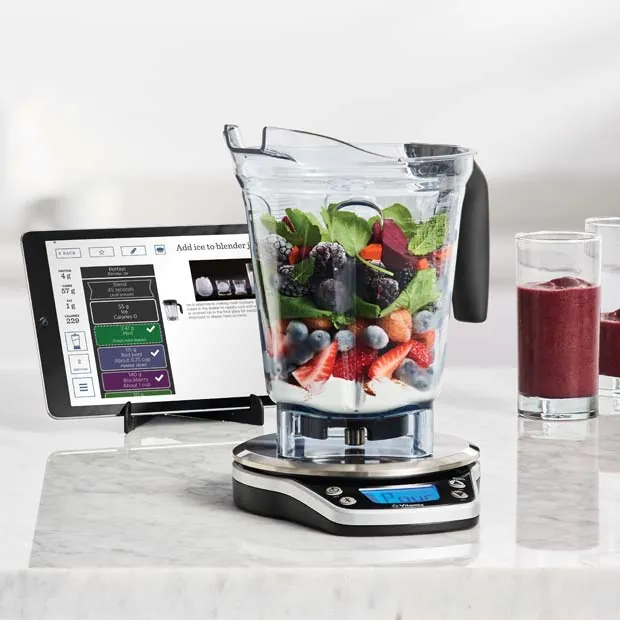
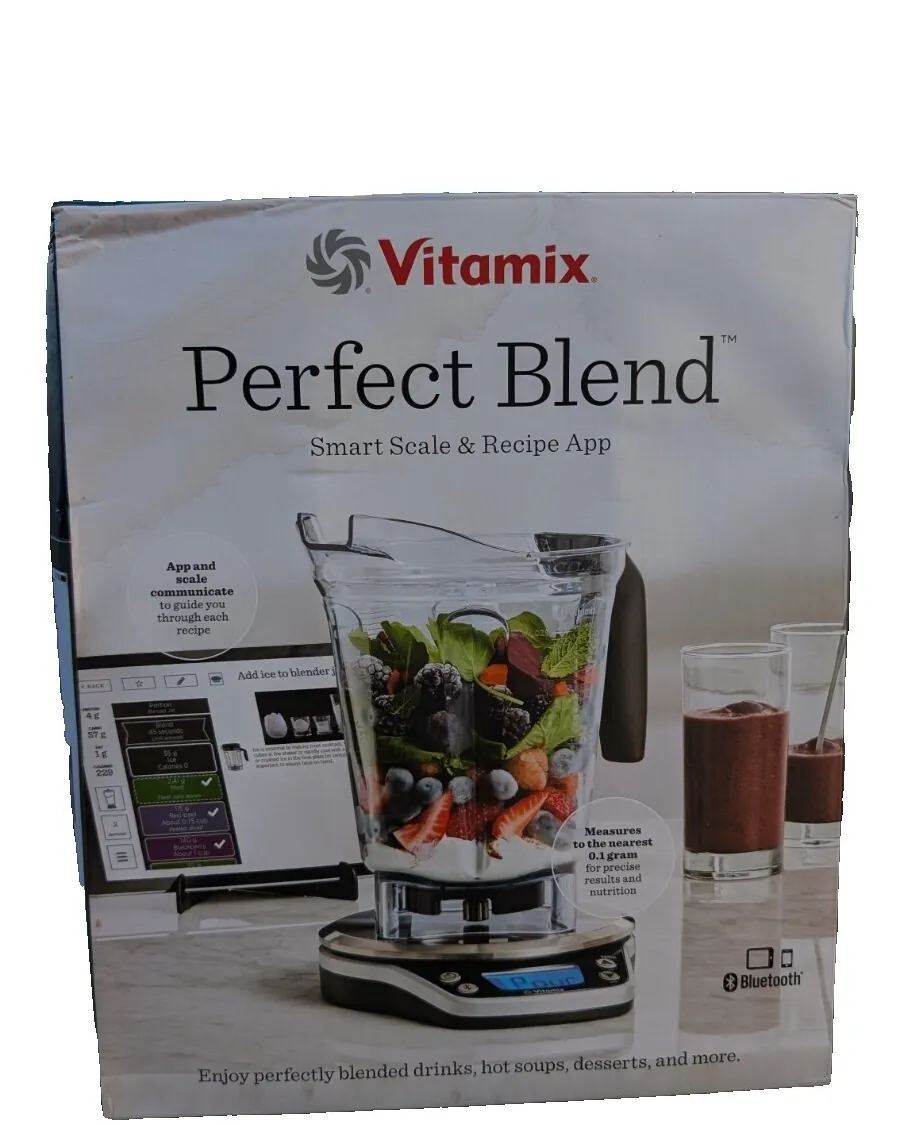
This guide is for home cooks who use the Vitamix Perfect Blend smart scale and its companion mobile app to track nutrition and follow guided instructions. If you only use the blender’s physical buttons without the scale or the app, this page won’t help you.
We assume you have already paired your smart scale via Bluetooth and created a user profile within the app. Some users expect to add recipes by simply scanning a barcode, but the app requires manual input for custom creations. This page serves those who want to build a personal library of meals that the scale can track in real-time.
If you’re looking for how to troubleshoot Bluetooth pairing issues or how to calibrate the scale, you should look for the official Vitamix support documents instead of this guide. We focus purely on the recipe management workflow.
Factors That Change Your Recipe Entry
The speed and accuracy of adding a recipe depend on how much detail you want the app to track. If you only care about the final weight, the process is fast; if you want precise calorie and macro tracking, it takes more time.
The most common mistake is failing to define the unit of measurement for each ingredient before saving. If you enter “1 cup” but the scale expects grams, your nutritional data will be wrong. You should check your ingredient packaging to see if it lists weight in grams, as this is the standard unit for the scale to give you the best results.
Another factor is the ingredient database search. If the app can’t find your specific brand of protein powder or yogurt, you must create a custom ingredient entry first. People often forget that custom ingredients need to be saved to your personal database before they can be added to a new recipe.
Steps to Save Your Own Recipes
- Open the Vitamix Perfect Blend app on your smartphone or tablet.
- Tap the “My Recipes” icon located in the bottom navigation menu.
- Select the “+” button or the “Create New” option to start a blank entry.
- Type a name for your recipe in the title field so you can find it later.
- Tap “Add Ingredient” and search for the item in the database or select “Create Custom Ingredient.”
- Enter the amount and unit for the ingredient, such as “150 grams” or “2 tablespoons.”
- Place your container on the scale and follow the app prompts to add each ingredient one by one.
- Tap “Save” once you have added all components to ensure the recipe stays in your library.
The most important judgement call is deciding when to switch from manual entry to the guided mode. A job done properly means you have verified the total weight of the recipe against the sum of its parts before pressing save. If the numbers don’t align, the app will struggle to guide you through the process later.
Recipe Management at a Glance
| Situation | Action | Effort | What to watch for |
|---|---|---|---|
| Adding new meal | Create custom recipe | Moderate | Accurate weight units |
| Missing ingredient | Create custom item | High | Nutrition label data |
| Syncing library | Check cloud settings | Low | Stable internet connection |
| Editing recipe | Select edit icon | Low | Ingredient order changes |
| Sharing recipe | Use share button | Low | App version compatibility |
When adding a new meal, prioritize raw weight measurements over cooked volume. Cooked food density fluctuates based on heat exposure, which can skew your daily intake totals by up to 20 percent. Use a digital scale to ensure your entry matches the database standard.
Creating a custom ingredient is necessary when a barcode scan fails. Always prioritize the “per 100g” value found on the physical packaging rather than relying on crowdsourced entries. Crowdsourced data often ignores fiber content or miscalculates net carbohydrates, leading to inaccurate metabolic tracking.
If your library fails to sync, check that your device isn’t in a low-power mode. Many operating systems throttle background data transfers to save battery, which interrupts the upload process. Ensure you have at least two bars of signal strength before initiating a manual sync to avoid partial data corruption.
When editing existing recipes, re-verify the serving size field immediately after saving. The application often defaults to a single serving even if your recipe is configured for a batch of six. Failing to adjust this multiplier will cause your daily caloric log to reflect a massive, unintended surplus.
Before sharing a recipe, confirm that both users are running the same major app version. Features introduced in recent updates often break backward compatibility, causing shared files to appear as blank templates. If you receive a “file format error,” update your app through the store before attempting the transfer again.
If you find yourself manually adjusting the same recipe every week, stop editing the original file. Instead, duplicate the recipe and save it as a new entry. This preserves your historical data logs, allowing you to track how your nutritional needs evolve as your fitness goals shift over time.
Details That Influence Your Success
Preparing your ingredient list
Experienced users gather all ingredients and their nutrition labels before opening the app. This prevents the screen from timing out while you’re searching for missing data. If you have the weight per serving written down, you avoid the guesswork that leads to incorrect calorie counts.
Managing the scale connection
A good result requires a stable Bluetooth connection while you’re inputting the recipe. If the scale disconnects during the entry process, you might lose unsaved changes. Experienced users ensure the scale is turned on and showing “0” before they start the input process to keep the data flow consistent.
Troubleshooting Common Entry Issues
| What you notice | What it means | What to do first | How to stop it |
|---|---|---|---|
| App crashes | Memory overload | Clear app cache | Close background apps |
| Wrong units | Input error | Edit ingredient | Verify label units |
| Can’t save | Connection drop | Check Bluetooth | Re-pair the scale |
| Search fails | Item not found | Add custom item | Check spelling |
| Wrong calories | Database error | Manual override | Use custom entry |
Rules for Nutritional Data
The app relies on the United States Department of Agriculture (USDA) database for standard food items. You should check the official USDA FoodData Central website to verify the nutritional values of base ingredients if you suspect the app data is outdated.
If you’re tracking macros for medical reasons, you must use the physical label on your specific product rather than the app’s generic database. The app provides a tool for this, but the responsibility for accuracy lies with the user. Never assume the app’s default calorie count is correct for every brand of the same product.
Manufacturers frequently reformulate recipes, and you should always check the Nutrition Facts panel on the specific package you’re using, as caloric density can change between production batches. When a product label lists a “serving size” that differs from the app’s default, always prioritize the physical label. If the label provides values for “as prepared” versus “as packaged,” input the specific version you intend to consume.
A common mistake is relying on user-generated entries, which often contain transcription errors or omit trace ingredients like oils and sugars. If an entry lacks a verified checkmark or a direct link to a manufacturer’s site, treat it as an estimate rather than a fact. When in doubt, search for the item by its specific UPC code to ensure the nutritional profile matches the exact item in your hand.
If you’re managing a condition like diabetes or kidney disease, the app’s generic data is insufficient for precise insulin or nutrient dosing. Use the manual entry tool to input the exact grams of protein, fats, and carbohydrates listed on your specific container.
If your medical requirements demand precision within a 5% margin of error, rely exclusively on a digital kitchen scale rather than volume-based measurements like cups or tablespoons. Volume measurements can be off by as much as 20% depending on how tightly a food is packed.
The Real Cost of Custom Recipes
The cost of custom recipes is measured in the friction between your kitchen habits and your data entry. Building a complex recipe from scratch takes between 5 and 10 minutes, assuming you have the nutrition labels on hand. If you must hunt for data, expect that time to double.
Most people fail by creating one-off entries for every meal. This mistake costs you hours of administrative work over a single month. If you cook a dish more than twice a month, it belongs in your favorites folder. Saving these templates removes the need to re-enter ingredients, turning a ten-minute chore into a three-second selection.
Use this rule to determine your workflow: if a recipe requires more than five ingredients, build it as a master template. If it’s a simple assembly, such as a salad or a quick snack, log the components individually. Attempting to track every minor spice or garnish in a complex database will eventually lead to burnout. You’ll stop logging entirely once the effort outweighs the insight.
You’re in the high-effort category if you find yourself manually calculating macros for every single breakfast. You’re in the efficient category if you rely on a core library of ten “anchor” meals. These anchors should represent your baseline caloric intake. By keeping your database lean, you ensure the system remains a tool for your health rather than a tax on your schedule.
When you start, prioritize the meals that make up 80 percent of your weekly calories. Ignore the one-off dinners or experimental bakes. If you can’t find the exact brand in the database, use a generic equivalent with a 10 percent margin of error. Precision is useful, but consistency is the only factor that actually moves the needle on your long-term goals.
Maintaining Your Recipe Library
Review your saved recipes every three months to ensure they still reflect your current cooking habits. If you notice a recipe is no longer accurate, select the edit pencil icon to update the quantities. The sign that a recipe needs attention is when the scale measurements no longer match your desired final texture.
Most users make the mistake of keeping every recipe they have ever saved, which leads to “decision paralysis” when it’s time to cook. If you haven’t prepared a specific dish in over a year, delete it. A lean library of fifty high-quality recipes is more useful than five hundred you’ll never actually cook.
Always check that your app is updated to the latest version, as this often includes critical fixes for the recipe database. If you change your phone, ensure you log in with your original account to sync your library.
If you find your library is syncing incorrectly, check your internet connection before logging out. Forcing a logout while the app is attempting to sync can lead to corrupted data or lost entries. If you’re using a shared account, create a unique tag for your specific dishes to avoid confusion.
If you’re cooking for a crowd rather than a household, use the scaling tool to adjust your ingredients by percentage rather than individual units. This prevents rounding errors that occur when you multiply individual measurements. If the math feels off, revert to the original recipe and manually calculate the ratios on a notepad before updating the app.
This extra verification step saves you from ruined ingredients and wasted time in the kitchen. If the recipe requires a specific technique, add a note in the description field to remind yourself of the exact heat setting or timing that worked best last time.
When to Use Other Tools
If you’re managing complex dietary restrictions or professional-grade meal plans, the standard app may be too simple. These tools are built for the casual user who needs a general sense of caloric intake. If your health requires tracking specific micronutrients like potassium, vitamin K, or complex glycemic loads, you need dedicated clinical nutrition software. These platforms provide the granular control necessary to prevent dangerous imbalances that consumer apps simply ignore.
If your needs go beyond simple ingredient tracking, such as managing a commercial kitchen inventory, the consumer-grade Vitamix app won’t be enough. You should look for professional restaurant management software instead. Trying to force the consumer app to handle professional-grade data often leads to errors that are difficult to correct later. You’ll lose hours attempting to reconcile inventory counts that the app was never designed to hold.
Distinguish your needs by the complexity of your output. If you’re tracking for personal wellness, stick to the consumer app. If you’re tracking for clinical compliance or business profitability, move to professional software immediately. The cost of a professional subscription is far lower than the cost of a manual data audit.
Consider the source of your data as the final indicator. If you’re pulling from a standardized grocery database, the consumer app is sufficient. If you’re working with proprietary recipes, bulk supply chains, or specific medical directives, you need a system that supports custom data imports.
When you find yourself manually calculating conversions for more than three ingredients per meal, you have outgrown the consumer tool. Stop fighting the interface and switch to a platform that treats your data as an asset rather than a suggestion.
Frequently asked questions
Can i share my recipes with other vitamix users?
You can share your recipes using the share icon within the “My Recipes” menu. This generates a link that other users can open if they have the same app version installed.
How long does it take to create a new recipe?
It takes 5 to 10 minutes per recipe if you have all nutrition labels ready. This assumes you’re entering ingredients manually and verifying the weight for each item.
Is it safe to use custom ingredients for allergy tracking?
It isn’t safe to rely on the app for medical allergy management. You must manually verify all ingredient labels for potential allergens, as the app database may not include the most current manufacturing information.
What happens if the app loses my saved recipes?
Your recipes are tied to your account login, so re-logging into the app usually restores them. If they don’t appear, ensure you have an active internet connection to trigger the cloud sync process.
Does it matter which version of the app i use?
It matters because newer versions include critical updates for database accuracy and Bluetooth stability. You should check the app store for updates at least once a month to ensure you have the latest features.
How many recipes can i save in the app?
You can save as many recipes as your phone storage allows. There’s no hard limit set by the app, but performance may slow down if your library contains hundreds of entries.
Conclusion
Start by opening your “My Recipes” tab and creating a single, simple recipe to understand the flow. You should expect the app to guide you through the weighing process once the recipe is saved. If the scale doesn’t react when you add an ingredient, stop and check your Bluetooth connection before adding any more items.