How Do I Make Vitamix Recipes In A Regular Blender: Expert Tips
You can make most recipes designed for a professional machine if you adjust the blending time and prep the ingredients into smaller, even pieces. To successfully adapt vitamix recipes for a regular blender, you must prioritize mechanical efficiency by adding liquids first and using a lower speed to avoid burning out your motor.
Your results will change based on the power of your motor and the sharpness of your blades. A standard blender often struggles with fibrous greens or ice, so you should adapt your expectations for texture.
Who should make Vitamix recipes in regular blenders
This page serves home cooks who own a standard, countertop blender but want to try recipes written for high-performance brands like Vitamix. You likely have a machine with a power rating between 300 and 700 watts. You want to know if you can achieve the same smooth, creamy textures without spending hundreds of dollars on a new appliance.
If your blender jar is plastic and feels lightweight, or if the blades are permanently fixed to the base, you’re in the right place. These machines struggle with fibrous greens and frozen fruit compared to heavy-duty models. You must compensate by increasing your blending time by 45 seconds to achieve the same cell-wall breakdown.
Many cooks make the mistake of overloading the jar, which prevents a vortex from forming and leaves chunks near the blades. If you see the ingredients spinning in a circle but not pulling down toward the center, stop immediately. Add two tablespoons of extra liquid and pulse three times to reset the flow.
If your machine has a “pulse” button, use it for the first minute to break down large solids. If you only have a single speed, run the motor in 30-second bursts to avoid burning out the internal thermal fuse.
Factors that change your results
The primary factor is the motor wattage of your device. A 500-watt machine can’t break down hard seeds or tough kale as quickly as a 1,500-watt machine. If your motor smells like hot plastic, stop immediately.
Blade design matters significantly for texture. Standard blenders often use sharp, thin blades that slice food, whereas high-performance blenders use dull, thick blades that pulverize. If your blades are sharp, you’ll need to pulse more often to avoid creating a mushy, inconsistent texture.
The volume of ingredients affects how well the blades engage. If you fill the jar to the top, the bottom ingredients will blend, but the top will remain untouched. Always leave at least two inches of air at the top for proper circulation.
Most people make the mistake of adding frozen items first. This stalls the blades and forces the motor to work too hard. Always put liquids at the base, followed by soft solids, and save frozen items or ice for the very top.
Finally, the ambient temperature of your ingredients creates different results. Cold, dense ingredients take longer to process and require more liquid to create a vortex. If you find your mixture isn’t moving, add a half-cup of water or broth to help the blades catch the ingredients.
How to adapt your blending process
- Cut all hard vegetables and fruits into one-inch cubes. Large chunks will jam standard blades and cause the motor to strain.
- Pour your base liquid, such as water, milk, or juice, into the blender jar first. Ensure you have at least one cup of liquid for every two cups of solids.
- Add your greens or soft ingredients next. These items provide the bulk for the vortex to form.
- Place frozen fruit or ice cubes at the very top. This creates weight that pushes the ingredients down into the blades.
- Secure the lid tightly. Hold the lid down with a folded towel if you’re working with hot liquids to prevent pressure buildup.
- Start the blender on the lowest speed setting. Don’t jump to high speed immediately, as this creates air pockets that stop the blending action.
- Increase the speed slowly over 30 seconds until you reach the maximum setting your machine allows.
- Blend for 60 to 90 seconds, stopping every 20 seconds to scrape down the sides with a rubber spatula.
- Check the consistency by looking for streaks of unblended food. If you see chunks, continue blending for another 30 seconds.
The judgement call that separates a good result from a poor one is the sound of the motor. A healthy, consistent vortex makes a low, steady hum; a struggling motor makes a high-pitched, grinding noise. If you hear grinding, stop, add more liquid, and stir the mixture manually with a spatula before restarting.
Comparison of blending scenarios
| Situation | Action to take | Time required | What to watch for |
|---|---|---|---|
| Smoothies | Add liquid first | 60 seconds | Motor heat |
| Nut butters | Add oil | 5 minutes | Motor strain |
| Hot soups | Blend in batches | 3 minutes | Lid pressure |
| Frozen desserts | Pulse frequently | 2 minutes | Large chunks |
| Seeded sauces | Strain after blending | 90 seconds | Texture consistency |
If your smoothie contains frozen fruit, pour the liquid base in first to create a vortex that pulls solids downward. Without this fluid buffer, blades often cavitate, leaving you with a stalled motor and a warm, chunky mess.
When processing nut butters, add one tablespoon of neutral oil for every two cups of nuts. If the mixture stops circulating, stop immediately and scrape the sides; forcing the motor through a dry, dense paste can burn out the internal windings in under three minutes.
For hot soups, never fill the jar past the halfway mark. Steam expands rapidly under pressure, and a full container will force the lid off, creating a dangerous spray. If you must process a large volume, work in two-cup increments.
When making frozen desserts, pulse the machine every two seconds rather than running it continuously. This allows the frozen ingredients to fall back into the blades. If you run it steady, the friction will melt your dessert into a thin liquid before the texture becomes smooth.
Finally, if you’re straining seeded sauces, use a fine-mesh chinois rather than a standard colander. A standard mesh will let small seeds pass through, ruining the mouthfeel of your final product.
Details that improve your results
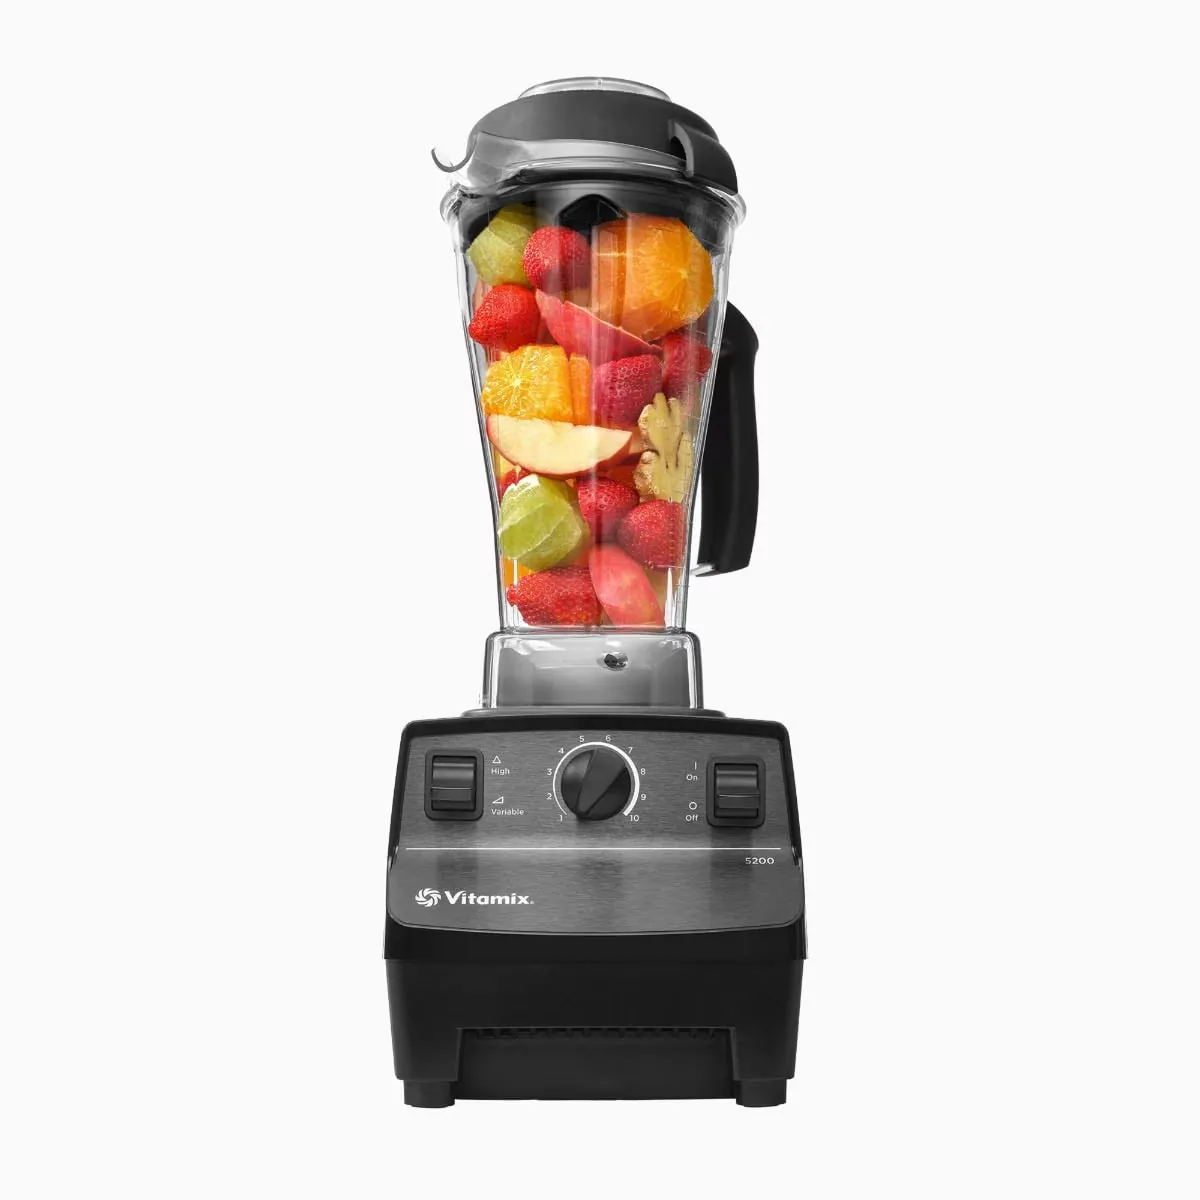
Preparing your ingredients for success
Experienced users know that preparation is more important than the machine itself. They never throw whole carrots or dense apples into the jar. By peeling and chopping your produce into uniform pieces, you reduce the time the blades spend working. This keeps the motor cooler and prevents the friction that leads to burnt-out parts. Beginners often skip the chopping step, which forces them to blend for too long and overheat the unit.
Managing the blending cycle
Successful blending requires patience and active monitoring. You should never walk away from a blender while it’s running, especially when working with thick mixtures. Watch for the “vortex,” which is the funnel shape that forms in the center of the jar. If the vortex disappears or the mixture stops moving, you must turn the power off immediately. Scrape the sides down to ensure all ingredients reach the blades before you turn the machine back on.
Troubleshooting common issues
| What you notice | What it usually means | What to do first | How to stop it happening |
|---|---|---|---|
| Motor smells hot | Motor is straining | Turn off immediately | Add more liquid |
| Air pocket forms | Not enough liquid | Stop and stir | Use more base |
| Chunks remain | Pieces too large | Chop smaller | Dice to one-inch |
| Liquid leaking | Seal is loose | Check base ring | Tighten jar base |
| Loud grinding | Ice is too big | Add water | Use smaller ice |
When the motor smells hot, you’re likely overloading the jar. If the machine feels warm to the touch, let it rest for ten minutes before trying again. Never force the motor to run through a stall, as this can permanently strip the internal drive coupling.
Air pockets often occur because the ingredients are too thick to circulate. If the blades spin freely without pulling food down, you have reached the limit of your liquid-to-solid ratio. Always add your liquids first to create a vortex before dropping in frozen items.
Leaking is rarely a sign of a broken jar. It almost always stems from a dry or misaligned silicone gasket. Inspect the ring for microscopic tears after every wash. If the seal is intact, ensure the base is threaded perfectly straight before tightening. Cross-threading by even a fraction of an inch will compromise the vacuum.
Grinding noises happen when hard ingredients jam the blade path. If you hear a metallic screech, stop the motor instantly. You should never process ice cubes larger than one inch. If you’re using a standard tray, crack the cubes in half before adding them to the mix.
Standards for safe operation
You must follow the safety guidelines published by the United States Consumer Product Safety Commission regarding small kitchen appliances. Never reach into the blender jar while it’s plugged into a power outlet, as the blades can move even if the motor is off. If you need to clean the blades or clear a jam, unplug the cord from the wall first.
Most standard blenders aren’t designed for continuous use. You should limit your blending sessions to two minutes at a time to allow the motor to cool down. If you’re preparing a large batch, let the motor rest for five minutes between cycles. Never attempt to service the motor housing or internal electrical components yourself. If the machine doesn’t start or makes a strange noise, take it to an authorized repair center.
Real costs of your blending choices
The cost of using a standard blender for advanced recipes is measured in time and equipment lifespan. While you save money on the machine, you spend more time prepping ingredients and monitoring the blending process. A high-performance blender might process a smoothie in 30 seconds, while your standard machine might take 90 seconds.
If you push your machine to do tasks it can’t handle, you risk burning out the motor. Replacing a motor often costs as much as buying a new blender. You can keep costs low by avoiding hard, dry ingredients like whole raw almonds or large ice blocks unless you add enough liquid to create a slurry.
Always check the user manual for your specific model to see the maximum recommended continuous run time. Comparing these factors helps you decide if your current machine is sufficient for your daily needs or if you should look for a more robust model.
Maintaining your machine after use
Clean your blender jar immediately after every use to prevent food residue from drying on the blades or the seal. The best way to clean it’s to fill the jar halfway with warm water and one drop of dish soap. Run the machine on the highest speed for 30 seconds, then rinse thoroughly. If you notice a buildup of residue around the blade base, use a soft toothbrush to gently scrub the area while the jar is unplugged.
Inspect the rubber gasket at the base of the jar for cracks or hardening. If the seal becomes brittle, it will leak liquid into the motor base, which can cause a short circuit. If you see any liquid pooling under the jar, stop using it and replace the seal.
Dry the jar completely before storing it. Moisture trapped inside encourages mold growth and degrades the seal’s elasticity. If you smell a sour odor, soak the jar in a mixture of white vinegar and water for one hour.
Never submerge the motor base in water. Wipe it down with a damp microfiber cloth instead. If you hear a grinding noise during operation, check the drive socket for plastic shavings. If shavings are present, the coupling gear is likely stripped and requires professional repair before it damages the motor housing.
When this is the wrong approach
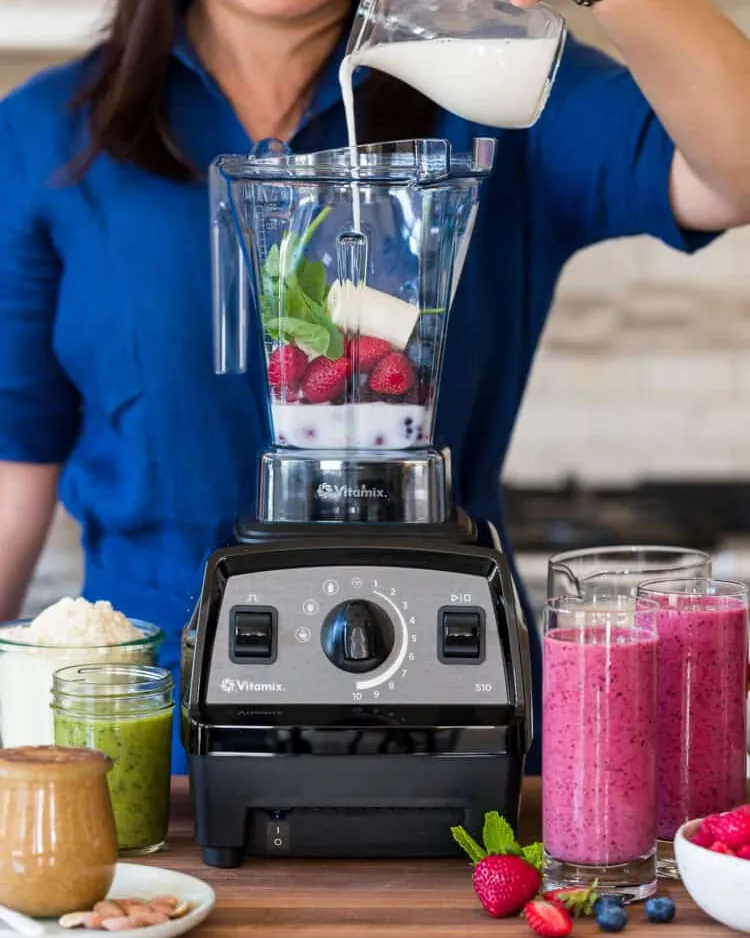
You should avoid using a standard blender for recipes that require high-speed emulsification, such as professional-grade nut butters or heavy doughs. These recipes require a machine with a high-torque motor and specific blade geometry that standard blenders lack. Attempting to make these in a basic machine will likely cause the motor to overheat or seize, which voids your warranty.
If you find yourself making these recipes more than once a week, you should consider purchasing a high-performance blender. These machines are built to handle high-friction tasks without the risk of mechanical failure. Trying to force a basic blender into a professional role isn’t worth the risk of fire or permanent damage to your appliance. If you need to process dry, hard ingredients like grains into flour, use a dedicated grain mill instead.
Look for the presence of a cooling fan and a metal drive socket. If your blender base is plastic and lacks visible ventilation ports, it can’t sustain the load of thick, viscous mixtures.
You can test your current machine by running it at full speed for two minutes; if you smell ozone or burning rubber, stop immediately. That scent is the insulation melting off your motor windings. Once that damage occurs, no amount of maintenance will restore the machine to its original performance.
Frequently asked questions
Can I blend hot liquids in a regular blender?
Yes, but you must blend in small batches and remove the center cap from the lid to allow steam to escape. Always cover the hole with a folded kitchen towel to prevent splashes, and never fill the jar more than halfway when the liquid is near boiling.
How long should I blend a smoothie?
You should blend for 60 to 90 seconds on high speed to ensure a smooth texture. If your blender has a lower wattage, check the consistency after 60 seconds and continue pulsing until all fruit pieces are fully incorporated into the liquid.
Is it safe to blend ice?
It’s safe if you use a high ratio of liquid to ice and ensure your blender is rated for crushing ice. Always add the ice last, and use the pulse button in short, two-second bursts to allow the blades to catch the cubes before they become large chunks.
What happens if I overfill the blender?
The ingredients will stop circulating, and the bottom layer will blend while the top remains solid. This creates an air pocket that can stall the motor, so always leave at least two inches of empty space at the top of the jar for proper movement.
Does it matter if I use warm water?
It helps significantly to use warm water when blending cold or frozen ingredients. The heat from the water helps the blades move through the mixture faster, which reduces the total time the motor needs to run and prevents overheating.
Why does my blender smell like burning?
This smell means the motor is overheating due to too much friction or an excessive load. Turn the machine off immediately, remove the jar, and let the motor cool down for at least 15 minutes before attempting to use it again.
Can I make nut butter in a standard blender?
You can’t make smooth nut butter in a standard blender because it lacks the necessary torque and blade design. You’ll likely end up with a dry, chunky paste that strains the motor, so you should use a food processor for this task instead.
Conclusion
Start by gathering your ingredients and chopping all solids into one-inch pieces to ensure the blades can catch them easily. You’ll know the process is working when you see a consistent, smooth vortex forming in the center of the jar. If the mixture stops moving or you hear a grinding noise, stop immediately and add more liquid to prevent damaging your motor.