Is There A Blender Better Than Vitamix? The Expert Verdict
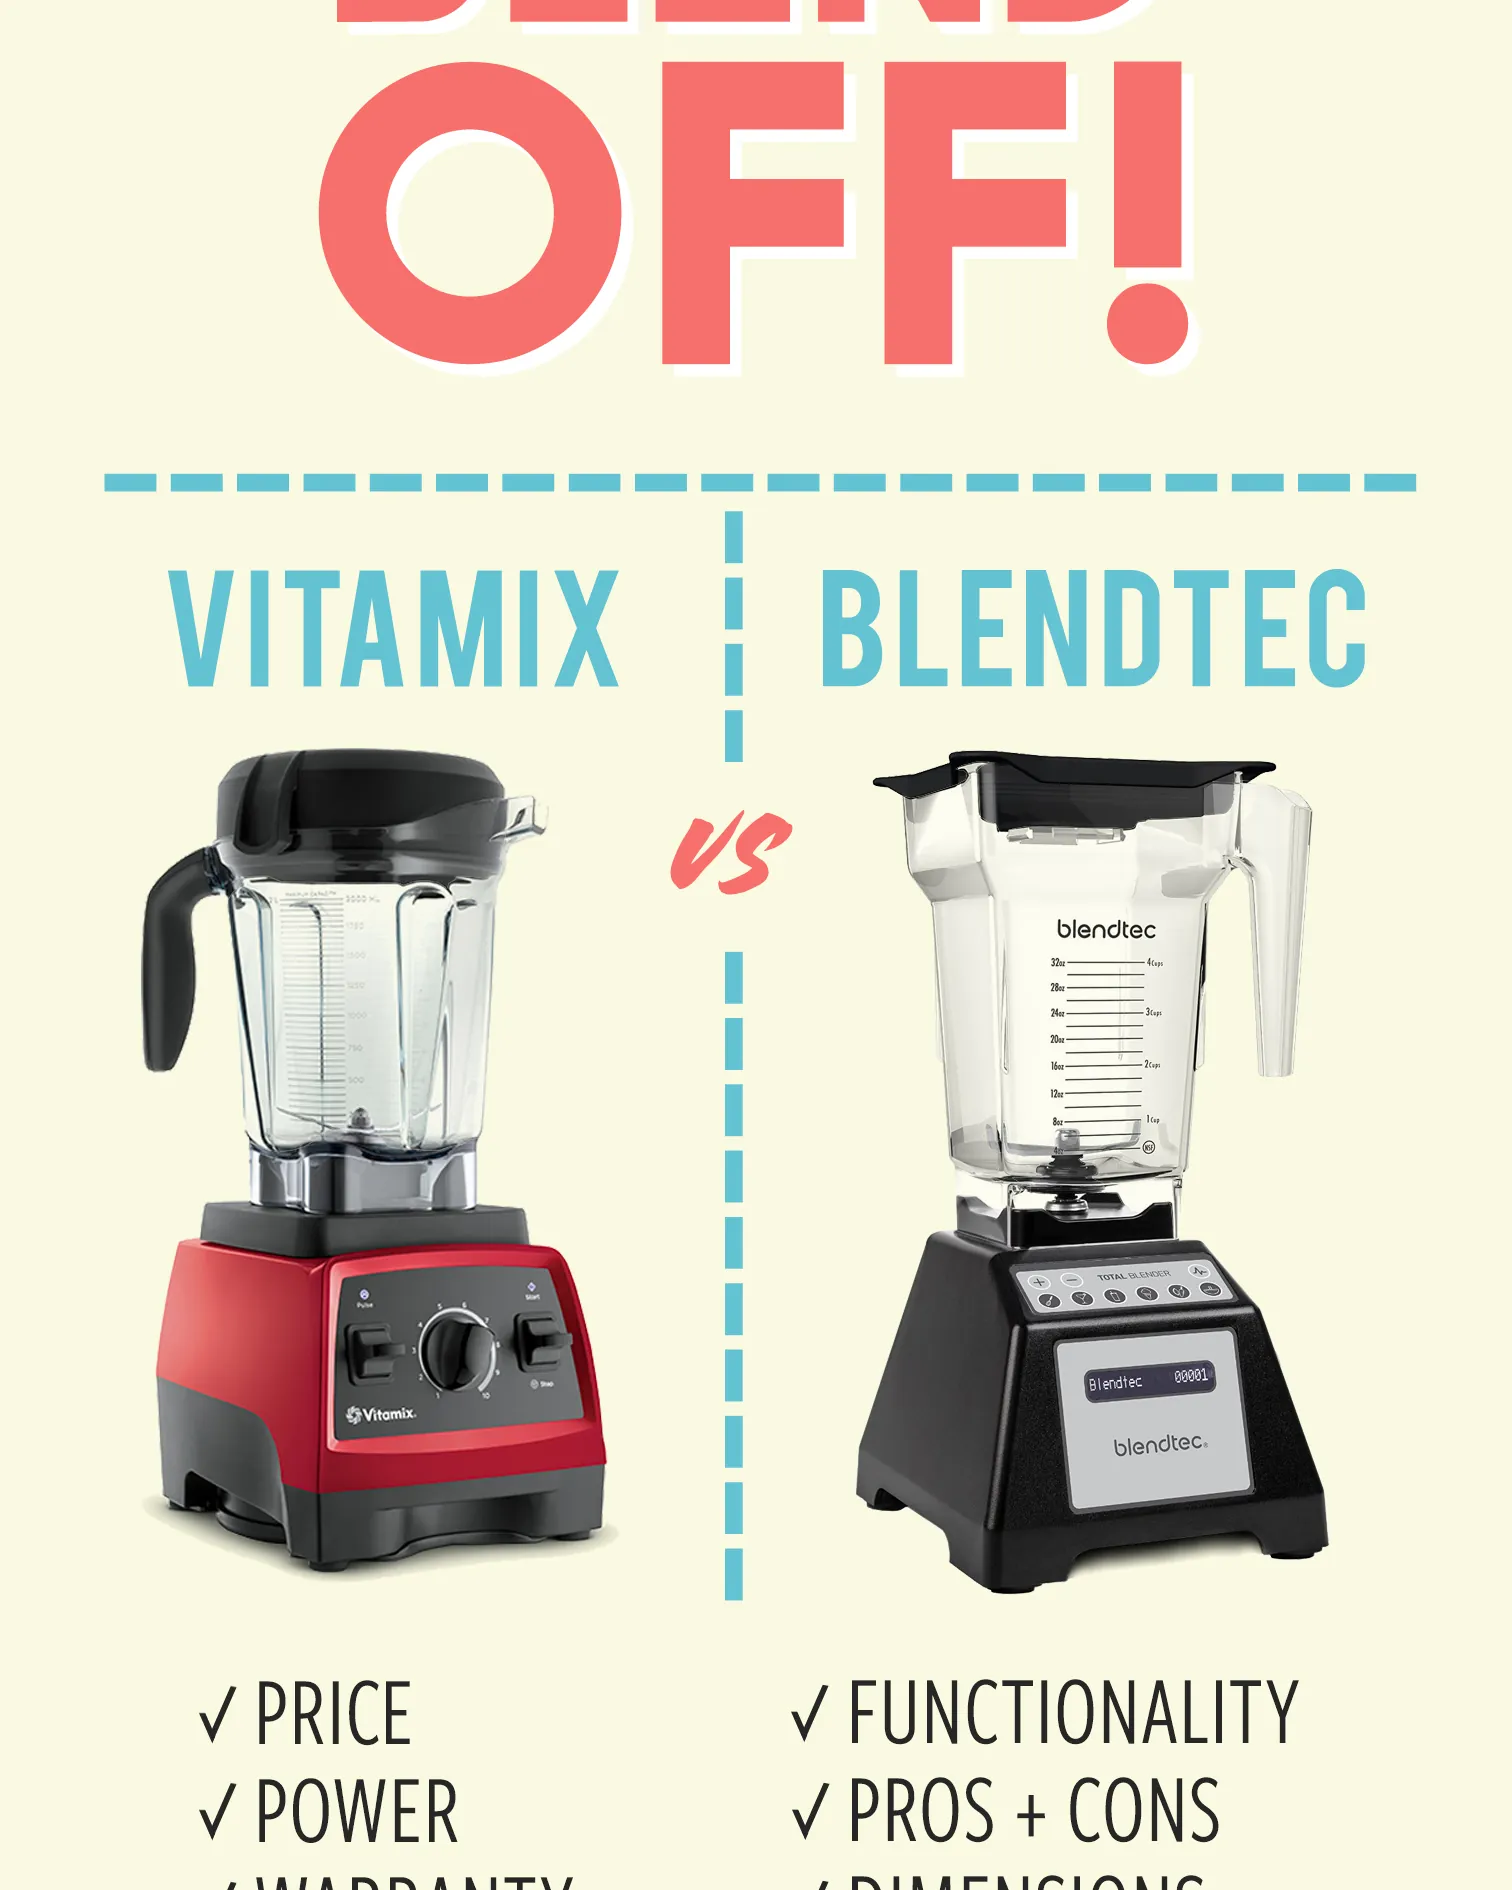
Choosing a blender that outperforms a market leader depends entirely on your specific needs, as there’s no single blender better than vitamix for every kitchen task. High-performance models from brands like Blendtec or Breville often offer faster automated settings or quieter operation, while Vitamix remains the industry standard for motor durability and consistent texture.
Your decision rests on whether you prioritize raw blending power, noise reduction, or kitchen counter space. We will examine the technical trade-offs between these top-tier machines so you can determine which one fits your daily routine.
Why you need a better blender than Vitamix
Home cooks who prepare daily green smoothies, nut butters, or hot soups typically look for machines that can handle heavy-duty blending without burning out. These users often feel that standard blenders leave chunks of fiber behind or struggle with thick, frozen ingredients. If you’re someone who wants professional-grade results, you’re likely comparing premium brands to ensure your investment lasts for years.
This page serves the reader who is ready to invest in a premium kitchen appliance. It’s designed for those who have already looked at base-level models and found them lacking in power or longevity. If you only need a blender for occasional protein shakes or soft fruit smoothies, this level of equipment is likely overkill.
We assume you’re looking for a machine that can pulverize tough seeds and fibrous stalks into a completely smooth liquid. If you prioritize price over performance, you may want to look at mid-range consumer brands instead of these heavy-duty units.
What decides the outcome
The motor wattage and torque are the primary factors that determine how well a blender handles tough ingredients. A higher-wattage motor doesn’t always mean better blending; the internal cooling fan design and the quality of the drive socket are what keep the machine running during long blending sessions. You can verify a motor’s power rating by checking the technical specifications on the manufacturer’s official product page.
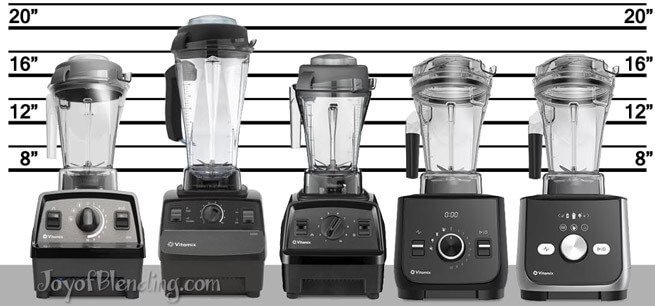
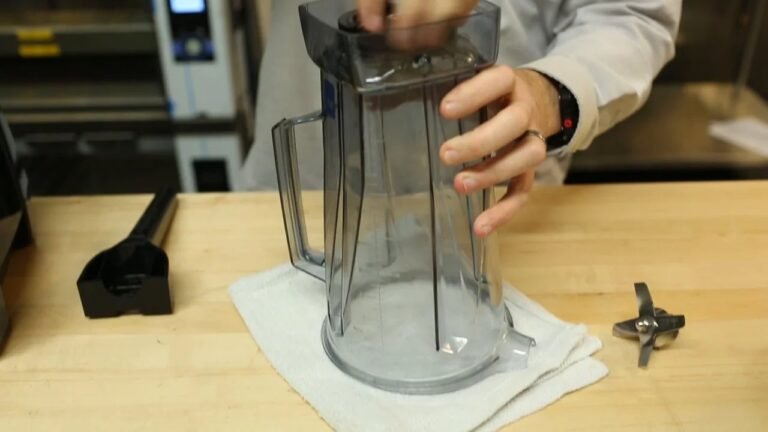
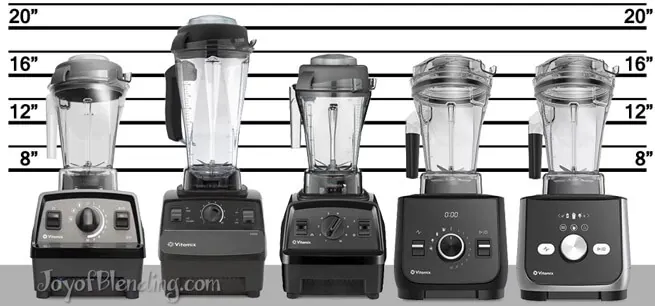
The blade design and container shape are just as critical as the motor itself. Vitamix uses a tall, narrow container that creates a vortex, pulling ingredients down toward the blades continuously. Other brands, such as Blendtec, use a wider base with a duller, thicker blade that relies on speed rather than sharpness to pulverize food. If you prefer a wider jar for easier cleaning, you might find wider-base models more convenient.
Noise levels vary significantly between models, which is a frequent point of frustration for many users. Some newer models include sound-dampening shields or enclosures that reduce the decibel output during high-speed operation. If you live in an apartment or have a busy household, look for blenders that explicitly mention noise reduction technology in their manuals.
People often make the mistake of choosing a blender solely based on its maximum speed setting. This can lead to excessive heat buildup, which actually cooks the food you’re trying to blend. To keep your ingredients cool, look for models with a pulse function or a manual speed dial that allows for precise control.
Step by step blending process
- Place your liquid base, such as water, milk, or juice, into the container first to help the blades move freely.
- Add soft ingredients like yogurt or leafy greens, followed by hard items like frozen fruit or ice.
- Secure the lid firmly and ensure the center cap is locked in place to prevent spills.
- Start the machine on the lowest speed setting to prevent the ingredients from splashing against the lid.
- Gradually increase the speed to the maximum setting over 5 to 10 seconds.
- Blend for 45 to 60 seconds for a standard smoothie, or up to 6 minutes if you’re making hot soup.
- Turn the dial back to the lowest setting before you hit the off switch.
- Wait for the blades to stop completely before removing the lid or the container from the base.
The most important judgment call is knowing when to stop blending. If you blend for too long, the friction will raise the temperature of your food, which is perfect for soups but ruins the texture of cold smoothies. Always watch for the FDA food safety guidance when preparing ingredients that involve raw eggs or sprouts, as cross-contamination can occur if the blender container isn’t sanitized properly between uses.
Blender variations at a glance
| The Situation | What to do | What it takes | What to watch for |
|---|---|---|---|
| Daily smoothies | Use variable speed | 1 minute | Texture and fiber |
| Nut butters | Use high speed | 5 minutes | Motor heat levels |
| Hot soups | Blend until steaming | 6 minutes | Lid pressure buildup |
| Small batches | Use small jar | 30 seconds | Blade engagement |
| Frozen desserts | Use tamper tool | 2 minutes | Ingredient consistency |
Start your smoothie on the lowest setting to pull ingredients into the blades before ramping up to high. This prevents air pockets that stop the motor. If your machine smells like ozone while making nut butter, stop immediately. You’re likely pushing the motor past its thermal limit.
Always leave an inch of headspace when blending hot liquids. Steam expands rapidly, and a full jar will blow the lid off under pressure. If you’re processing less than two cups, switch to a dedicated small-batch jar. Standard containers often fail to catch small amounts, leaving you with uneven chunks.
When making frozen desserts, use the tamper to push ingredients into the vortex. If the blades spin freely without moving the mixture, you have added too much liquid. Add frozen fruit one piece at a time until the motor tone deepens, signaling a proper, thick consistency.
Differences in blender design
Container and blade engineering
Experienced users know that the container shape is the secret to a smooth blend. A narrow jar forces ingredients back into the blades, while a wide jar requires a tamper to push food down manually. Beginners often ignore the importance of the tamper, which leads to air pockets forming around the blades. This causes the motor to spin without actually moving the food, a common error that can overheat your machine.
Motor cooling and longevity
Professional chefs choose machines with heavy-duty cooling fans that run while the motor is active. If you frequently blend thick mixtures, the motor works harder and generates more heat. A machine with a poor cooling system will shut down automatically to prevent internal damage.
Troubleshooting common blender issues
| What you notice | What it usually means | What to do first | How to stop it happening again |
|---|---|---|---|
| Air pockets forming | Too much thick food | Use the tamper | Add more liquid |
| Burning smell | Motor overheating | Turn off immediately | Blend in shorter bursts |
| Leaking at base | Worn gasket | Inspect the seal | Hand wash container |
| Loud rattling | Loose blade | Tighten the nut | Don’t overfill jar |
| Food not blending | Dull blade | Check for damage | Stop adding large chunks |
If air pockets persist despite using the tamper, your liquid-to-solid ratio is likely off. Aim for a 1:2 ratio of liquid to solids to ensure the blades maintain consistent contact with the ingredients.
A burning smell often signals that you have exceeded the motor’s duty cycle. If the motor feels hot to the touch, let it rest for at least 15 minutes before attempting another cycle. Repeatedly pushing through this smell will permanently fuse the internal windings.
Leaking at the base is frequently caused by the abrasive heat of a dishwasher. High temperatures degrade the rubber gasket, causing it to shrink and lose its seal. Hand wash the container in warm, soapy water to extend the life of the gasket by years.
When food stops circulating, stop the machine immediately. Large, uneven chunks create cavitation that dulls blades and strains the motor. Cut all ingredients into one-inch cubes to ensure even processing.
Safety and regulatory standards
High-performance blenders sold in the United States must meet specific safety standards set by organizations like Underwriters Laboratories (UL). These standards ensure that the electrical components don’t pose a fire risk and that the housing can contain moving parts if a blade breaks. You should always look for the UL or ETL mark on the bottom of the blender base to confirm it has passed these safety tests.
Never attempt to open the motor housing yourself to fix a problem. These appliances contain capacitors that can hold a lethal electrical charge even when the unit is unplugged. If your blender stops working, contact the manufacturer’s support line for authorized repair services. Using a machine that has been opened or modified by an unauthorized person voids the warranty and creates a significant safety hazard for anyone in your kitchen.
The true cost of ownership
The initial price of a high-performance blender is only part of the total cost. You must also consider the cost of replacement parts, such as jars, lids, and drive sockets, which can add up over the life of the machine. Many premium brands offer warranties, which effectively lowers the annual cost of ownership compared to buying a cheap blender, though maintenance intervals depend on use and the owner’s manual is the authority.
Maintenance costs can vary based on how often you use the machine. Check the manufacturer’s website for the price of replacement containers before you buy, as some models have significantly higher proprietary part costs than others.
Long-term maintenance and care
To keep your blender running for years, always clean the container immediately after use. Dried food particles can build up around the blade assembly, which puts extra strain on the motor during your next use. Most manufacturers recommend filling the jar halfway with warm water and a drop of dish soap, then running it on the highest speed for 30 seconds to clean the blades.
If you notice that your smoothies are becoming grainy or that the blades are struggling to cut through soft fruit, it’s likely time for a blade replacement. You don’t need a schedule for this; the texture of your food is the best indicator. When the blades no longer provide a smooth result despite using the correct liquid-to-solid ratio, check the blade edges for nicks or dullness.
When to choose a different appliance
If your main goal is to process food into specific shapes or slices, a food processor is a better choice than a blender. Blenders are designed to liquefy and emulsify, whereas food processors use different attachments to grate, slice, and chop. Trying to use a high-speed blender to “chop” vegetables usually results in a mushy, pureed mess.
If you have very limited counter space or don’t have a dedicated power outlet for a large machine, consider a personal-sized blender instead. These smaller units are much easier to store but lack the motor power for heavy-duty tasks like grinding grains or making large batches of nut butter. Be realistic about your kitchen layout before committing to a large, heavy base that you won’t want to move frequently.
Frequently asked questions
Is there a blender that’s quieter than a Vitamix?
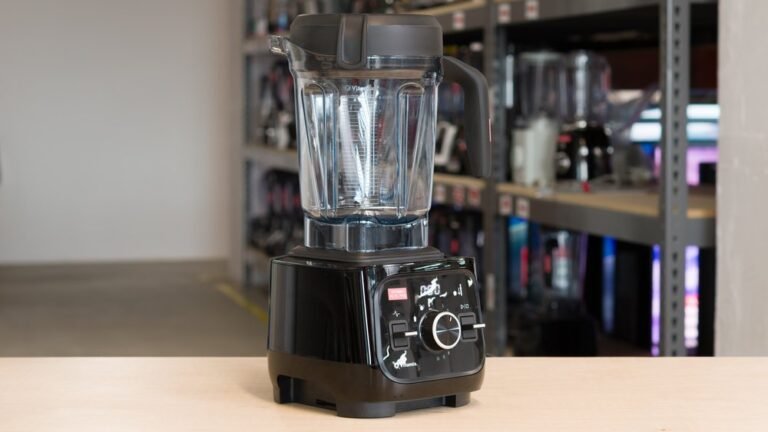
Yes, models like the Breville Super Q or the Vitamix Quiet One include sound-dampening enclosures that significantly lower the noise level during operation. These models use thick, insulated shields to trap sound waves, making them much quieter than standard open-top blenders when running at high speeds.
How long should a high-performance blender last?
A high-performance blender typically lasts for a significant period when used for daily household tasks. The lifespan depends on how well you follow the manufacturer’s cleaning instructions and whether you avoid running the motor at maximum capacity for longer than the recommended duty cycle stated in your manual.
Can I use a blender to make hot soup?
Yes, you can make hot soup in a high-performance blender by blending ingredients for 5 to 6 minutes. The friction generated by the blades moving at high speed heats the liquid to a steaming temperature, allowing you to blend and heat ingredients simultaneously.
Is it safe to put blender parts in the dishwasher?
Most high-performance blender containers are dishwasher safe, but you should check the manufacturer’s manual for your specific model. Hand washing with warm soapy water is usually recommended to extend the life of the blade bearings and keep the container plastic from becoming cloudy over time.
What happens if I overfill the blender jar?
Overfilling the jar puts excessive pressure on the lid seal and can cause the motor to stall or overheat. Always keep your ingredients below the maximum fill line marked on the container to ensure there’s enough room for the vortex to form and the ingredients to circulate properly.
Does it matter if I use a glass or plastic container?
Yes, the material matters for both weight and durability. Plastic containers are lighter and shatter-proof, which is safer for high-speed operation, while glass is more resistant to scratches but can crack if dropped or subjected to extreme temperature changes. Most high-performance brands use BPA-free, impact-resistant co-polyester for safety and longevity.
Conclusion
Start by identifying your most frequent blending task, such as daily smoothies or weekly soup prep, to narrow down the features you actually need. Expect a high-performance machine to deliver a completely smooth, fiber-free texture within one minute. If you experience persistent burning smells or motor stalling, stop immediately and contact the manufacturer for professional assistance.