How To Take Apart A Nutribullet Blender: Blade, Gasket, Cup
You take apart a Nutribullet blender by unscrewing the blade assembly from the cup, lifting the cup off the motor base, and stopping there. Nothing on the base opens. The blade, the gasket and the cup come apart by hand in under a minute. The motor base stays sealed.
Three things change the answer. Which model you own decides how the blade comes off. Whether you’re cleaning or repairing decides how far you go. And your warranty decides whether you should open anything at all.
If yours clicks into place rather than spinning free, stop twisting and lift it straight up.
For everyday cleaning, unscrew the blade, rinse it, and leave the base alone. For a repair, the base still doesn’t come apart — the motor and switch aren’t serviceable at home, and prying the housing cracks the plastic clips that hold it together.
If the machine is under warranty, call before you touch a screwdriver. Opening the base voids it, and a cracked housing isn’t covered.
Who’s actually reading this
Three kinds of people type this query, and they don’t need the same page. One just finished a green smoothie and wants the blade and cup clean without cutting a finger. Another has a blade that won’t spin, or a base that hums and does nothing. A third is moving house, packing the box, and wants the parts separated so nothing cracks in transit.
The first reader needs the two-minute version. The second needs to know which faults a normal person can fix and which ones mean a new base. The third mainly needs to know which parts are safe to stack and which aren’t.
This page serves the first two readers best. If your base is dead — no sound, no light, nothing — the honest answer is that the motor or its wiring has failed, and that’s a replacement, not a repair. If your unit is still under warranty, read the warranty terms before you touch anything, because opening the base can void it.
The rest of this page assumes one thing: you’re working on a Nutribullet-style personal blender where the blade screws onto the cup and the base is a sealed unit. If you own a different brand, the steps are close but the thread direction and gasket design may differ.
The four things that decide how far you get
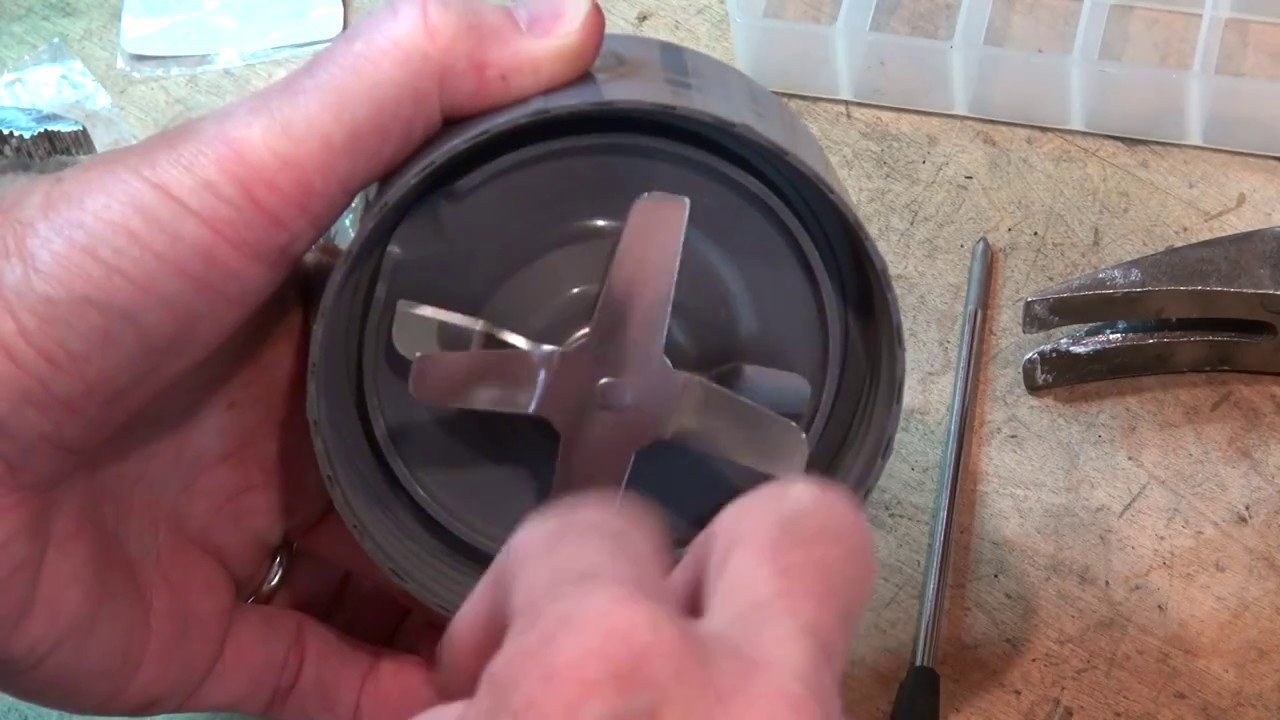
Which model you have. Nutribullet sells several lines, and the blade assembly differs between them. Flip your cup over and look: if you see a flat metal disc with a hexagon or a raised rim, it unscrews.
Whether the cup is wet or dry. A cup with smoothie residue grips the blade collar hard. Rinse the cup with warm water and a drop of dish soap for 30 seconds before you try to unscrew it. This is the single thing people get wrong most often — they twist a dry, sticky collar, the cup slips, and the blade catches a knuckle.
The gasket. Inside the blade collar sits a thin rubber gasket. It’s the part that fails first. A worn or missing gasket means liquid leaks down the threads and onto the base. You can check yours by looking into the collar with the blade facing away from you. If the rubber is cracked, flattened, or gone, that’s your leak.
Whether you’re inside warranty. Nutribullet’s warranty terms vary by model and by country, so read the card in your box or the official Nutribullet site for your region. Opening the motor base usually ends coverage.
Taking the cup and blade apart, step by step
- Unplug the base. Pull the cord from the wall outlet, not from the base. Confirm the blade has stopped moving before you touch anything.
- Empty the cup. Pour or spoon the contents into a bowl or the sink. Don’t bang the cup on the counter to loosen food — that cracks the plastic lip.
- Rinse the cup and collar with warm water for about 30 seconds. Warm water softens residue, so keep it comfortable to your hand.
- Hold the cup upside down with one hand flat on the cup’s side, not on the blade end. Keep your fingers well away from the blade face.
- Grip the blade collar with your other hand and turn it counter-clockwise. On most models it unscrews like a normal jar lid. If it won’t budge, set the cup in a sink of warm water for 5 minutes, then try again.
- Lift the collar straight off. You should now have three separate pieces: cup, blade collar, and gasket. If the gasket stays stuck in the collar, that’s normal — but pull it out to rinse both sides before reassembling.
- Wash the cup and collar in warm soapy water. Rinse the blade collar by holding it under running water with the blade pointing down and away from you.
- Set all parts on a dish rack to air-dry, blade side down and away from where hands reach. Don’t towel-dry the blade.
The judgement call that separates a proper job from a rushed one is the gasket. Most people wash the blade and forget the rubber ring underneath it. If you leave food residue packed behind the gasket, it goes sour, and every drink after that tastes faintly wrong. Pull the gasket out with your fingernail or a blunt plastic tool, rinse both sides, and press it flat back into its groove.
If the blade won’t unscrew at all, or the collar is cracked, stop. A cracked collar can shed plastic into your drink, and a seized blade on a damaged cup isn’t something to force. Replace the cup and blade set instead — they’re sold as a pair, and the price is on the Nutribullet site for your region.
Which version you’re dealing with
| Your situation | What to do | Time and effort | Watch for |
|---|---|---|---|
| Standard 600 or 900 series | Unscrew blade counter-clockwise | Under 1 minute | Slippery threads when wet |
| Blade fixed into cup | Don’t unscrew — wash as one piece | 2 minutes | Never submerge the base |
| Gasket missing or cracked | Replace gasket or whole collar | 5 minutes | Leaks onto motor base |
| Blade spins but won’t cut | Replace blade assembly | 10 minutes | Dull or bent blades |
| Base hums, blade still | Stop — motor fault | Not a DIY job | Voided warranty if opened |
| Packing for a move | Separate cup, collar, gasket | 5 minutes | Don’t stack cups inside each other |
| Cup smells sour after washing | Clean behind the gasket | 10 minutes | Residue trapped in groove |
What careful hands do differently
They work in one direction and never force it
Every part on this blender comes apart by hand. If a collar won’t turn with firm hand pressure, something else is wrong — usually dried residue in the threads or a cross-threaded collar from a previous wash. Soak it in warm water for 5 minutes and try again. If it still won’t move, the threads are damaged, and twisting harder cracks the plastic.
They check the gasket every single wash
The gasket is the cheapest part and the one that causes the most damage when it fails. A gasket that’s flattened or torn lets liquid run down the threads, through the cup’s base, and onto the motor housing.
Over weeks, that liquid finds its way into the base’s vents. So the check is simple: once a week, pull the gasket out, hold it up to the light, and look for cracks or a stretched shape. A gasket that won’t sit flat in its groove is done.
What goes wrong, and what to do
| What you notice | What it usually means | What to do first | How to stop it happening again |
|---|---|---|---|
| Blade collar won’t turn | Dried residue in threads | Soak in warm water 5 minutes | Rinse cup right after use |
| Liquid on the motor base | Gasket worn or missing | Replace gasket or collar | Check gasket weekly |
| Sour smell in the cup | Residue behind gasket | Remove and wash gasket | Clean behind it each wash |
| Blade spins, no blending | Dull or bent blade | Replace blade assembly | Don’t blend ice alone |
| Base hums, blade still | Motor or switch fault | Unplug and stop | Not a DIY repair |
| Cup cracks near the rim | Thermal shock or impact | Replace the cup | No hot liquids, no banging |
The rules that apply here
Nutribullet’s own user guide is the document that decides what you may take apart. It covers assembly, cleaning and safe use for your specific model, and it’s the page to read before you touch anything. The guide ships in the box and is also published on the Nutribullet site for your country.
Warranty terms sit alongside it. Nutribullet’s warranty length and what it covers differ by model and by region, so check the card in your box or the warranty page for your country rather than relying on a number you read somewhere. In most cases, disassembling the motor base ends your coverage.
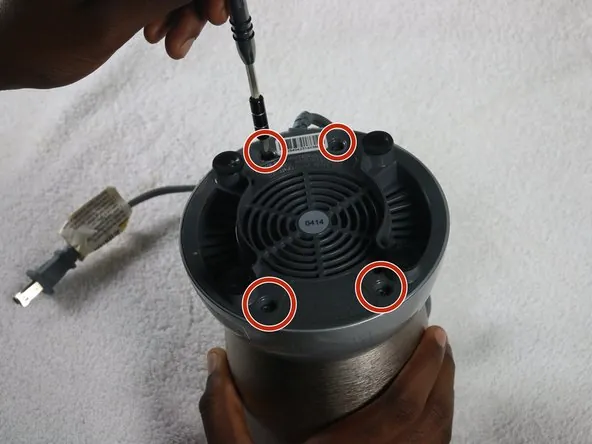
One hard line: never open the motor base. Inside is mains-powered circuitry, and the base isn’t designed to be serviced by an owner. If the base is faulty, contact Nutribullet support or your retailer. That’s the point where this stops being a home job.
What it costs you
The cup and blade come apart for free, and that’s the whole job for most readers. Your real cost is time — under a minute for a standard model, and about 10 minutes if you’re cleaning behind a stubborn gasket.
Money only enters if a part has failed. Replacement cups, blade assemblies and gaskets are sold separately, and prices vary by model and by country, so check the Nutribullet site or your local retailer for today’s figure. A blade and cup set usually costs less than a new blender, which is why replacing the part beats replacing the machine.
The cost that sneaks up is neglect. A gasket you don’t check lets liquid into the base, and a base that’s had liquid in it for months is a base you replace. Five seconds with a gasket once a week is the cheapest maintenance on this appliance.
Keeping it right afterwards
Reassemble in reverse: gasket flat in its groove, collar screwed on clockwise until snug, cup on the base. Snug means firm hand pressure and no more. Over-tightening flattens the gasket faster and makes the next wash harder.
Store the cup and blade assembled, or fully apart — never with the blade loose in a drawer where a hand can find it. If you keep the blade on the cup, keep the cup upright.
The sign it needs attention again is a drip on the motor housing after blending, or a sour smell that survives a wash. Both point to the gasket. Replace it, and you don’t need to replace anything else. If you’re storing the blender for a season, wash and dry every part fully first, because trapped moisture is what makes plastic smell.
When taking it apart is the wrong move
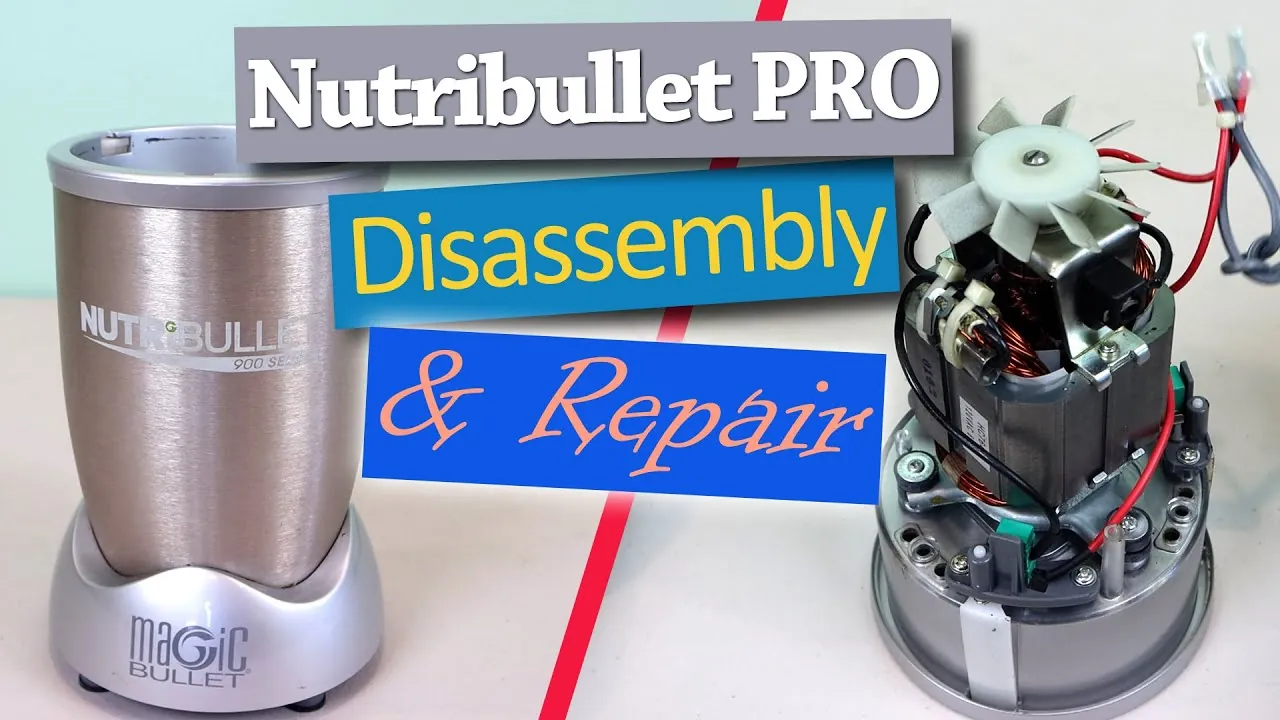
If your base is dead — no hum, no light — don’t take anything apart. The fault is inside the sealed housing, and opening it risks a shock and voids your warranty. Contact Nutribullet support or your retailer instead.
If your unit is still under warranty and a part has failed, don’t fix it yourself. A warranty claim usually gets you a replacement part or unit at no cost, and any disassembly can end that right.
And if the blade is bent, chipped, or the collar is cracked, don’t keep using it. Sharp fragments can end up in your drink. Replace the blade and cup set — that’s the safe route, and it’s the one Nutribullet sells for exactly this reason.
The line between these cases and a repair you can do yourself is simple. If the motor runs and the problem is in the cup, the blade, or the gasket, you can work on it. If the motor is silent, smells burnt, or trips your breaker, stop.
One mistake costs people the most here. They buy a new blade for a base that was never the problem, or they open the housing on a unit still under warranty and lose a free replacement over a loose wire.
Keep the receipt and the model number before you call. Support asks for both, and the model number is printed on the bottom of the base.
Related guides
- How To Take Apart Vitamix Blender To Clean Safely
- How To Take Apart A Waring Immersion Blender: Step-by-Step Guide
Frequently asked questions
Can you take apart a Nutribullet blade?
Yes, on most models. The blade sits in a collar that screws onto the cup counter-clockwise, like a jar lid. Rinse the cup with warm water first, then twist the collar off by hand. On models where the blade is molded into the cup, it doesn’t come apart — wash the cup and blade as one piece.
How long does it take to take apart a Nutribullet?
Under 1 minute for a standard 600 or 900 series cup, assuming the collar isn’t stuck. If residue has dried in the threads, add 5 minutes of soaking in warm water. Cleaning behind the gasket adds another 5 minutes. The motor base never comes apart, so there’s no time to add there.
Why won’t my Nutribullet blade come off?
Dried residue in the threads is the usual cause. Soak the cup and collar in warm water for 5 minutes, then try again with firm hand pressure. If it still won’t turn, the threads are damaged or the collar is cracked — replace the blade and cup set rather than forcing it.
Is it safe to wash the blade assembly in the dishwasher?
Check your model’s user guide first, because dishwasher-safe parts differ between Nutribullet lines. Many cups and collars are top-rack dishwasher safe, but the gasket can warp in high heat. If you’re unsure, hand-wash in warm soapy water and air-dry blade-down. The motor base never goes in water.
What happens if I open the motor base?
You’ll likely void your warranty, and you’ll expose mains-powered circuitry that isn’t designed for owner service. The base is a sealed unit for a reason. If your base has failed, unplug it and contact Nutribullet support or your retailer. Don’t open it, and don’t test internal parts yourself.
Does the gasket come out of the blade collar?
Yes, on most models it lifts out with a butter knife tip or your fingernail. Pull it gently, rinse both sides, and press it flat back into its groove. A gasket that’s cracked, stretched, or won’t sit flat needs replacing — that’s the part that stops leaks onto your motor base.
How often should I clean behind the gasket?
Every wash, or at least once a week if you blend daily. Residue trapped behind the gasket goes sour and taints every drink after it. The sign you’ve left it too long is a sour smell that survives a normal wash. Pull the gasket, rinse the groove, and the smell goes with it.
Can I blend hot liquids after reassembling?
No. Nutribullet’s own guide says not to blend hot liquids, because steam builds pressure inside a sealed cup. Let anything cooked cool to room temperature first, and never fill past the max line. Reassembling correctly doesn’t change that rule — it’s about the cup, not the blade.
Conclusion
Start by unplugging the base and unscrewing the blade collar counter-clockwise. You should have three clean parts in a couple of minutes, and a cup that smells fresh again. If the collar won’t turn after a warm soak, or you see cracks in the plastic or gasket, stop and order a replacement blade and cup set instead of forcing it.