How to Remove an Oster Blender Blade in Two Steps
Removing the blade assembly from most Oster blender models comes down to one of two methods: either the blade unscrews from the jar base by hand, or the entire base cap with the blade attached twists off as a single unit. Once you know which style you own, the job takes under two minutes.
Key Takeaways
- Two removal styles exist: older Oster jars use a threaded metal base cap that unscrews counterclockwise; newer Oster Pro and some Heritage models use a plastic collar that twists off as one piece.
- Empty the jar first. Never reach into a jar with liquid or food still inside it — the blades are sharp even when the motor is off.
- A rubber jar opener or strap wrench solves almost every stuck blade. Wrap it around the base cap for grip, then twist.
- Hot water loosens dried residue that has effectively glued the cap in place. Soak the base in warm water for 10 minutes before forcing anything.
- Never use a knife, screwdriver, or pliers on the blade or cap. You’ll bend the shaft, crack the collar, or slice your hand.
- Reinstall snug, not gorilla-tight. Over-tightening is the number one reason people can’t get the blade off next time.
How To Remove An Oster Blender Blade
This is the core procedure, and it covers both jar styles. Read the whole sequence before you start so you don’t skip the safety step.
Step 1: Unplug And Disassemble
Pull the power cord from the wall. This isn’t optional — some Oster models have a pulse button that’s easy to bump while you’re wrestling with a stuck jar.
Lift the jar off the motor base. If there’s a lid, remove it. If there’s a filler cap in the lid, set it aside in a bowl so it doesn’t roll off the counter.
Step 2: Empty The Jar Completely
Pour out whatever is inside. If the contents are thick — nut butter, hummus, a smoothie that sat overnight — scrape it into a container with a rubber spatula. Work the spatula around the blade assembly from the outside in, never straight down onto the blades.
Warning: Don’t run water into the jar and swish it around to “rinse” before removing the blade. A jar full of water plus a loose blade assembly is the single most common way people cut themselves during this job.
Step 3: Identify Your Base Style
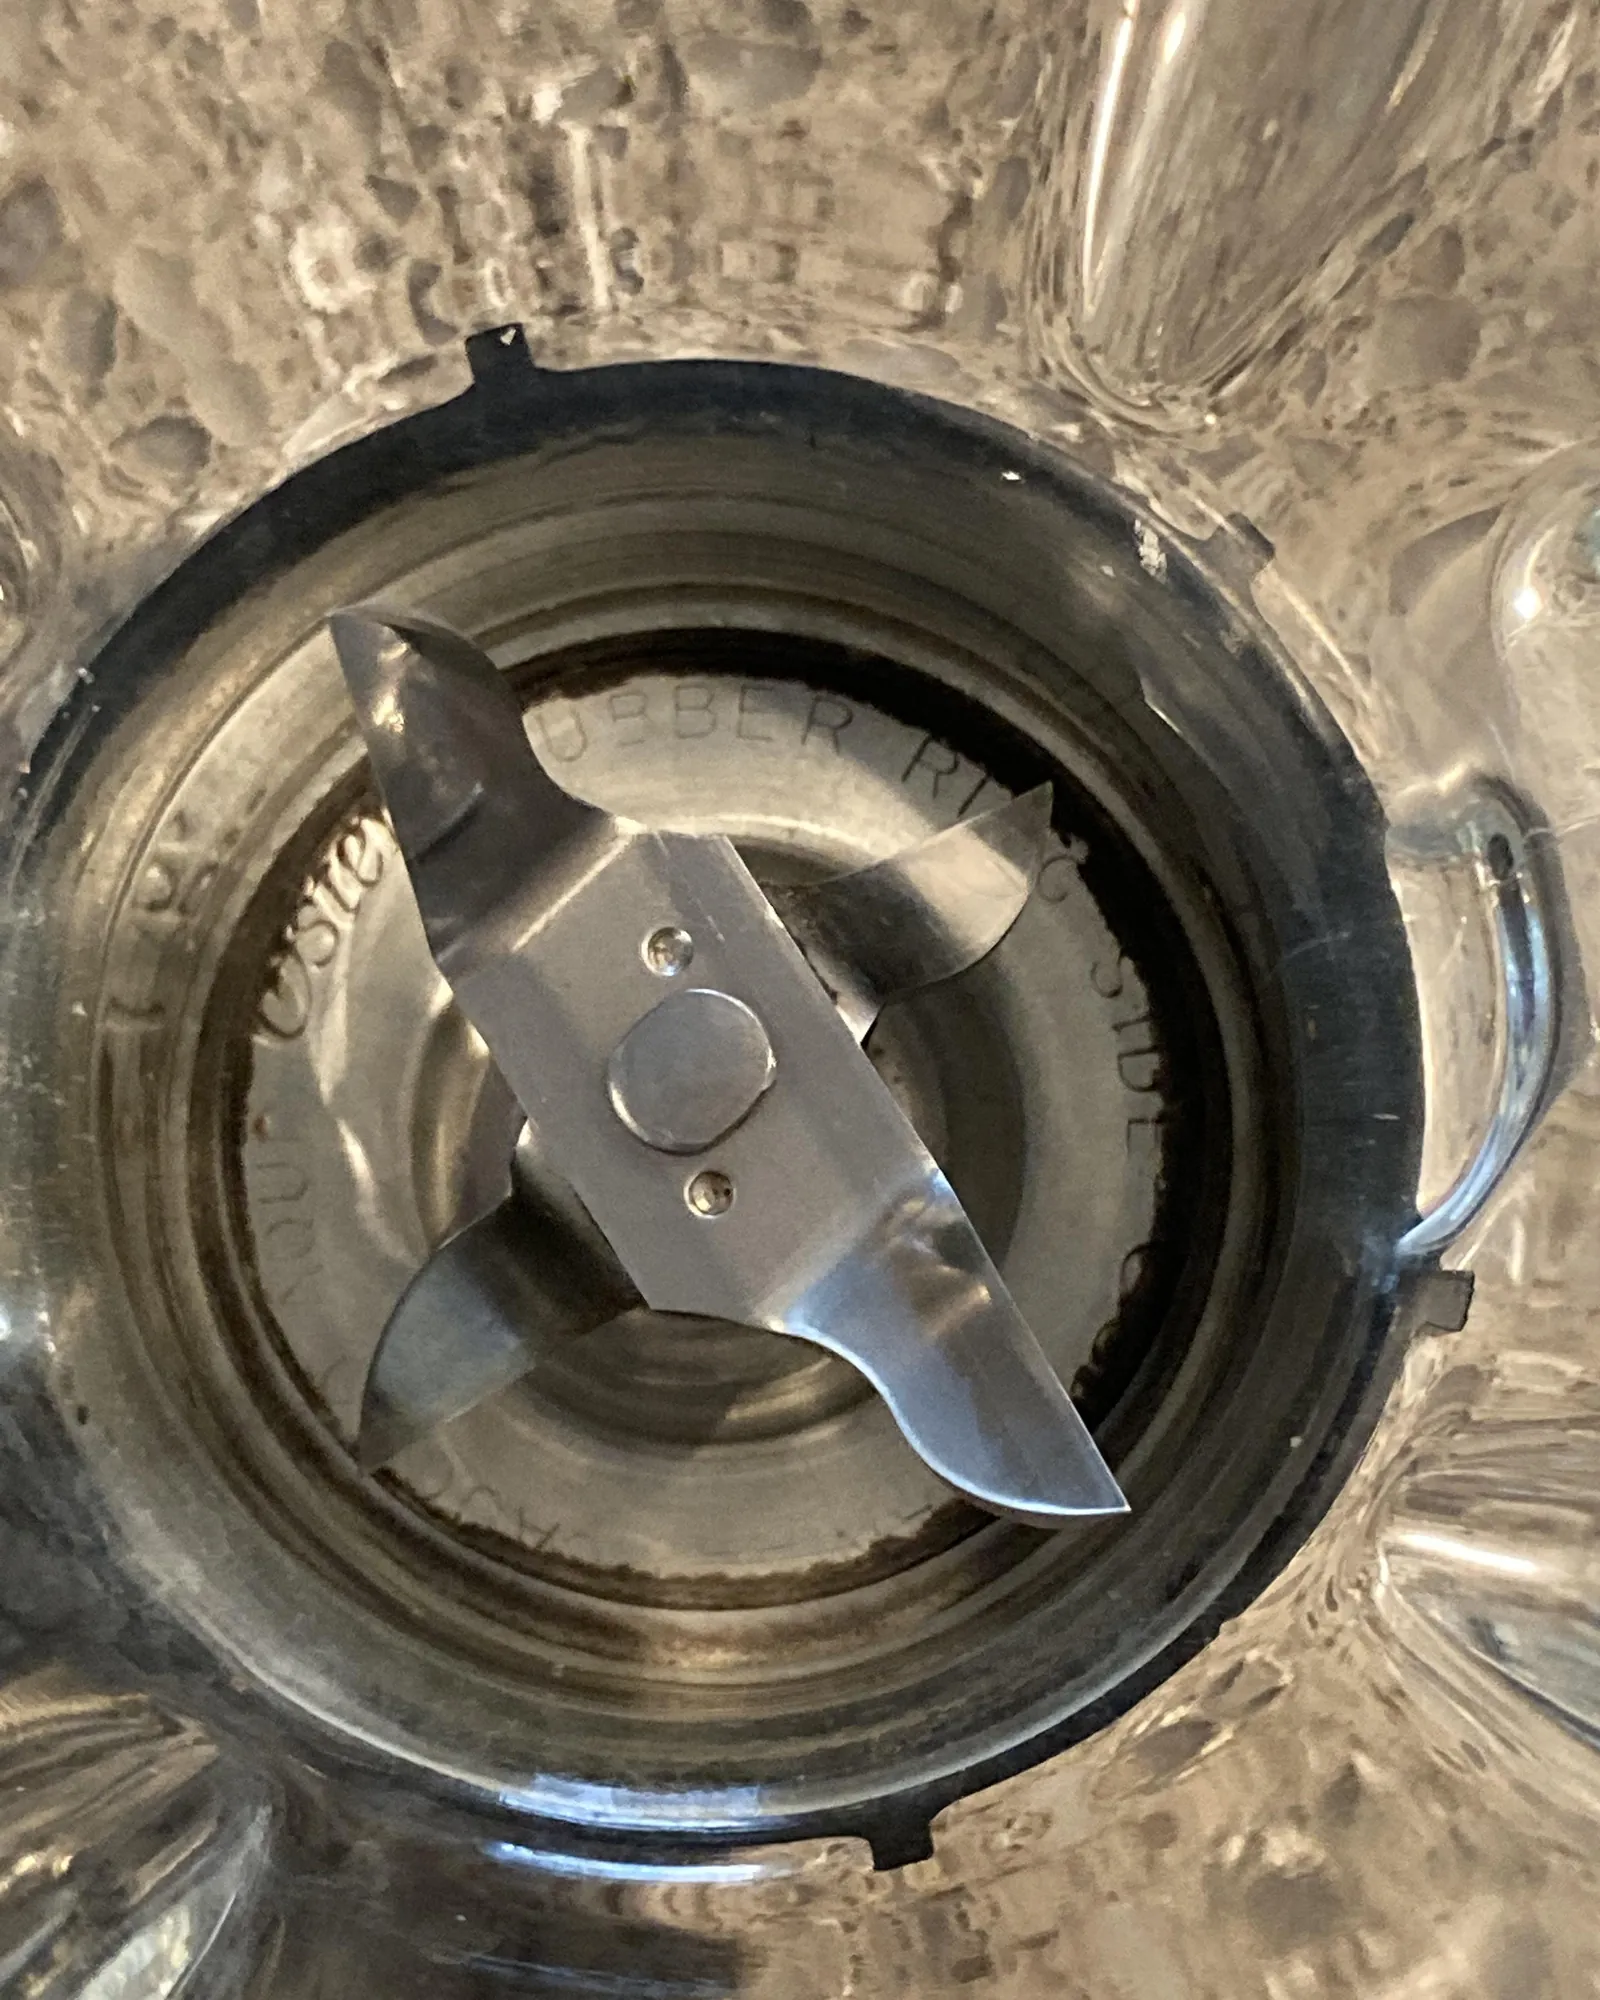
Turn the jar upside down and look at the bottom. You’ll see one of two things:
| What You See | Jar Style | How It Comes Apart |
|---|---|---|
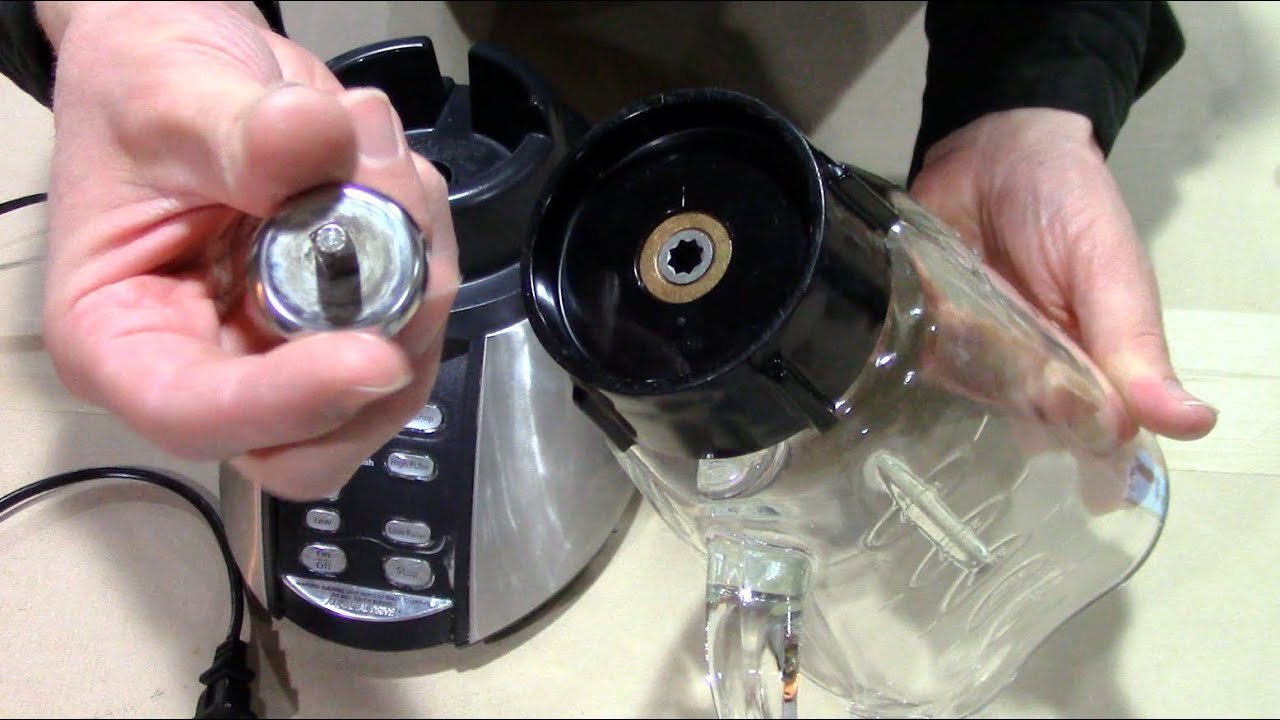
| A metal cap with a hexagonal or round collar, and the blade shaft visible through the center | Threaded base cap (classic Oster, most Osterizer jars) | The metal cap unscrews counterclockwise from the jar threads |
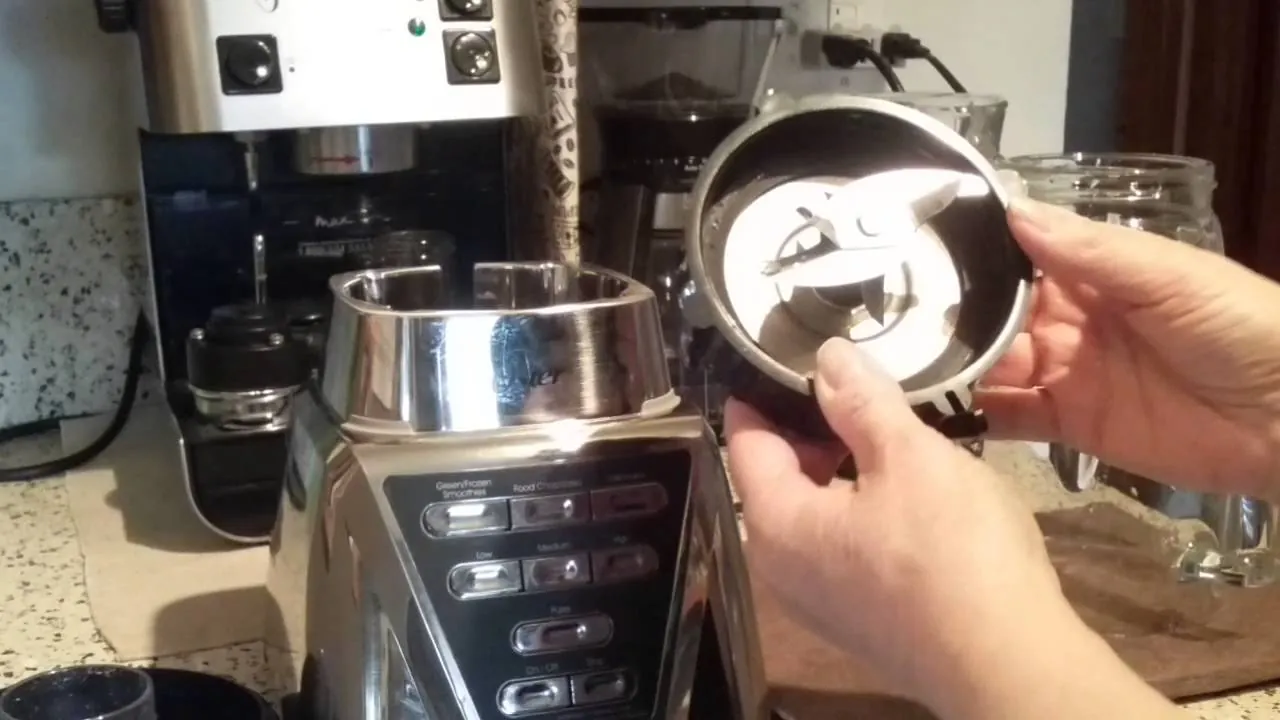
| A wide plastic ring or collar that grips the bottom of the glass, with the blade seated inside it | Twist-off collar (Oster Pro, some Heritage and Blend-N-Go jars) | The whole collar and blade twist off together as one unit |
| A plastic base with a small release tab or button | Locking base (a few newer Oster designs) | Press the tab while twisting the collar counterclockwise |
If you’re not sure, twist counterclockwise gently. If the glass moves with the cap, it’s a twist-off collar. If the cap spins independently of the glass, it’s threaded.
Step 4A: Removing A Threaded Base Cap
Grip the jar body with one hand — a towel helps if the glass is cold or wet. Grip the metal cap with the other hand and turn it counterclockwise (righty-tighty, lefty-loosey).
It should break free within a quarter turn. Once loose, keep turning until the cap and blade drop away from the jar.
If it won’t budge, go to the stuck-blade section below before you apply more force.
Step 4B: Removing A Twist-Off Collar
Hold the jar firmly around its middle, not the bottom. Grasp the plastic collar and twist counterclockwise. The collar, blade, and gasket come off as one assembly.
Some Oster Pro jars have a locking tab on the collar. Squeeze the tab toward the collar while twisting. If you twist without pressing the tab, you’ll feel resistance and might think it’s stuck when it isn’t.
Step 5: Separate The Blade From The Cap (If Needed)
On threaded models, the blade is usually permanently riveted or press-fit into the metal cap — you don’t separate them. You clean them as one piece.
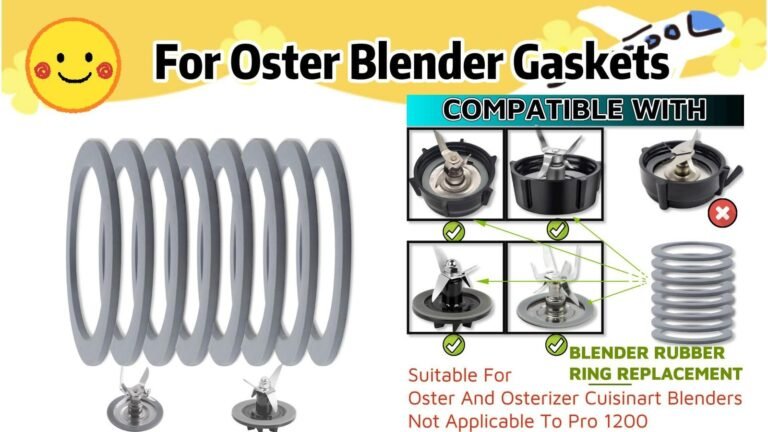
On some models, the blade sits in a removable gasket or sealing ring inside the cap. Lift the gasket out with a butter knife tip or your fingernail. Inspect it for cracks; a cracked gasket is why your blender leaks.
Step 6: Clean And Reassemble
Wash the blade assembly by holding the cap (not the blade) and scrubbing the blades with a bottle brush under warm running water. Never put a blade assembly in the dishwasher unless the manufacturer’s manual explicitly says it’s dishwasher-safe — the heat warps gaskets and dulls edges over time.
To reinstall, set the gasket back in its groove, seat the blade assembly on the jar, and turn clockwise until snug. Snug means it stops with light resistance. It doesn’t mean crank it until your knuckles turn white.
Why Your Blade Won’t Come Off
If you’re reading this because the cap is fused in place, you’re in good company. There are four common causes, and each has a different fix.
Dried Residue Acting As Glue
This is the most common cause by far. Smoothie residue, nut butter, and protein powder dry into a cement-like film inside the threads. The fix is heat and time, not force.
Fill a bowl with warm — not boiling — water and stand the jar upside down in it so the base cap is submerged. Let it sit 10 to 15 minutes. The dried residue softens, and the cap usually twists off by hand.
Over-Tightening From Last Time
If you cranked the cap down hard after your last smoothie, it’s now wedged. The fix is grip and leverage, covered in the next section.
Cross-Threading
If the cap went on crooked at some point, it can jam. You’ll usually see the cap sitting at a slight angle rather than flush against the jar. Cross-threaded caps often need a strap wrench because hand grip alone can’t generate enough torque.
A Warped Or Swollen Gasket
Rubber gaskets absorb liquid and swell over time. A swollen gasket pushes against the threads and locks the cap. If your cap has been getting harder to remove for months, this is likely your culprit. Replacement gaskets are cheap and widely available for Oster jars.
Tools That Actually Help
You don’t need a workbench full of equipment. These five items cover nearly every situation.
- Rubber jar opener — the flat, textured disc kind sold in grocery stores. Best first tool for a stuck cap.
- Strap wrench — an oil-filter wrench or a nylon strap wrench from an auto parts store. Grips a metal cap without scratching it.
- Silicone oven mitt — gives your hand grip on both the glass and the cap at once.
- Dish towel — wrap it around the cap for grip in a pinch. Less effective than rubber but always available.
- Warm water and a shallow bowl — for soaking dried residue loose.
Pro Tip: Run the metal base cap under hot tap water for 60 seconds before twisting. Metal expands faster than glass when heated, which can break the seal between the cap and the jar threads.
What Not To Do
The internet is full of bad advice for this exact problem. Here’s what to avoid.
- Don’t pry with a butter knife or flathead screwdriver. You’ll bend the blade shaft, which makes the blender wobble and eventually destroys the motor bearing.
- Don’t grip the blades with pliers. You’ll dull or snap them, and pliers slip.
- Don’t hit the cap with a hammer or mallet. Glass jars chip and shatter.
- Don’t freeze the jar. Some forums suggest it. Thermal shock cracks glass.
- Don’t submerge the motor base. Only the jar and blade assembly go near water. The motor base is electric and not waterproof.
- Don’t run the blender to “loosen” the cap. Running the motor tightens threaded caps, not loosens them, and it’s genuinely dangerous with a loose jar.
Warning: If the blade assembly is loose but the motor still spins freely when you press the button, stop and unplug immediately. A jar that isn’t seated properly can launch off the base.
Threaded vs Twist-Off: Which Do You Have?
Knowing your jar type saves you from damaging it. Here’s a side-by-side comparison.
| Feature | Threaded Base Cap | Twist-Off Collar |
|---|---|---|
| Typical models | Classic Osterizer, most vintage Oster jars, many 5-cup glass jars | Oster Pro 1200, Oster Heritage, Blend-N-Go cups |
| Material of base | Chrome-plated metal or stainless steel | Plastic, often black or gray |
| Blade attachment | Permanently fixed in the cap | Fixed in the collar, sometimes removable |
| Removal direction | Counterclockwise | Counterclockwise, often with a tab press |
| Common failure | Cap seizes from dried residue | Tab breaks or collar cracks |
| Replacement part | Base cap with blade, sold as a unit | Collar with blade assembly |
| Dishwasher safe? | Usually no | Usually no |
If you’re still unsure, look up your model number. It’s stamped on the bottom of the motor base, usually on a silver sticker. Search that number plus “blade assembly” and you’ll find the exact part diagram.
Cleaning The Blade Assembly Safely
Once the blade is off, cleaning is straightforward — but the blade is fully exposed now, which is when most cuts happen.
By Hand
Hold the cap by its outer edge, never by the blade hub. Run warm water over the blades from the side. Use a bottle brush or a long-handled scrub brush so your fingers stay clear. For dried-on residue, soak the assembly in warm soapy water for 10 minutes first.
In The Dishwasher
Check your manual. Many Oster blade assemblies are top-rack dishwasher safe, but the heat cycle degrades gaskets. If you do use the dishwasher, remove and hand-wash the gasket separately, and expect to replace gaskets more often.
Sanitizing After Raw Meat Or Eggs
Wash with hot soapy water, then soak in a solution of one tablespoon of unscented bleach per gallon of water for two minutes. Rinse thoroughly and air dry. Don’t skip the rinse.
Replacing A Worn Blade Assembly
Sometimes removal reveals the real problem: the blade is dull, bent, rusted, or the gasket is shot. Replacement is inexpensive and easy.
Signs You Need A New Assembly
- The blade wobbles when you spin it by hand
- Rust spots on the blade or shaft
- The gasket is cracked, flattened, or missing chunks
- The blender leaks from the base even when the cap is tight
- Smoothies come out chunky no matter how long you blend
How To Find The Right Part
Look up your model number on the motor base sticker. Oster blade assemblies are sold by model family, and the packaging usually lists compatible models. Bring your old assembly to the store if you’re buying in person — matching by sight is faster than matching by number.
Typical replacement cost runs from about $10 to $25 depending on the model, and most hardware stores, big-box retailers, and appliance parts shops stock common Oster assemblies. Specialty and vintage parts may need to be ordered.
Swapping It Out
Set the new gasket in the jar’s groove. Seat the new blade assembly on top. Thread the cap or collar on clockwise until snug. Fill the jar halfway with water and run it for 10 seconds to check for leaks. If water seeps out the bottom, the gasket isn’t seated properly — take it apart and try again.
Maintenance So This Never Happens Again
Five habits will keep your blade assembly removable for the life of the blender.
- Rinse immediately after use. Thirty seconds of warm water right after blending prevents 90 percent of stuck caps.
- Don’t over-tighten. Snug is enough. The gasket does the sealing, not torque.
- Remove the blade weekly for a deep clean. Even if you rinse daily, residue builds in the threads.
- Replace the gasket annually. It’s a wear item, and it’s cheap.
- Never blend dry ingredients hard enough to stall the motor. Stalling generates heat that warps plastic collars.
Pro Tip: Keep a spare gasket on hand. When your cap starts getting stiff, swapping the gasket takes 30 seconds and costs less than a coffee.
Frequently Asked Questions
Can I remove the blade without taking the jar apart?
No. On every Oster model, the blade sits in or on the base cap, and the cap must come off the jar first. There’s no access from the top.
Which way do I turn an Oster blender blade to remove it?
Counterclockwise, looking at the jar from the bottom. This is true for both threaded metal caps and twist-off plastic collars.
Why is my Oster blender blade stuck?
Almost always dried residue in the threads, or over-tightening after the last use. Soak the base in warm water for 10 to 15 minutes, then use a rubber jar opener for grip.
Is the Oster blade assembly dishwasher safe?
Some are, on the top rack, but the heat shortens gasket life. Hand washing with a bottle brush is safer and takes about a minute.
Can I buy just the blade, or do I need the whole cap?
On threaded models, the blade and cap are sold as one unit. On twist-off collars, you usually buy the collar and blade together too. Individual blades are rarely sold separately.
How do I know if my blade assembly needs replacing?
Look for a wobbling blade, rust, a cracked gasket, or leaks from the base even when the cap is tight. Any of those means it’s time for a new assembly.
One More Thing Before You Twist
The whole job comes down to identifying your jar style, soaking off dried residue instead of forcing it, and using rubber grip rather than metal tools.
If your cap still won’t budge after a warm soak and a rubber jar opener, stop — you’re more likely to crack the jar than free the cap, and a replacement jar costs far more than a replacement gasket. Order a new blade assembly and gasket for your model number instead, and treat the old one as a lesson in not over-tightening.