Is The Vitamix Blender Dishwasher Safe: The Official Verdict
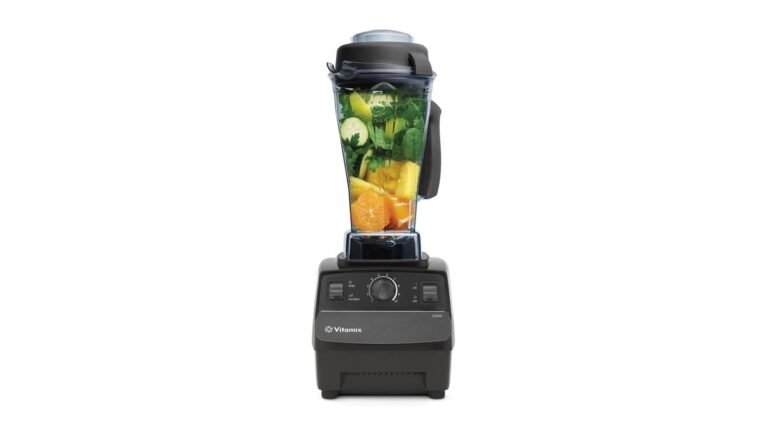
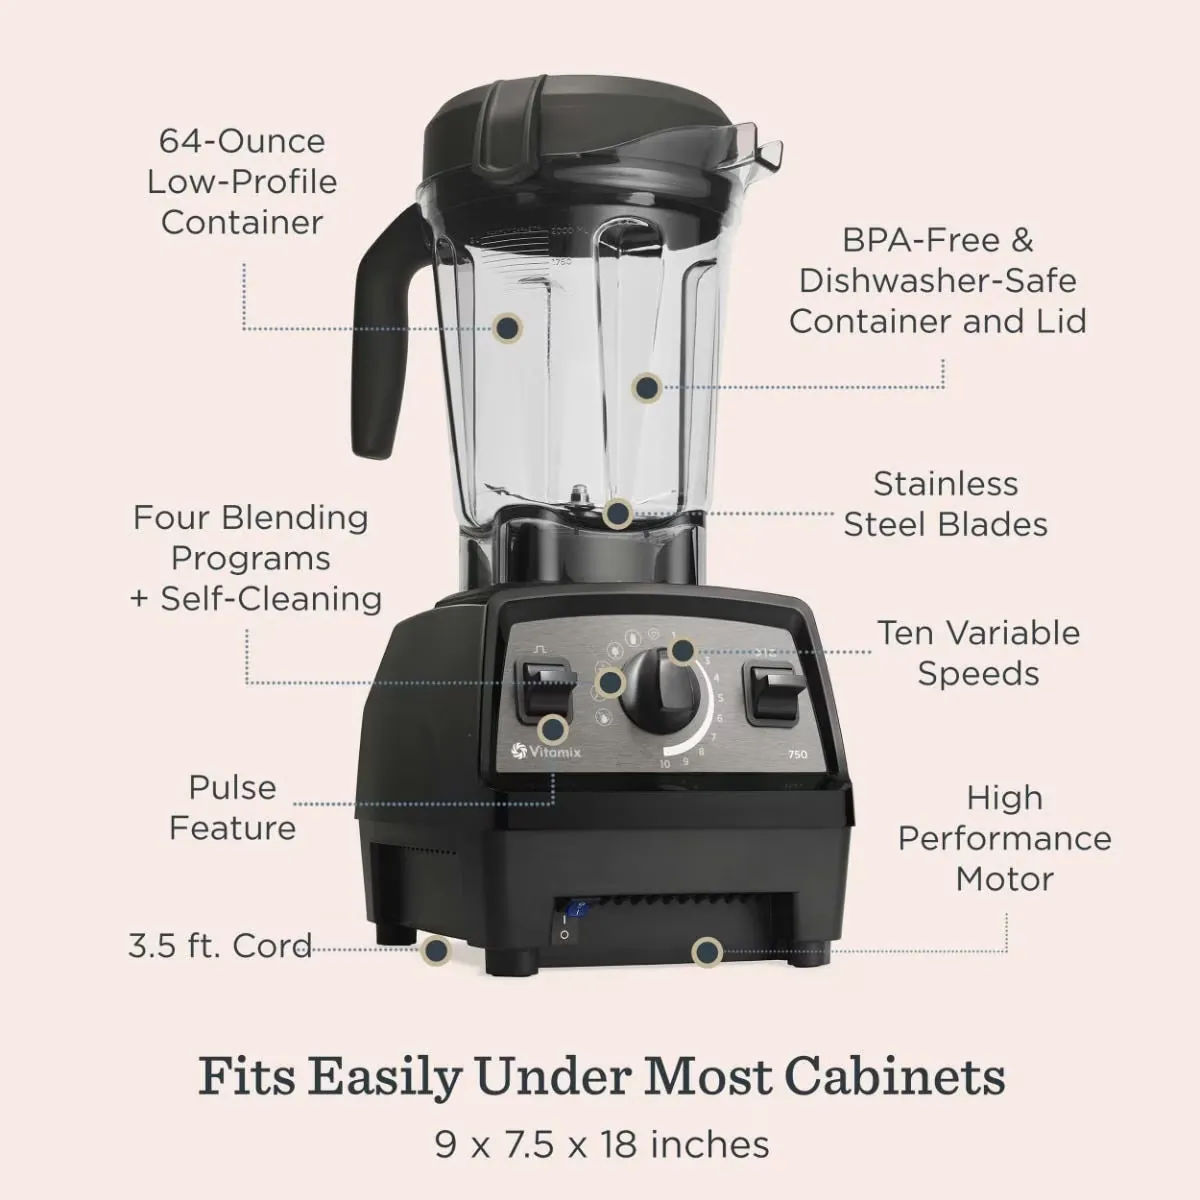
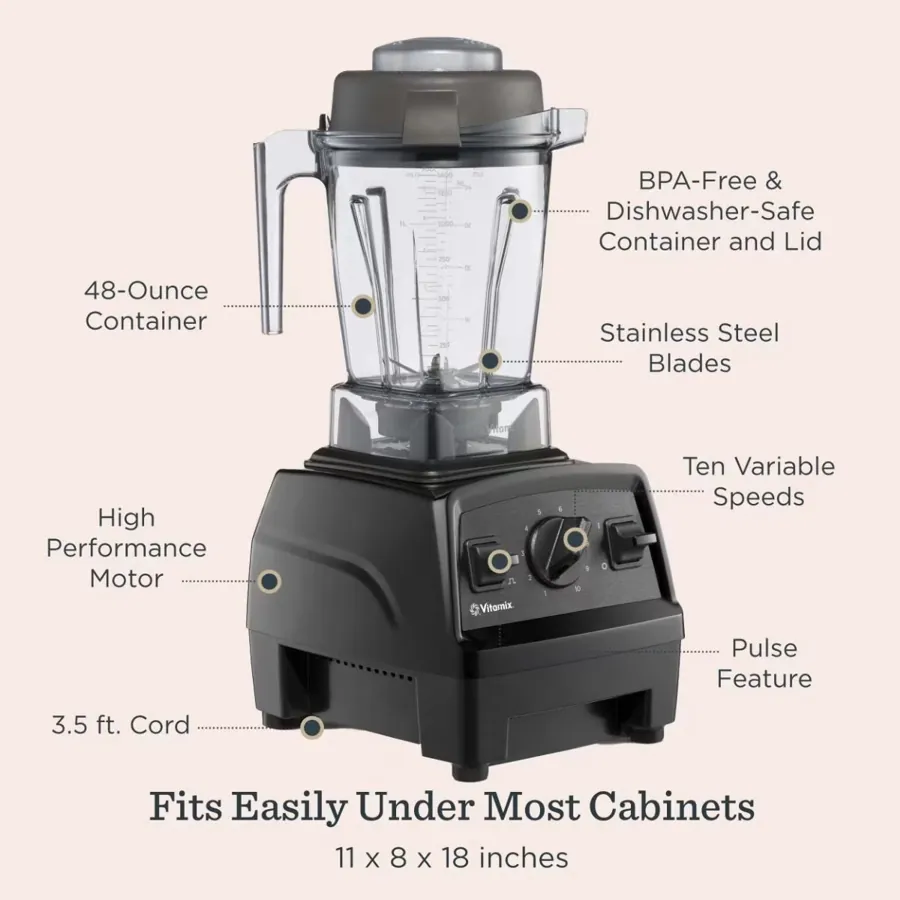
Most Vitamix containers aren’t built to withstand the high heat and harsh detergents of a modern machine, so you should avoid putting your vitamix blender dishwasher safe components inside one. While some newer, specific models feature BPA-free containers labeled as dishwasher-safe, most standard models will suffer damage to the drive socket or seal integrity over time.
Your specific experience depends on the container material, the age of your unit, and the specific cycle settings of your appliance. Always check your model’s manual to see if your container is listed as dishwasher-safe.
Who uses this guide
This guide serves owners of Vitamix blending systems who want to maintain their equipment for the long term. If you’re a casual user who bought a newer model with a container explicitly marked as dishwasher-safe, you may find the convenience outweighs the risk of long-term wear. However, this page is primarily for those who own classic or professional-series containers and want to prevent premature seal failure or cloudy plastic.
We assume you’re using a standard residential Vitamix blender. If you own a commercial-grade unit used in a restaurant setting, your maintenance requirements are different and likely involve high-volume cleaning protocols not covered here. Readers who prioritize machine longevity over time-saving will find the most value in our manual cleaning recommendations. If you’re looking for repair instructions for a broken drive socket, these instructions won’t help you; you should contact the manufacturer directly for authorized service.
Factors affecting your container
The primary threat to your container is the combination of intense heat and abrasive cleaning chemicals. High temperatures can cause the polycarbonate plastic to develop micro-cracks, which eventually lead to structural failure during high-speed blending.
Detergent strength is the second factor. Many modern dishwasher pods contain enzymes and harsh salts that etch the surface of the container. Over time, this makes the plastic look cloudy and can degrade the rubber seals around the blade assembly.
The age of your container matters significantly. Older containers were manufactured with different seal materials that respond poorly to the drying cycle of a dishwasher.
Finally, the placement of the container in your rack changes the outcome. If you place it near the heating element at the bottom of the machine, the localized heat can warp the base of the container. This prevents it from sitting flat on the motor base, which causes excessive noise and vibration.
Cleaning your blender properly
- Fill the container with warm water until it reaches the halfway point.
- Add two drops of mild dish soap to the water.
- Secure the lid firmly and ensure the center plug is locked.
- Start the blender on the lowest speed setting.
- Increase the speed slowly to the highest setting over 10 seconds.
- Run the machine on high for 30 to 60 seconds.
- Turn the dial back to the lowest setting and stop the motor.
- Rinse the container thoroughly with clean water until all bubbles disappear.
- Turn the container upside down on a drying rack to air dry.
The key to a long-lasting container is the immediate cleaning process. If you let food residue sit in the container for more than an hour, it can harden and become difficult to remove without scrubbing, which often leads to scratched plastic.
Comparison of cleaning methods
| Method | Best for | Time Required | Risk Level |
|---|---|---|---|
| Hand wash | All containers | 2 minutes | Very low |
| Soap cycle | Daily use | 1 minute | Low |
| Dishwasher | Approved models | 5 minutes | High |
| Soaking | Dried residue | 30 minutes | Moderate |
| Scrubbing | Stubborn spots | 3 minutes | Moderate |
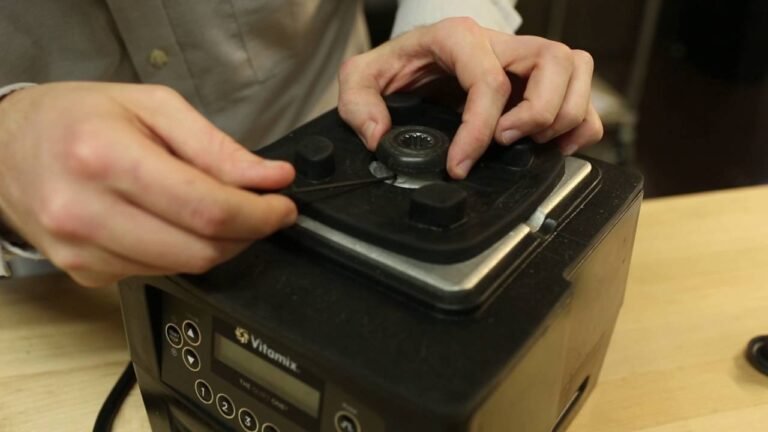
Hand washing remains the gold standard for longevity. Use warm water and mild dish soap, focusing on the seal where bacteria hide. If you notice a faint odor after drying, you have likely missed the gasket. Remove it with a dull butter knife to scrub the crevice directly.
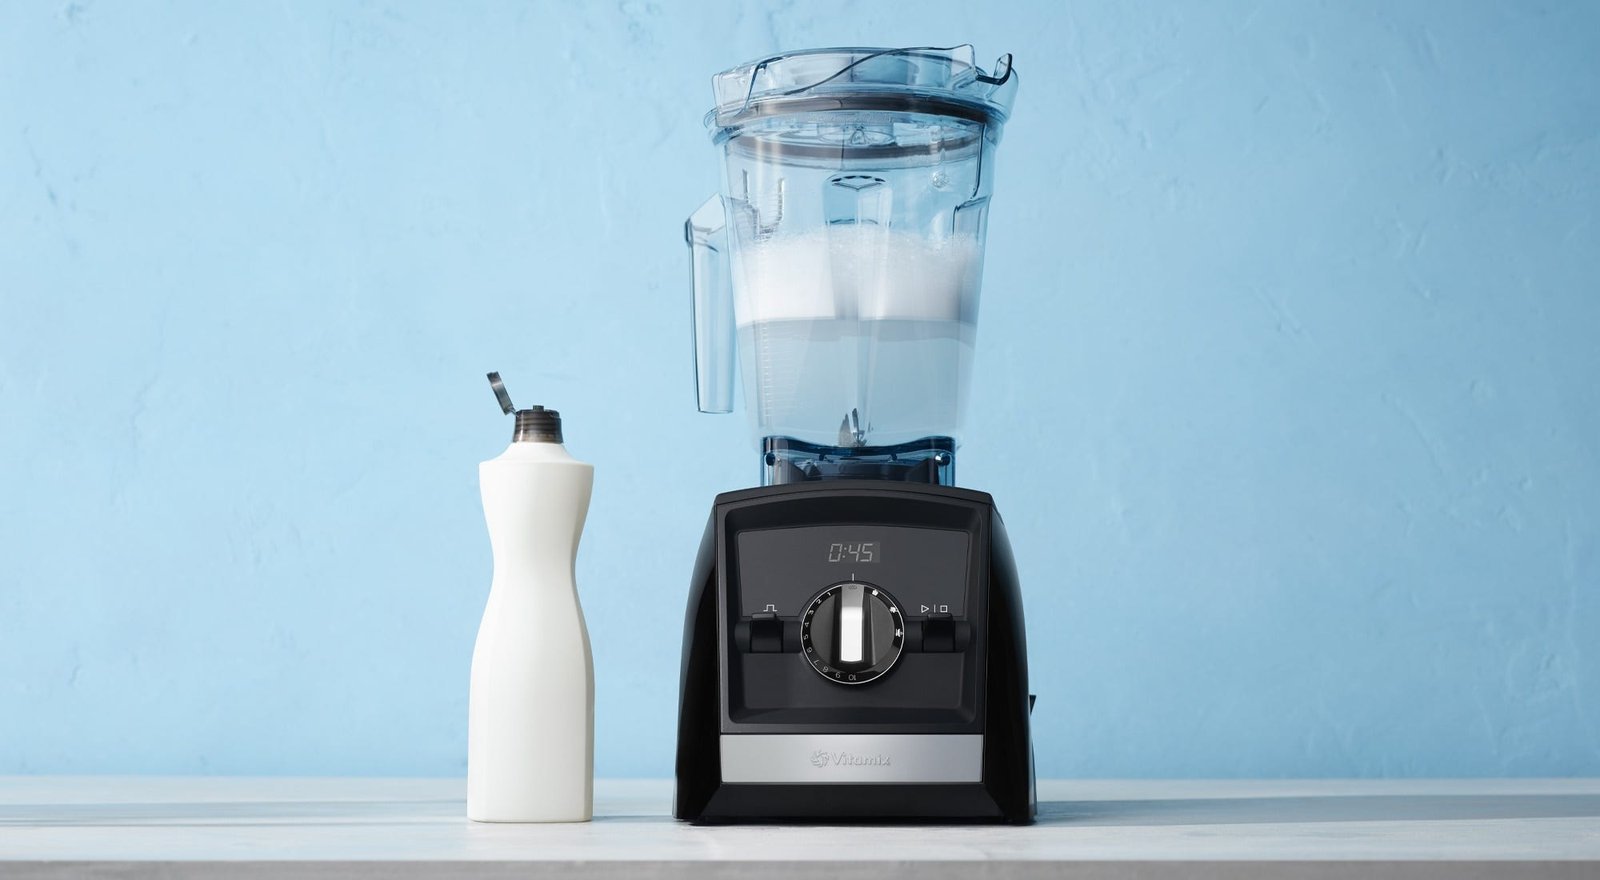
The soap cycle is your most efficient daily habit. Simply fill the container with hot water and one drop of detergent, then shake vigorously for sixty seconds. This prevents film buildup without exposing the structural integrity of the plastic to harsh heat.
Reserve the dishwasher only for containers explicitly marked as heat-safe. High-temperature cycles often warp the threads of lids, rendering them leak-proof no longer. If the plastic feels soft or tacky immediately after the cycle ends, stop using the machine. The material has begun to degrade, which can leach chemicals into your food.
Prolonged submersion softens the sealant, causing it to detach from the rim. If you’re dealing with stubborn stains like tomato sauce, add a tablespoon of baking soda to the soak.
Use scrubbing only for mineral deposits or stuck-on debris. Choose a nylon-bristled brush rather than steel wool to avoid micro-scratches. These tiny grooves become magnets for future mold growth. If you can’t remove a spot with a soft brush, the material is likely permanently stained and safe to continue using, provided the surface is smooth.
Protecting your equipment
Manual cleaning habits
Experienced users know that the blade assembly is the most delicate part of the system. You should never leave the container sitting in standing water for long periods, as moisture can penetrate the bearings and cause rust. Instead, rinse it immediately after use and dry the base thoroughly.
Avoiding common mistakes
Many users try to sanitize their containers by running a high-heat cycle in the dishwasher. This is a mistake because the heat causes the plastic to become brittle, which can lead to cracks during your next smoothie preparation. If you need to sanitize the container, use a Vitamix cleaning and sanitizing guide to find the correct dilution ratio for a simple bleach solution.
Troubleshooting common issues
| What you notice | What it usually means | What to do first | How to stop it |
|---|---|---|---|
| Cloudy plastic | Mineral buildup | Vinegar soak | Use filtered water |
| Leaking base | Worn seal | Contact support | Hand wash only |
| Burnt smell | Motor strain | Stop blending | Don’t overfill |
| Strange noise | Loose base | Tighten nut | Inspect for cracks |
| Stuck residue | Dried food | Soak with soap | Rinse immediately |
Compliance and safety rules
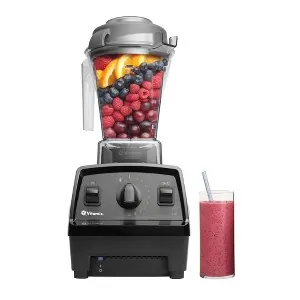
Safety standards dictate that you must never submerge the motor base in water, as this poses a clear risk of electrical shock. Keep the unit at least twelve inches away from sink basins or standing water to prevent accidental splashes from entering the ventilation ports.
Inspect the power cord every time you plug the unit into an outlet. Look for exposed copper wires or deep nicks in the rubber insulation. If the cord feels warm to the touch during operation, the internal wiring is likely failing, and you must discontinue use to prevent a fire hazard. Never attempt to patch frayed cords with electrical tape; this doesn’t restore the safety rating and creates a false sense of security.
Never attempt to open the motor housing yourself. The internal capacitors can hold a lethal charge even when the unit is unplugged, and the housing is sealed under high tension. Attempting to pry it open will strip the specialized security screws, which immediately voids your warranty and prevents authorized centers from performing a safe repair.
If the blender begins to emit a burning smell or makes a grinding noise, don’t wait for a complete failure. These are early indicators that the motor bearings are failing or the cooling fan is obstructed. Continuing to run the machine in this state can cause the plastic housing to melt, potentially releasing toxic fumes into your kitchen.
If you’re unsure whether a malfunction is covered under your policy, check the serial number located on the bottom label. If the number is missing or illegible, the unit is considered non-compliant for safety recalls. In this case, you should treat the appliance as a permanent hazard and dispose of it at a certified electronic waste facility rather than donating it to a second-hand shop.
Real costs of maintenance
The cost of replacing a container is significantly higher than the cost of a few drops of dish soap. A new container is quite expensive compared to the cost of soap. If you choose to use the dishwasher and the seal fails, you risk liquid entering the blade bearings, which ruins the entire assembly. For most users, the effort of washing the container by hand takes less than two minutes and eliminates the risk of a costly replacement.
Most owners mistakenly assume that the “dishwasher safe” label applies to the entire lifespan of the unit. Heat cycles degrade the rubber gaskets over time, leading to microscopic leaks that are invisible until the motor base begins to smoke or smell of burning plastic.
If your container shows any cloudiness on the bottom or a slight wobble in the blade shaft, stop using the dishwasher immediately. A firm, steady blade indicates a healthy seal, while any lateral play suggests the bearing is already compromised.
If you must use a machine, place the container on the top rack only and skip the heated dry cycle. High-temperature drying is the primary culprit for seal warping. However, the most reliable method remains a simple rinse: fill the container halfway with warm water, add one drop of soap, and run the motor on high for thirty seconds.
This technique cleans the underside of the blades where debris hides. If you notice food particles trapped beneath the blade assembly after a rinse, don’t attempt to pry the blades out yourself. This voids your warranty and often damages the housing beyond repair. Instead, contact the manufacturer for a professional inspection. Replacing a container is a nuisance, but replacing a ruined motor base often costs more than a significant portion of a brand-new machine.
Maintaining your blender long-term
Once you have finished cleaning your container, store it in a dry, well-ventilated area. Storing it upside down on a dish rack traps moisture and promotes mold growth in the gasket. Instead, place it upright on a shelf with the lid off to allow for constant airflow.
If you notice the container starting to feel sticky or if the blades don’t spin freely, you likely have soap residue or food buildup trapped under the blade assembly. This usually happens when the blender sits for hours after use, allowing proteins to harden into a lacquer-like film.
Simply repeat the cleaning cycle with warm water and a small amount of white vinegar to break down the buildup. If the resistance persists, submerge the base in a shallow bowl of warm soapy water for ten minutes, then pulse on the lowest setting.
Check your container for cracks based on your usage frequency by looking at the base and the area around the blade, as the owner’s manual is the authority on inspection schedules. If you see fine white lines radiating from the blade housing, the plastic has begun to fatigue. Replace the container immediately if these lines appear, as the pressure of high-speed blending can cause a catastrophic failure, spraying contents across your kitchen.
Distinguish between surface scratches and structural cracks by running your fingernail across the mark. If your nail catches in the groove, the integrity of the vessel is compromised. Don’t attempt to seal these cracks with epoxy or silicone. These materials aren’t food-safe at high temperatures and will eventually leach chemicals into your smoothies. The mechanical stress of crushing frozen solids accelerates wear on the drive socket and container base significantly faster than blending liquids alone.
When to avoid this method
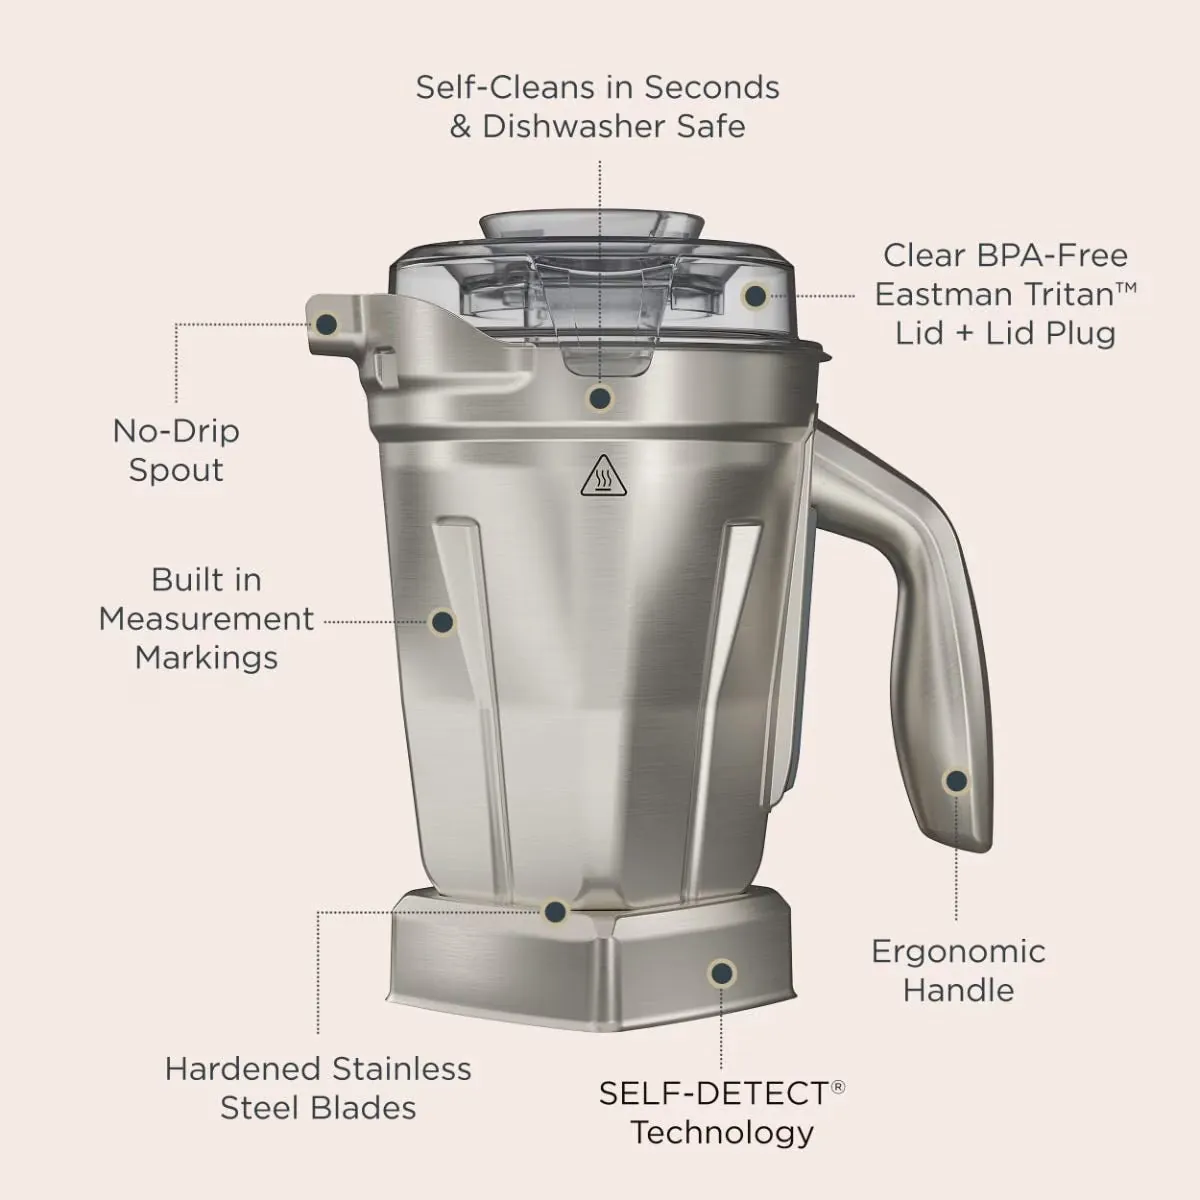
Don’t follow these cleaning instructions if your container has visible cracks or deep scratches on the inside walls. These defects harbor bacteria that simple soap and water can’t remove. In these cases, the container is no longer safe for food preparation and must be replaced.
If you can catch a fingernail in a scratch, it’s deep enough to trap food particles and moisture. This creates a breeding ground for mold and pathogens that survive standard sanitization cycles. Replace the vessel immediately if you feel this tactile resistance.
If the blender motor makes a grinding sound during operation, don’t continue to use the unit. This is a sign of internal mechanical failure that requires professional inspection by a certified service technician.
Listen for a change in pitch or a metallic rattling that occurs under load. A healthy motor produces a consistent hum; a grinding noise indicates that the drive coupling or internal bearings have begun to disintegrate. Continuing to run the machine at this stage will likely strip the gears or cause the blade assembly to seize entirely.
You can distinguish between a minor obstruction and a mechanical failure by removing the jar and running the base empty for three seconds. If the noise persists without the load of the container, the issue lies within the motor housing itself.
Don’t attempt to open the base to fix these internal components yourself. Most modern units contain high-voltage capacitors that retain a charge even when the power cord is unplugged. If you ignore the grinding sound, you risk a total motor burnout that will cost significantly more to repair than a simple bearing replacement. When in doubt, prioritize the safety of your kitchen over the convenience of a quick repair.
Frequently asked questions
Can I put my lid in the dishwasher?
Yes, the lid and the center plug are generally safe for the top rack of a dishwasher. Remove the plug before washing to ensure both parts get cleaned thoroughly, and always let them air dry completely before you reassemble them to prevent mold growth in the seal areas.
How often should I deep clean the container?
You should perform a deep clean with a vinegar solution once a month to remove mineral deposits. If you notice a film forming on the inside of the container after drying, it’s time to perform this cleaning to keep the plastic clear and sanitary.
Is it safe to use boiling water?
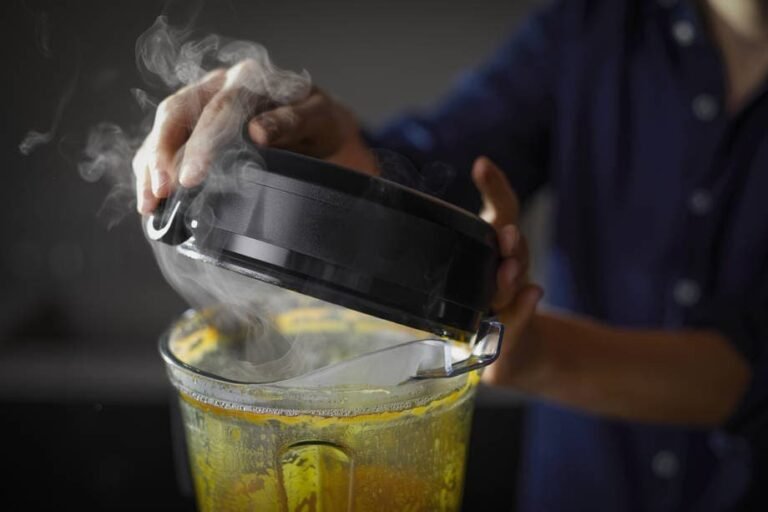
No, you should avoid using boiling water in your Vitamix container because it can warp the seals and the plastic base. Stick to warm, soapy water to achieve a thorough clean without risking damage to the structural integrity of your blending jar.
Why does my container look cloudy?
Cloudiness is usually caused by mineral buildup from hard water or micro-scratches from abrasive cleaning tools. You can often clear this up by soaking the container in a solution of white vinegar and water for one hour before rinsing it clean.
What happens if I wash the base?
You must never wash the motor base, as water entering the housing will cause immediate electrical failure and shock hazards. If you spill liquid on the base, unplug the unit immediately and wipe it down with a dry cloth, then let it sit for 24 hours.
Does the dishwasher ruin the blades?
Yes, the high heat and harsh chemicals in dishwasher detergent can strip the lubricant from the blade bearings. This leads to friction, which causes the blades to spin slower and eventually results in the motor overheating or the seal failing entirely.
Conclusion
Start by hand-washing your container immediately after each use with warm water and mild soap. This simple routine keeps your blender in peak condition and prevents the seal degradation caused by high-heat cycles. If you ever notice the container leaking from the bottom, stop using it immediately and contact the manufacturer for a replacement to avoid damaging your motor base.