Is Vitamix Blender Worth It: A Performance and Value Analysis
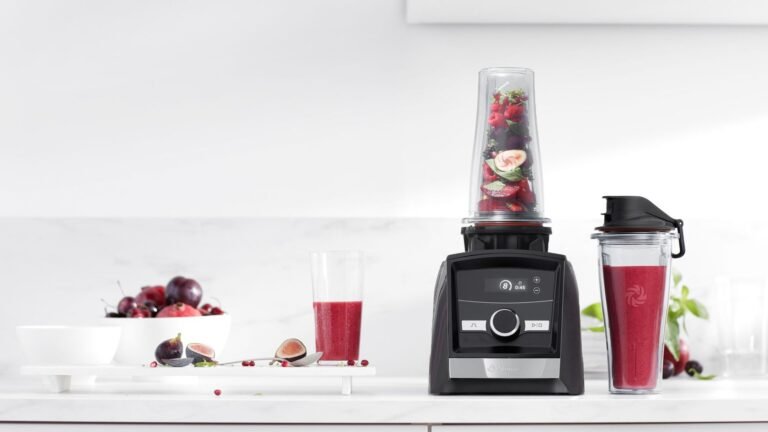
A vitamix blender is worth it for home cooks who need high-powered performance for daily blending, hot soups, or grinding grains. It’s a long-term investment that replaces multiple smaller kitchen appliances, provided you use it frequently enough to justify the price.
Your decision depends on how often you prepare smoothies, nut butters, or hot soups from scratch. If you rarely blend or only need to crush ice occasionally, a cheaper model will serve you just as well without the high cost.
Is a Vitamix blender worth it for you
These machines are built for people who want consistent, professional-grade results in a home kitchen. You’re likely considering this purchase if you prepare daily smoothies, create pureed soups, or grind your own flours and nut butters. If you’re a casual user who only makes a protein shake once a week, you may find the size and power more than you actually require.
This page serves the serious home cook who values durability and versatility over a low upfront cost. We assume you want to understand if the longevity of the motor and the quality of the blend justify the premium price tag. If you’re looking for a compact personal blender for travel or very small living spaces, you should look at smaller, battery-operated, or entry-level units instead.
We focus on the standard full-size models, which are designed for heavy-duty tasks that would burn out a standard, lower-wattage blender motor. If your main goal is simple fruit smoothies, you should read about standard personal blenders, as the extra power of a professional unit won’t change the texture of a basic drink.
Factors that decide the value
The primary factor is the motor power and torque, which determines how smooth your final texture will be. A more powerful motor handles frozen fruit and fibrous greens without stalling, whereas a lower-wattage motor might struggle or leave chunks in your drink. You can check the motor output on the product label or the manufacturer’s official specifications page.
Frequency of use is the second factor that moves the value proposition. If you use the machine daily, the cost per use drops significantly over the expected five to ten-year lifespan of the unit. People often make the mistake of buying based on features they think they might use, rather than what they actually do.
The third factor is the container design and blade assembly, which dictates how well the machine processes thick ingredients. Models with wider containers are better for large batches, while narrower ones are better for smaller amounts of nut butter or dips. Check the container compatibility for the specific series you’re eyeing to ensure it fits your typical batch size.
Finally, the warranty coverage provides a clear indicator of expected value. These machines often come with a seven to ten-year full warranty, which covers parts, labor, and even shipping both ways in some regions. If you’re choosing between models, compare the length of the warranty provided on the Vitamix warranty information page to see which offers the best protection for your investment.
How to use the machine safely
- Fill the container with liquid first, followed by soft ingredients, and place frozen or hard items like ice or nuts on top.
- Secure the lid firmly, ensuring the vent plug is locked into place before you turn the machine on.
- Start the motor on the lowest speed setting to prevent splashing and to allow the blades to catch the ingredients.
- Increase the speed slowly to the highest setting, using the tamper to push ingredients into the blades if they stop moving.
- Blend for 30 to 60 seconds for most recipes, or until you reach the desired consistency.
- Turn the speed back to the lowest setting before switching the power off completely.
- Wait for the blades to stop moving entirely before you remove the lid or the container.
The most important judgement call is knowing when to use the tamper. If the ingredients stop circulating and you hear the motor pitch change, stop immediately and use the tamper to clear the air pocket. Don’t let the motor run for more than 30 seconds if the contents aren’t moving, as this can cause the ingredients to overheat.
Performance variations by usage
| Situation | Best approach | What it takes | What to watch for |
|---|---|---|---|
| Daily smoothies | Use high speed | 45 seconds | Frozen fruit chunks |
| Hot soups | Blend on high | 6 minutes | Steam pressure |
| Nut butters | Use the tamper | 3 minutes | Motor heat |
| Grinding flour | Pulse setting | 1 minute | Dust buildup |
| Small dips | Small container | 30 seconds | Blade clearance |
When blending smoothies, avoid overfilling the pitcher. If the ingredients stop circulating, stop the machine immediately to prevent the motor from stalling. Adding a splash of liquid before the frozen fruit creates the necessary vortex to pull ingredients down.
For hot soups, never fill the container past the maximum line. Steam expands rapidly, and an overfilled pitcher will force the lid off under pressure. If you’re blending for more than six minutes, the friction may overheat the base.
Nut butters require constant engagement with the tamper to prevent air pockets from forming around the blades. If the motor begins to smell like ozone, shut it off for ten minutes. This allows the internal cooling fan to dissipate heat.
When grinding grains, ensure the container is bone-dry. Any residual moisture turns flour into a gummy paste that ruins the texture. If you notice a fine dust escaping the lid, check the seal for micro-cracks.
Small batches of dip fail when the blades spin above the ingredients. If your recipe yields less than one cup, use a dedicated small-batch container. This ensures the blades stay submerged, preventing the uneven, chunky results that occur in standard jars.
Details that separate quality results
Preparing ingredients for the best blend
Experienced users always cut large, hard vegetables into one-inch cubes before adding them to the container. This simple step reduces the strain on the motor and ensures a uniform texture without leaving large pieces behind. Beginners often throw whole items into the blender, which forces the machine to work harder and can lead to uneven results. Always ensure your liquid-to-solid ratio is high enough to allow the ingredients to flow freely through the blades.
Maintenance and cleaning habits
The best way to keep your machine working like new is to clean the container immediately after every use. A drop of dish soap and warm water run on high for 30 seconds will remove residue from the blades and walls. Never submerge the motor base in water, as this will destroy the internal electronics. Beginners often let food dry in the container, which makes it harder to clean and can dull the blades over time.
Solving common blending issues
| What you notice | What it usually means | What to do first | How to stop it |
|---|---|---|---|
| Air pocket forms | Not enough liquid | Add more water | Use the tamper |
| Burning smell | Motor overheating | Turn off immediately | Blend shorter cycles |
| Leaking lid | Improper seal | Check the gasket | Clean lid edges |
| Loud rattling | Loose base | Tighten the nut | Check blade wear |
| Uneven texture | Overloaded container | Reduce batch size | Blend in stages |
If an air pocket forms, you have likely ignored the liquid-to-solid ratio. Add water in 1/4 cup increments until the vortex pulls ingredients toward the blades. If you skip the tamper, you risk burning out the motor as it spins against empty space.
A burning smell indicates the motor is straining against dense, frozen ingredients. If you smell ozone, stop the machine for ten minutes to let the thermal overload protector reset. Never force a cycle to finish if the pitch of the motor drops significantly.
Leaking lid issues often stem from microscopic food debris trapped in the rubber seal. Wipe the rim with a damp cloth before every use to ensure a vacuum-tight fit. If the leak persists, inspect the gasket for cracks that require a replacement part.
Loud rattling suggests the blade assembly has loosened from the base. If you can wiggle the blade shaft by hand, tighten the retaining nut immediately. Ignoring this vibration will eventually strip the drive socket, a repair that costs significantly more than a simple wrench adjustment.
Uneven textures occur when you fill the container past the maximum fill line. Keep ingredients below the top blade level for a consistent grind. If you’re processing thick nut butters, blend for thirty seconds, stop to scrape the sides, and repeat.
Legal and safety standards
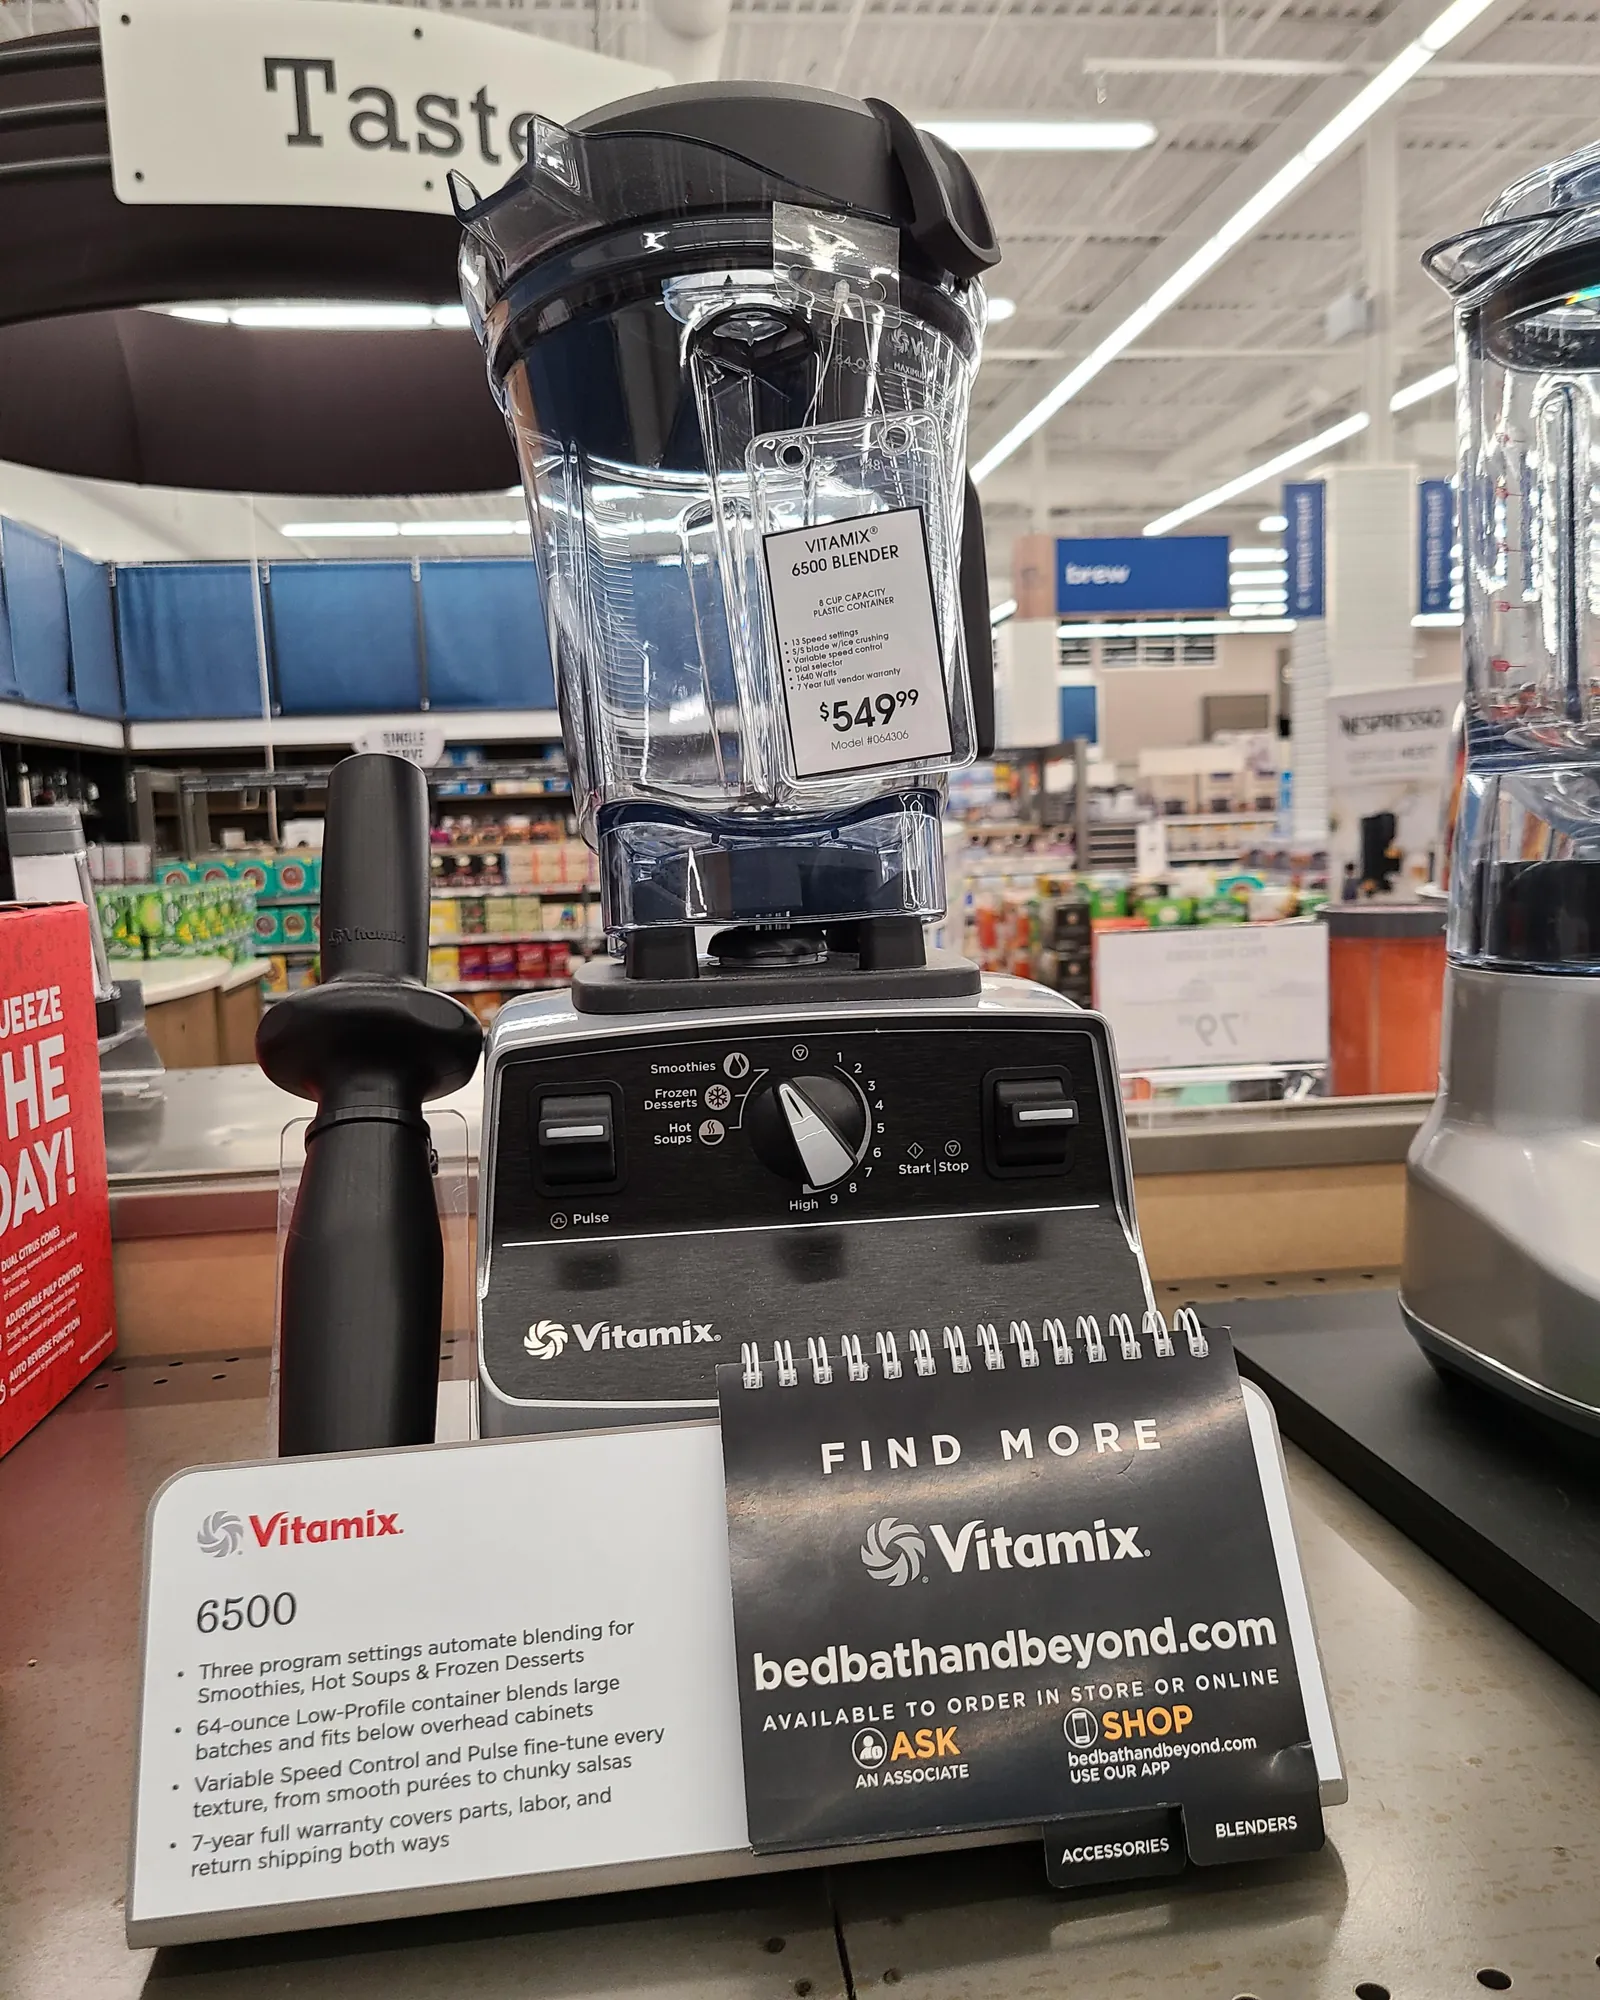
The safety of your kitchen appliance is governed by standards that ensure electrical components don’t pose a fire or shock risk. In the United States, these products are typically tested against Underwriters Laboratories (UL) standards for motor-operated appliances. These standards require that the motor has built-in thermal protection to shut down if it gets too hot, which prevents internal damage.
If you’re outside the United States, check the manufacturer’s regional website to confirm that the unit you’re buying meets the local electrical standards for your country. Never attempt to bypass safety interlocks or modify the plug to fit a different outlet type. If the unit doesn’t start, check your home circuit breaker and the power cord connection. Don’t attempt to open the motor housing, as the internal capacitor can hold a dangerous electrical charge even when the unit is unplugged.
The true cost of ownership
The cost of these blenders ranges from $300 to $600, depending on the series and the included accessories. While this is a high upfront price, the real cost is measured by how many years the machine remains in your kitchen. A cheaper blender that costs $100 might last only one or two years, meaning you spend more in the long run replacing broken units.
Most users fail to account for the depreciation of motor performance. A professional-grade unit maintains its torque for a decade, while budget models lose their ability to crush ice or fibrous greens within eighteen months. If your motor smells like burning ozone after thirty seconds of use, you’re already approaching the end of the machine’s viable lifespan.
The cost moves up if you need specific containers for specialized tasks like dry grains or small-batch blending. These extra containers often cost between $100 and $150 each. If you only need to blend basic ingredients, stick with the standard container that comes in the box.
If you plan to process nut butters or heavy doughs more than twice a week, invest in the stainless steel container rather than the standard plastic jar. It resists the micro-abrasions that trap odors and bacteria over time. Compare current pricing on the manufacturer’s website to ensure you’re seeing the latest model updates and seasonal discounts.
Long-term care and maintenance
To keep your investment performing well, inspect the drive socket and blade assembly every six months. The drive socket connects the motor to the container, and it can wear down if you frequently use the machine at full capacity. If the drive socket appears stripped or loose, you can order a replacement part from the official support site and follow the included instructions to swap it.
A common mistake is ignoring the buildup of food particles under the blade assembly. If you notice a dark, oily residue leaking from the bottom of the container, the seal has likely failed. Replace the blade assembly immediately; running the machine with a compromised seal will allow liquid to penetrate the motor housing, causing internal corrosion that voids your warranty.
Listen for any change in the sound of the motor; a healthy machine has a consistent, powerful hum. If you hear a grinding or screeching noise, stop using the machine and contact the manufacturer’s customer service for an inspection.
Don’t wait for a complete failure, as early detection can often save the motor from permanent damage. If the motor smells like burning rubber, unplug the unit and discontinue use entirely. These signs indicate that the internal brushes are failing or the motor is overheating under excessive load.
Situations where this is the wrong choice
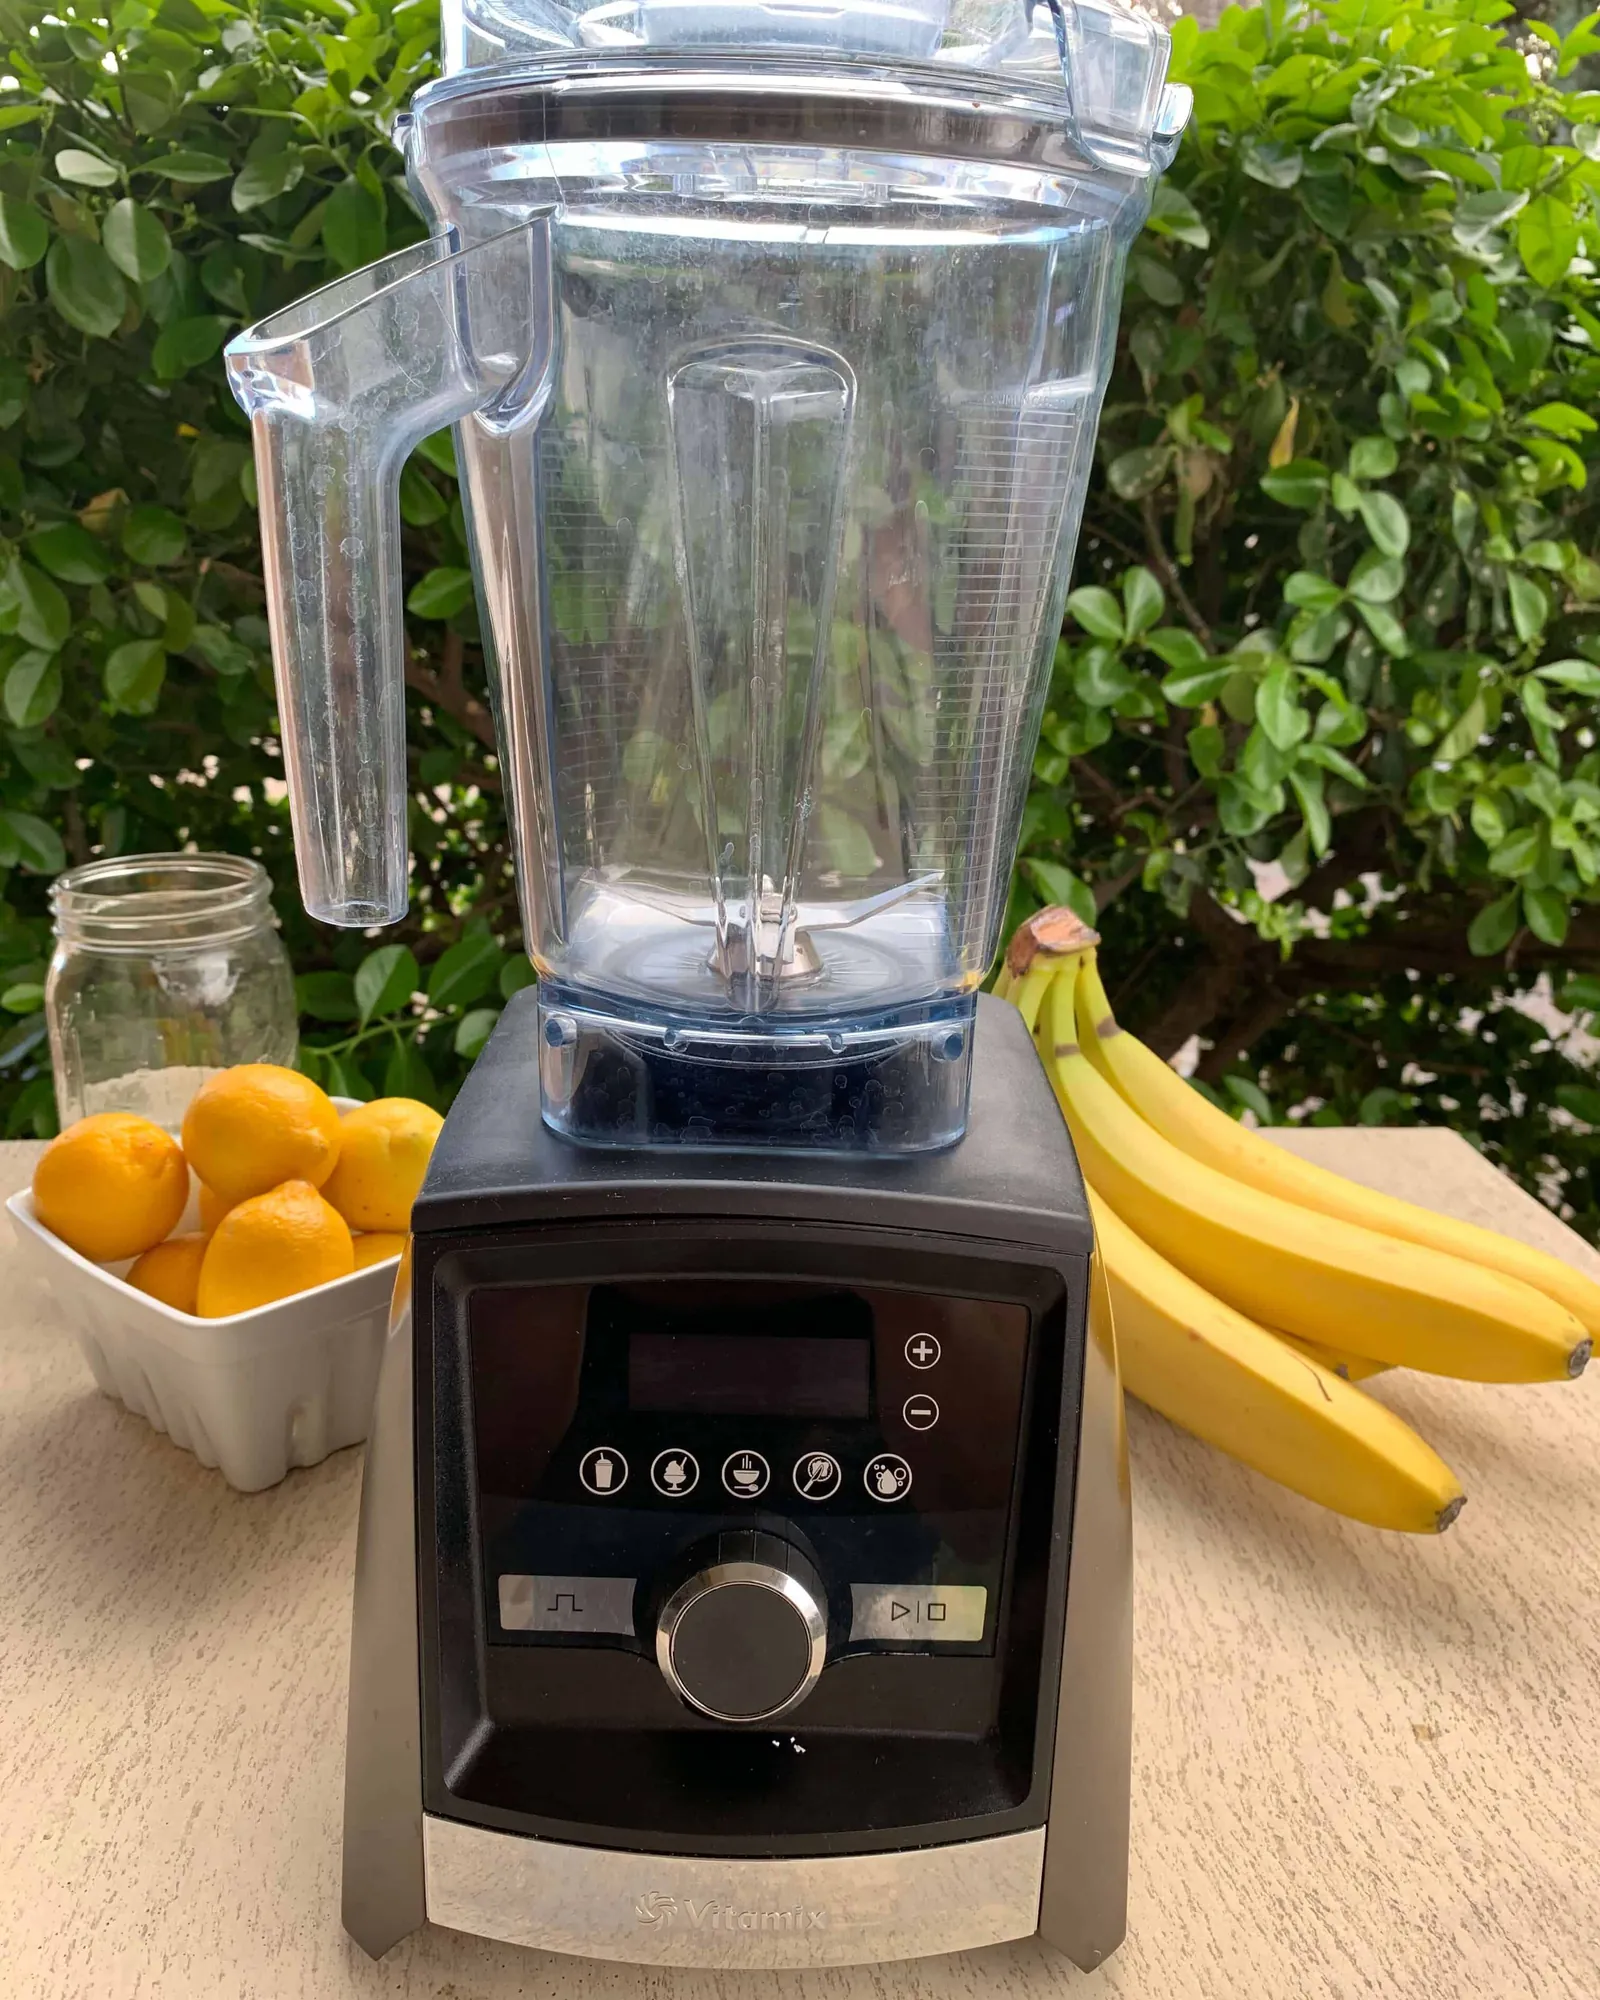
If you live in a tiny apartment with almost no counter space, a full-size professional blender will likely become a burden. You would be better served by a smaller, compact personal blender that you can store in a drawer when you’re finished. A large machine is only worth the space it takes up if you’re using it at least three or four times every week.
If you find yourself moving the base to a different room just to plug it in, you have already lost the battle for convenience. Most users who store these machines in a cabinet end up abandoning them within three months.
If your primary goal is to make simple fruit smoothies for one person, you’re paying for power you’ll never use. A high-speed professional blender is designed to pulverize tough seeds, skins, and fibrous stems, which is unnecessary for basic smoothies. Look for a dedicated personal blender that’s easier to clean and takes up less space on your counter.
If you frequently blend hot liquids or heavy nut butters, however, don’t settle for a personal model. These smaller motors will burn out under the strain of dense, viscous ingredients. If your recipe requires more than thirty seconds of constant, high-speed blending, stick with the professional unit to avoid a motor failure.
Frequently asked questions
Can I blend hot liquids safely?
Yes, you can blend hot liquids, but you must ensure the lid is fully secured and the center vent plug is in place. Start the machine on the lowest speed and increase it to high, as the steam needs room to escape. Don’t blend hot liquids for more than six minutes to avoid excessive pressure buildup.
How long does a vitamix motor last?
A motor in these machines is designed to last for at least 10 years with regular home use. The actual lifespan varies based on how often you blend hard ingredients like frozen fruit or grains. Following the recommended cleaning and maintenance routines ensures the motor operates at peak efficiency throughout its life.
Is it hard to clean the container?
No, cleaning is simple because the machine cleans itself with soapy water. Add one drop of dish soap and warm water to the container, then run it on high for 30 seconds. Rinse it out thoroughly and let it air dry, but never put the container in a dishwasher unless it’s labeled as dishwasher-safe.
Does it really make hot soup?
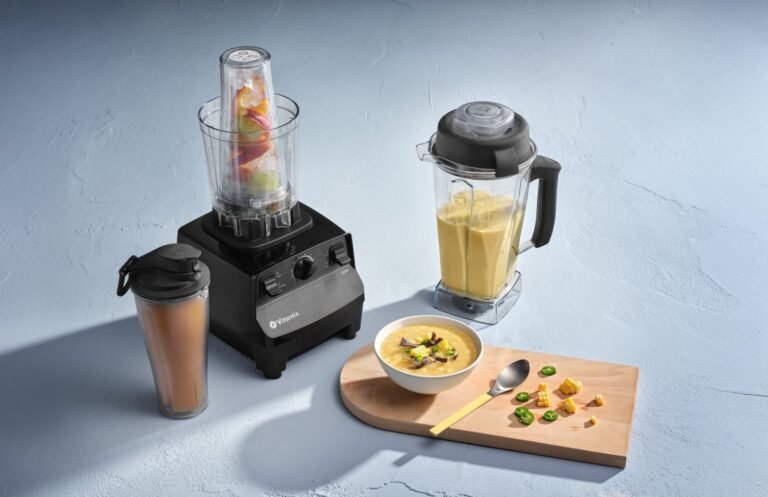
Yes, the friction from the high-speed blades heats the ingredients to a steaming temperature in about six minutes. The heat comes from the kinetic energy of the blades, not a heating element inside the container. You can add room-temperature vegetables and broth and serve the soup directly from the container.
Can I crush ice without liquid?
No, you should never crush ice or blend frozen ingredients without adding at least a small amount of liquid. The liquid creates a vortex that pulls the frozen items into the blades, preventing the motor from stalling. If you try to blend dry ice, the blades will simply spin above the ice without breaking it down.
What happens if the motor stops?
If the motor stops suddenly, the thermal protection system has likely tripped to prevent overheating. Turn the power switch off, unplug the unit, and let it cool down for at least 45 minutes. If it doesn’t start after it has cooled, check your home circuit breaker to ensure the outlet is working.
Conclusion
Start by placing your ingredients in the container according to the manufacturer’s recommended order. You should expect a perfectly smooth, uniform texture in under 60 seconds of blending time. If the machine makes a loud, grinding noise or fails to start even after it has cooled down, stop immediately and contact the manufacturer’s support line for professional assistance.