Why Is Vitamix So Expensive? The Truth About Their Quality
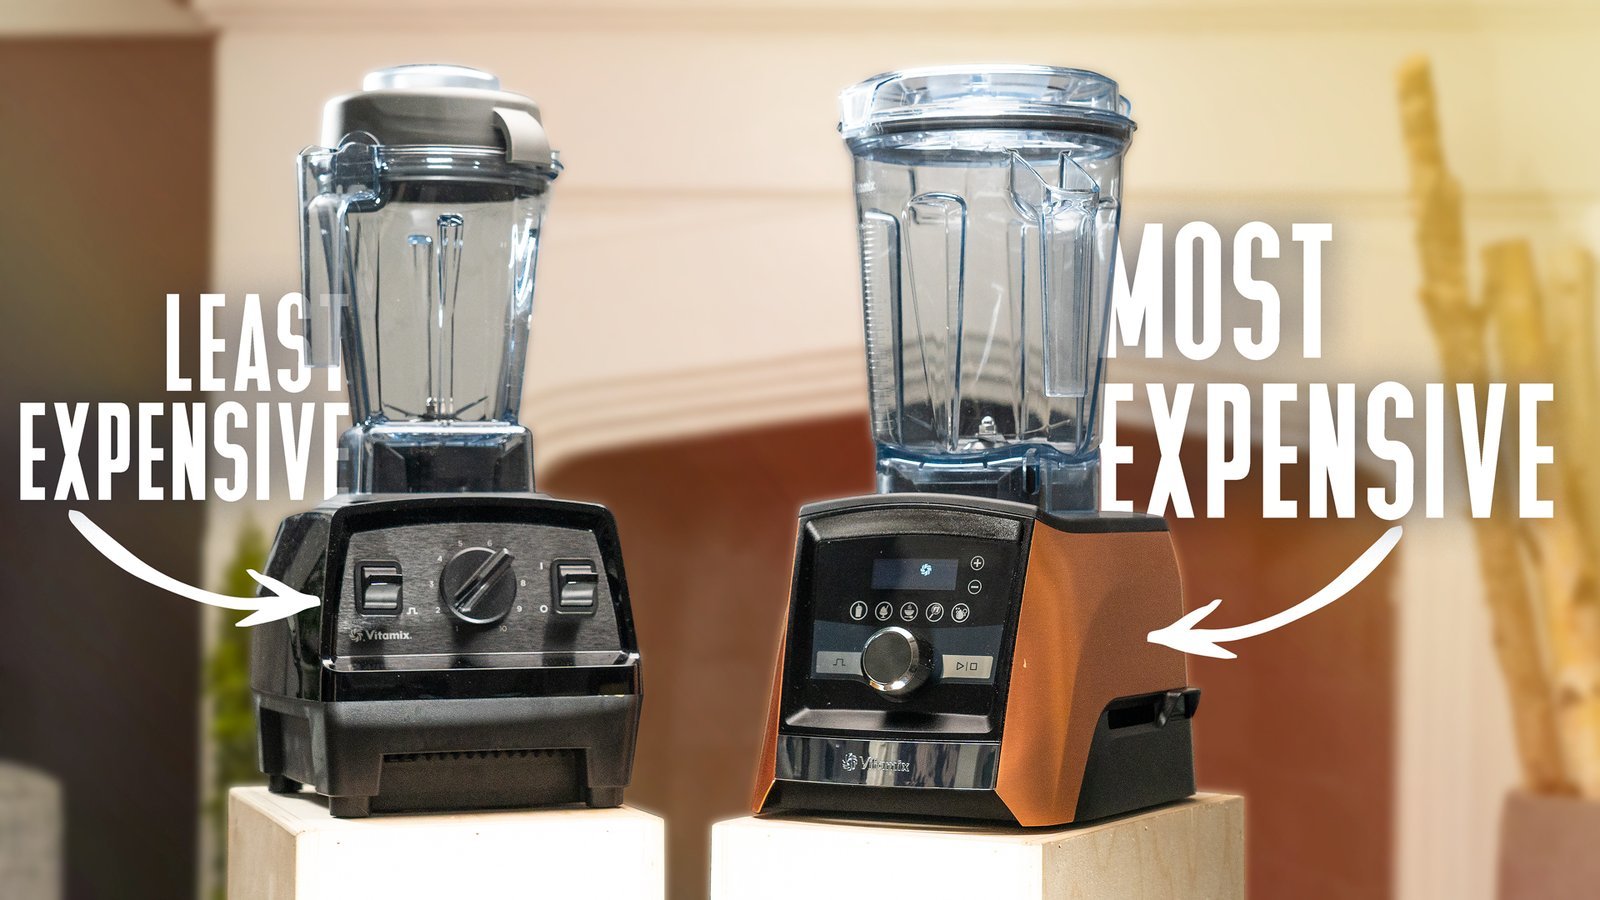
A vitamix is expensive because its price reflects a heavy-duty motor, a precision-engineered metal drive system, and an extended warranty covering years of daily use. These machines are built to process tough ingredients that would break standard blenders and are manufactured with strict quality standards to ensure consistency.
The cost changes based on the series you choose, the included accessories, and whether you buy a new unit or a certified reconditioned model. These factors determine the final value you receive for your investment.
Is a Vitamix worth the expensive price
People who buy these machines usually fall into one of two categories. The first group includes home cooks who want to move beyond simple smoothies and need a tool for hot soups, nut butters, and frozen desserts. They prioritize texture and speed, and they’re willing to pay for a machine that handles these tasks daily without stalling.
The second group includes professional chefs or small business owners who use the blender for high-volume tasks. They need a tool that operates reliably for hundreds of cycles without losing performance. This page serves both of these groups by explaining the engineering and manufacturing choices that justify the price tag.
If you only need a blender for occasional fruit smoothies, you should look for entry-level models from other brands. The assumption this article makes is that you’re looking for a long-term kitchen tool rather than a budget appliance. We focus on the performance and construction that separate this brand from mass-market alternatives found in local department stores.
Factors that drive the price
The motor is the primary factor in the cost of these machines. Unlike standard blenders that use lightweight components, these units feature high-torque motors designed to run at high speeds for minutes at a time. If you run a cheap blender for three minutes, the motor often overheats; these machines use internal cooling fans to keep the parts within safe operating ranges.
Manufacturing location also plays a significant role in the final cost. The company assembles its machines in the United States using components sourced from global partners, which helps maintain higher control over the assembly process. You can verify the specific testing standards for food safety and material durability through the NSF International blender certification page.
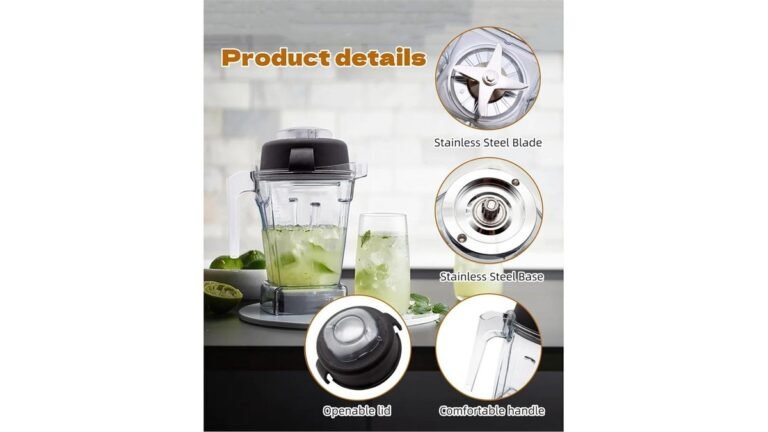
The metal drive system is another major cost driver. Most entry-level blenders use plastic gears that wear down or strip when they encounter hard ingredients like ice or frozen fruit. This brand uses a metal-to-metal connection between the base and the jar, which prevents the teeth from wearing down even after years of daily use.
Finally, the warranty program is factored into the price you pay at the register. Most consumer appliances come with a one-year warranty, but these machines often include coverage for five to ten years. This protects your investment against manufacturing defects, allowing you to get a replacement or repair without purchasing a new unit.
Using the machine effectively
- Place the liquid ingredients into the container first to help the blades move freely.
- Add your soft ingredients, then add harder items like ice or frozen fruit on top.
- Secure the lid tightly, ensuring the plug is locked into the center opening.
- Start the machine on the lowest speed setting before turning it up to high.
- Use the tamper to push ingredients down toward the blades if they get stuck.
- Run the cycle for 30 to 60 seconds until the mixture reaches the desired texture.
- Turn the speed dial back to the lowest setting before switching the power off.
- Unplug the machine if you plan to clean the container under running water.
The single judgement call that separates a professional result from a poor one is knowing when to stop blending. If you blend for too long, the friction from the blades can actually heat up a cold smoothie or turn a thick sauce into a thin liquid. You should watch the texture of your food through the clear lid rather than relying solely on a timer.
Variations at a glance
| The Situation | What to do | What it takes | What to watch for |
|---|---|---|---|
| Daily smoothies | Use standard container | 45 seconds | Consistent texture |
| Hot soups | Use high speed | 6 minutes | Steam pressure |
| Nut butters | Use the tamper | 3 minutes | Motor warmth |
| Frozen desserts | Pulse the mixture | 60 seconds | Blade speed |
| Small batches | Use small container | 40 seconds | Blade clearance |
For daily smoothies, ensure your liquid base covers the blade before adding frozen items. If the motor sounds labored, add two ounces of water to prevent air pockets that ruin the emulsion.
When blending hot soups, always remove the center plug from the lid. Cover the opening with a folded kitchen towel to allow steam to escape. Without this vent, pressure builds rapidly and can blow the lid off the container.
Nut butters require the tamper to push ingredients into the blades constantly. Stop immediately if the motor pitch drops significantly or smells like ozone. This indicates the mixture is too thick, putting the thermal fuse at risk of tripping.
Frozen desserts demand a steady hand on the pulse button. If you run the machine continuously, the friction will melt the ice before the texture becomes creamy. Aim for a thick, scoopable consistency that holds its shape on a spoon.
Small batches under two cups often fail in large containers because the blades can’t catch the ingredients. If your yield is low, switch to a narrow-base jar. If you lack one, double the recipe to ensure the volume reaches the top of the blade assembly.
Performance and longevity
Precision engineering
Experienced users understand that the shape of the container is just as important as the motor power. The internal walls are designed to create a vortex that pulls ingredients down into the blades continuously. Beginners often make the mistake of using the wrong container size for a small amount of food, which causes the ingredients to fly up the sides and miss the blades entirely.
Maintenance routines
Long-term owners know that the machine requires almost no internal maintenance, but the container needs specific care. They never submerge the base in water, as this destroys the electrical components. Instead, they use a damp cloth to wipe the base clean after each use. They also replace the drive socket if they notice it has become loose or noisy over many years of use.
Troubleshooting common issues
| What you notice | What it usually means | What to do first | How to stop it |
|---|---|---|---|
| Machine smells hot | Overloaded motor | Turn off immediately | Use more liquid |
| Leaking at base | Worn blade seal | Replace the jar | Hand wash only |
| Loud grinding noise | Damaged drive socket | Check for debris | Clear the base |
| Won’t turn on | Thermal switch tripped | Let it cool | Don’t overfill |
| Stuck ingredients | Air pocket | Use the tamper | Add more liquid |
If you smell burning plastic, stop the motor before the internal fuse blows. A hot smell often indicates the motor is straining against ingredients that are too thick or frozen. Add two ounces of water or broth to lubricate the blades.
Leaking at the base usually stems from the dishwasher. High heat degrades the rubber gasket, causing it to shrink and lose its seal. If you see brown residue under the jar, the seal is already compromised and requires a full jar replacement. Always hand wash the container in warm, soapy water to preserve the gasket’s elasticity.
A metallic grinding sound suggests the drive socket is stripped. This happens when you place the jar on the base while the motor is still spinning. Always ensure the motor has come to a complete stop before removing or attaching the jar. If the socket teeth look rounded or uneven, replace the part immediately to prevent permanent damage to the motor coupling.
Finally, if the machine refuses to start, check the thermal reset button located on the bottom of the base. Most units trip this switch after three minutes of continuous heavy use. Wait ten minutes for the internal components to normalize before attempting to restart. If it trips again, you’re likely exceeding the maximum fill line, which forces the motor to work beyond its rated capacity.
The rules that apply
The safety standards for these blenders are governed by the Underwriters Laboratories (UL) in the United States. These standards ensure that the electrical housing is properly insulated and that the motor will shut down safely if it encounters an electrical surge or a mechanical blockage. You can check the specific safety rating for your model on the base of the unit.
If you’re concerned about food safety, the company follows the guidelines set by the Food and Drug Administration (FDA) regarding food-contact materials. This ensures that the plastic used in the containers doesn’t leach chemicals into your food during high-speed blending or heating. If you have an older model, you can check the official brand website to see if your specific container is BPA-free or if it should be replaced.
Never attempt to disassemble the motor base yourself. This voids your warranty immediately and presents a serious risk of electrical shock. If your machine stops working, contact the manufacturer’s customer support department to arrange for a professional inspection or a warranty claim.
What it costs you
The initial cost is higher than other brands, but the total cost of ownership is often lower over time. A cheap $50 blender typically fails within twelve months due to plastic gear fatigue, forcing a recurring annual purchase. In contrast, a high-end machine lasts for a decade or longer. You’re paying for a hardened steel motor and the guaranteed availability of replacement parts.
The price fluctuates based on the model year and included features, such as digital timers or preset programs. If you want to save money, check the manufacturer’s website for certified reconditioned units. These machines undergo a rigorous inspection process and carry a shorter, yet significant, warranty. This strategy offers a lower entry price for identical blending performance.
Most buyers make the mistake of choosing based on the upfront sticker price alone. This oversight often costs them three times the investment of a premium model over a five-year window. If you blend frozen fruit or ice daily, choose the high-end motor to avoid burnout. If you only process soft ingredients like protein shakes or soups, the entry-level model will suffice without risking a breakdown.
Keeping the machine running
After you finish blending, the easiest way to clean the container is to fill it halfway with warm water and a drop of dish soap. Run the machine on the highest speed for 30 seconds to clean the blades and the walls thoroughly. This prevents food residue from hardening, which can eventually damage the blade bearings or the seal.
Never submerge the motor base in water, as internal electronics aren’t sealed against immersion. If the exterior housing becomes sticky or dusty, wipe it down with a damp microfiber cloth and immediately follow with a dry one. Moisture trapped in the vents causes corrosion on the internal circuit boards, leading to intermittent power failures that are expensive to repair.
If the machine begins to make a new, high-pitched noise, check the drive socket on the base. This part is designed to be a sacrificial component, meaning it wears out before the motor does. You can often purchase a replacement socket and install it yourself using a simple tool provided by the company, which restores the machine to its original performance.
If the socket teeth look rounded or shaved down, replace it immediately. Continuing to run the machine with a stripped socket will cause the metal drive pin to grind against the plastic, eventually melting the housing and destroying the motor coupling. If you see black plastic shavings on the base, the socket has already failed.
When to choose another path

If you only need to blend soft fruits occasionally, this level of power is unnecessary for your needs. A standard, low-cost blender will handle soft ingredients without issue and takes up less counter space. Buying a high-end machine for simple tasks is an inefficient use of your budget.
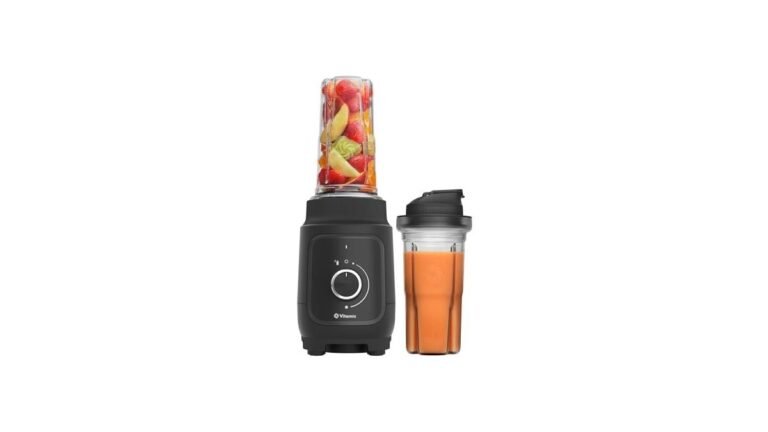
If your primary goal is making single-serving smoothies, look for a personal blender with a 300-watt motor instead. These units cost roughly $40 and avoid the bulk of a full-sized pitcher. You save time on cleanup because you drink directly from the blending vessel.
If you’re a professional chef working in a high-volume commercial kitchen, you might need a dedicated commercial-grade model rather than a consumer model. Commercial models are designed for even higher heat resistance and have different internal cooling systems meant for 12-hour shifts.
Using a consumer model in a commercial setting will void your warranty and likely lead to premature failure of the motor. Check the manual for a duty cycle rating. If the manufacturer doesn’t list one, assume the machine is intended for home use only. Relying on a home blender for a business operation turns a small savings into a recurring replacement cost.
Frequently asked questions
How long does a Vitamix last?
These machines typically last for 10 to 15 years with regular home use, provided you follow the cleaning and loading instructions. You can verify the expected lifespan of your specific model by checking the warranty period provided in your user manual.
Is it safe to blend hot liquids?
Yes, it’s safe to blend hot liquids, but you must ensure the lid is locked in place and the center plug is secure. You should never fill the container past the maximum fill line when working with hot ingredients to allow for steam expansion.
Why does my blender smell like burning?
A burning smell usually means the motor is struggling against an overload or an air pocket, which triggers the thermal protection system. Turn the machine off immediately, add more liquid to the container, and allow the motor to cool down for at least 15 minutes before using it again.
Can I blend ice every day?
Yes, these machines are specifically designed to crush ice and frozen fruit daily without damaging the blades or the motor. Ensure you always add liquid to the container to help move the ice toward the blades, which prevents the motor from stalling.
What happens if I lose the tamper?
The machine won’t function correctly for thick mixtures like nut butters or hummus without the tamper. You can purchase a replacement tamper directly from the manufacturer’s website by searching for your specific model number.
Does it matter which model I buy?
The model choice matters only if you need specific features like digital timers, preset programs, or a shorter container for low cabinets. Every model in the current lineup uses the same high-torque motor technology to ensure the same blending performance.
How often should I sharpen the blades?
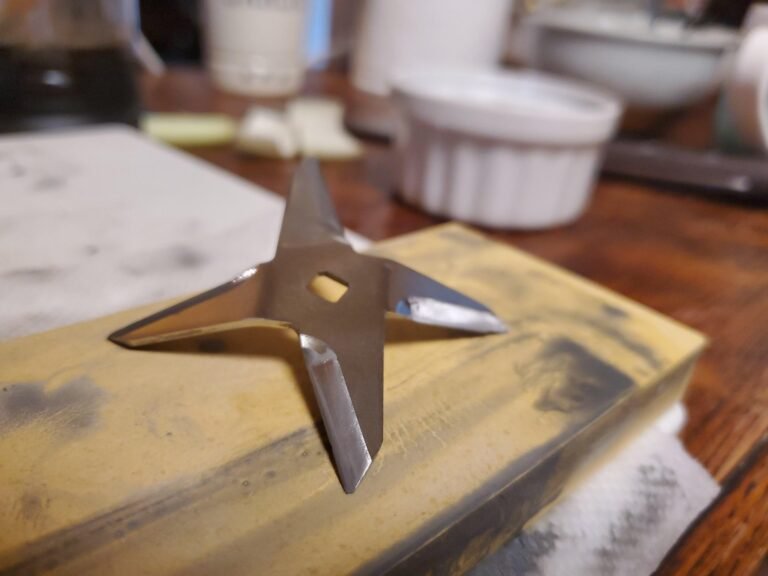
The blades don’t require sharpening, as they’re designed to pulverize food through raw force rather than cutting it. If your ingredients aren’t blending smoothly, the issue is usually a dull blade edge caused by misuse or an air pocket, not a lack of sharpness.
Conclusion
Start by identifying the specific tasks you perform most often in the kitchen to see if they require high-torque power. You can expect consistent, professional-grade textures once you learn the correct order of ingredients. If the machine begins to produce smoke or makes a loud grinding noise that doesn’t stop after clearing the jar, stop using it immediately and contact the manufacturer for a repair.